James Kirby’s

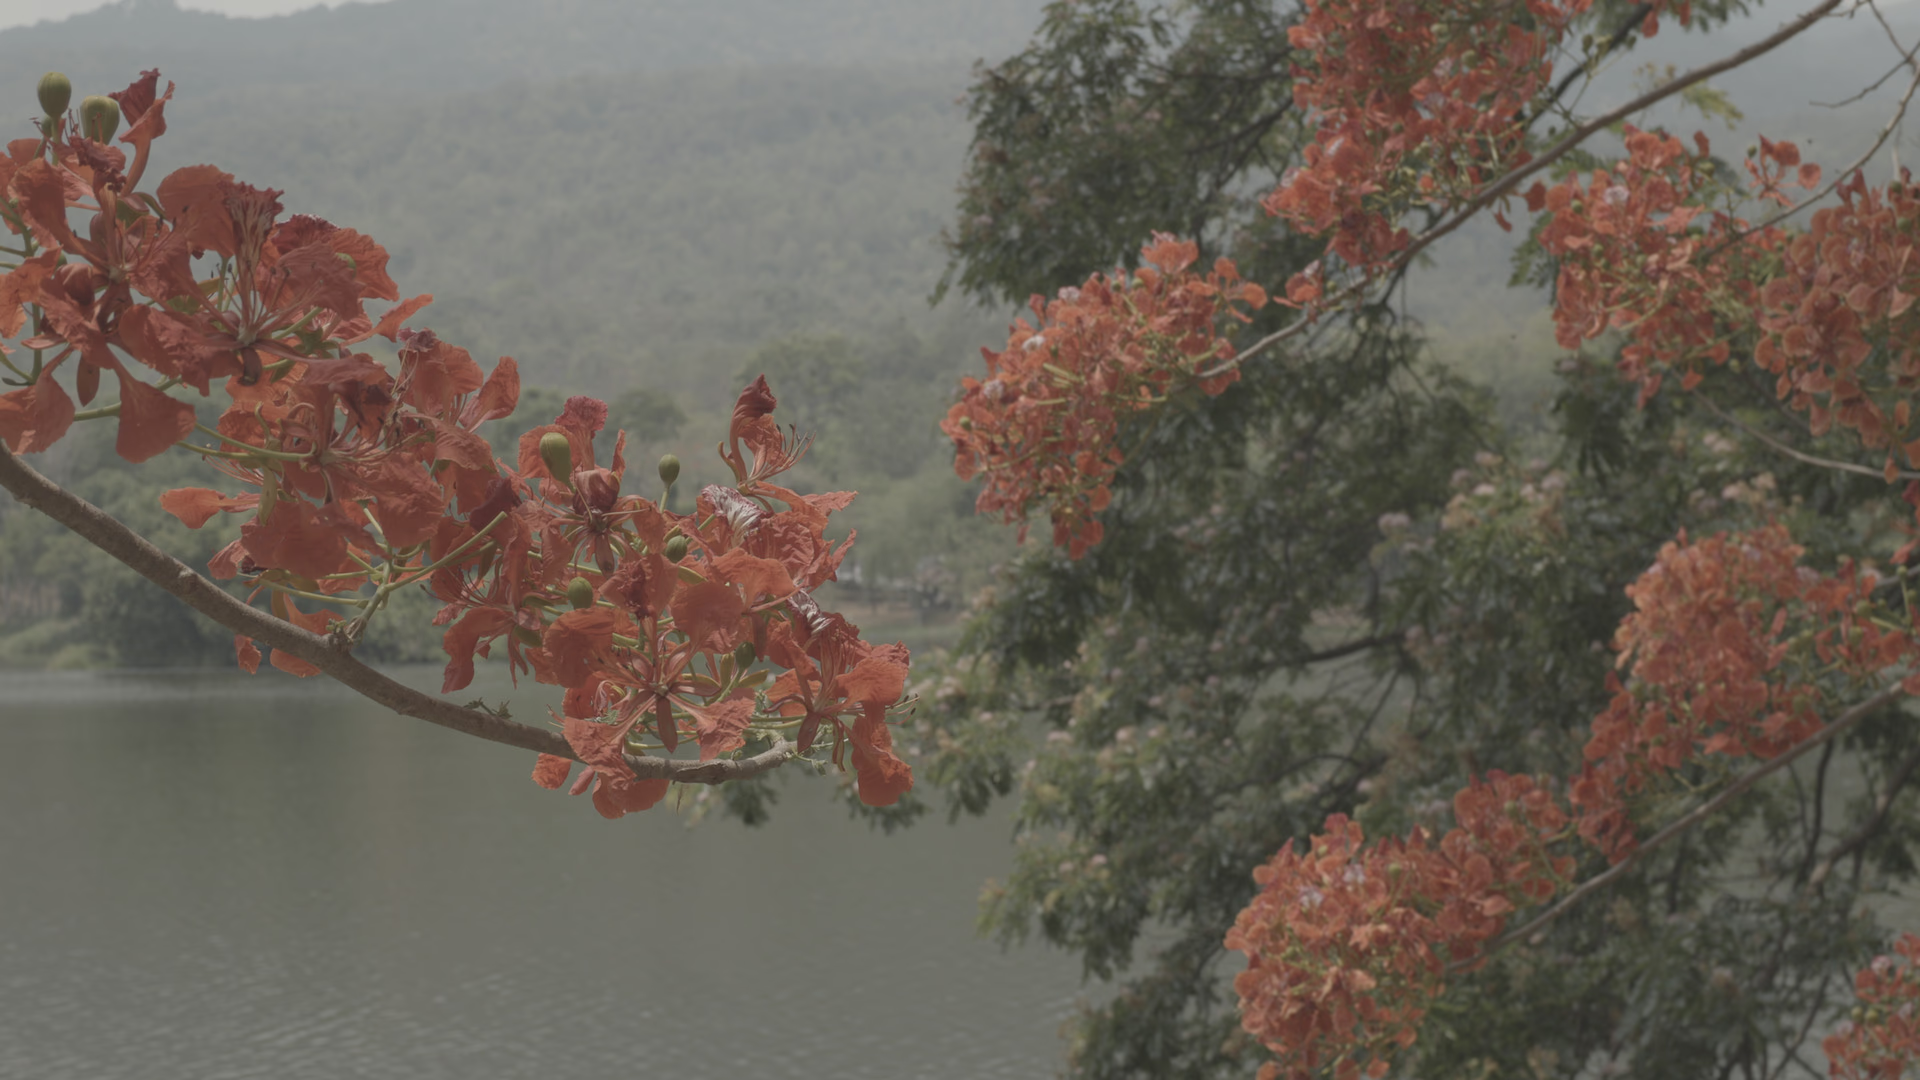

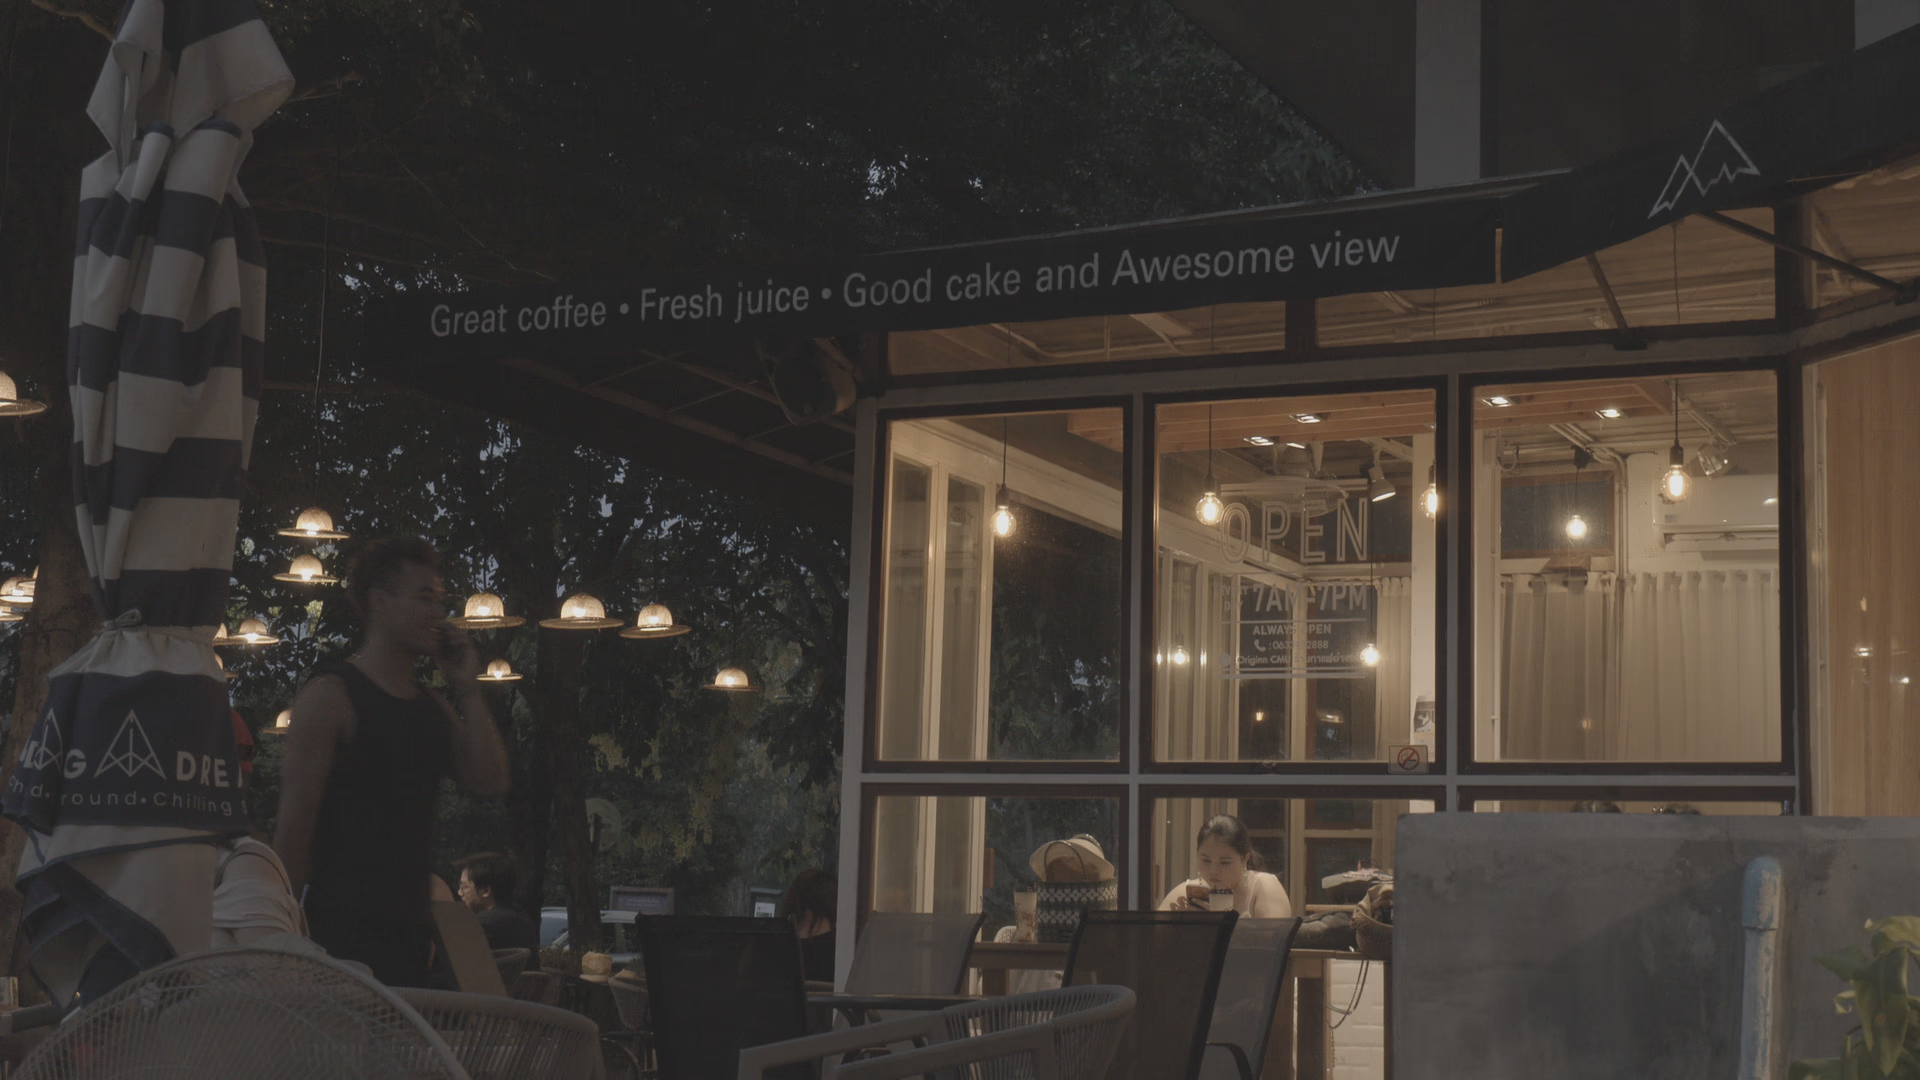
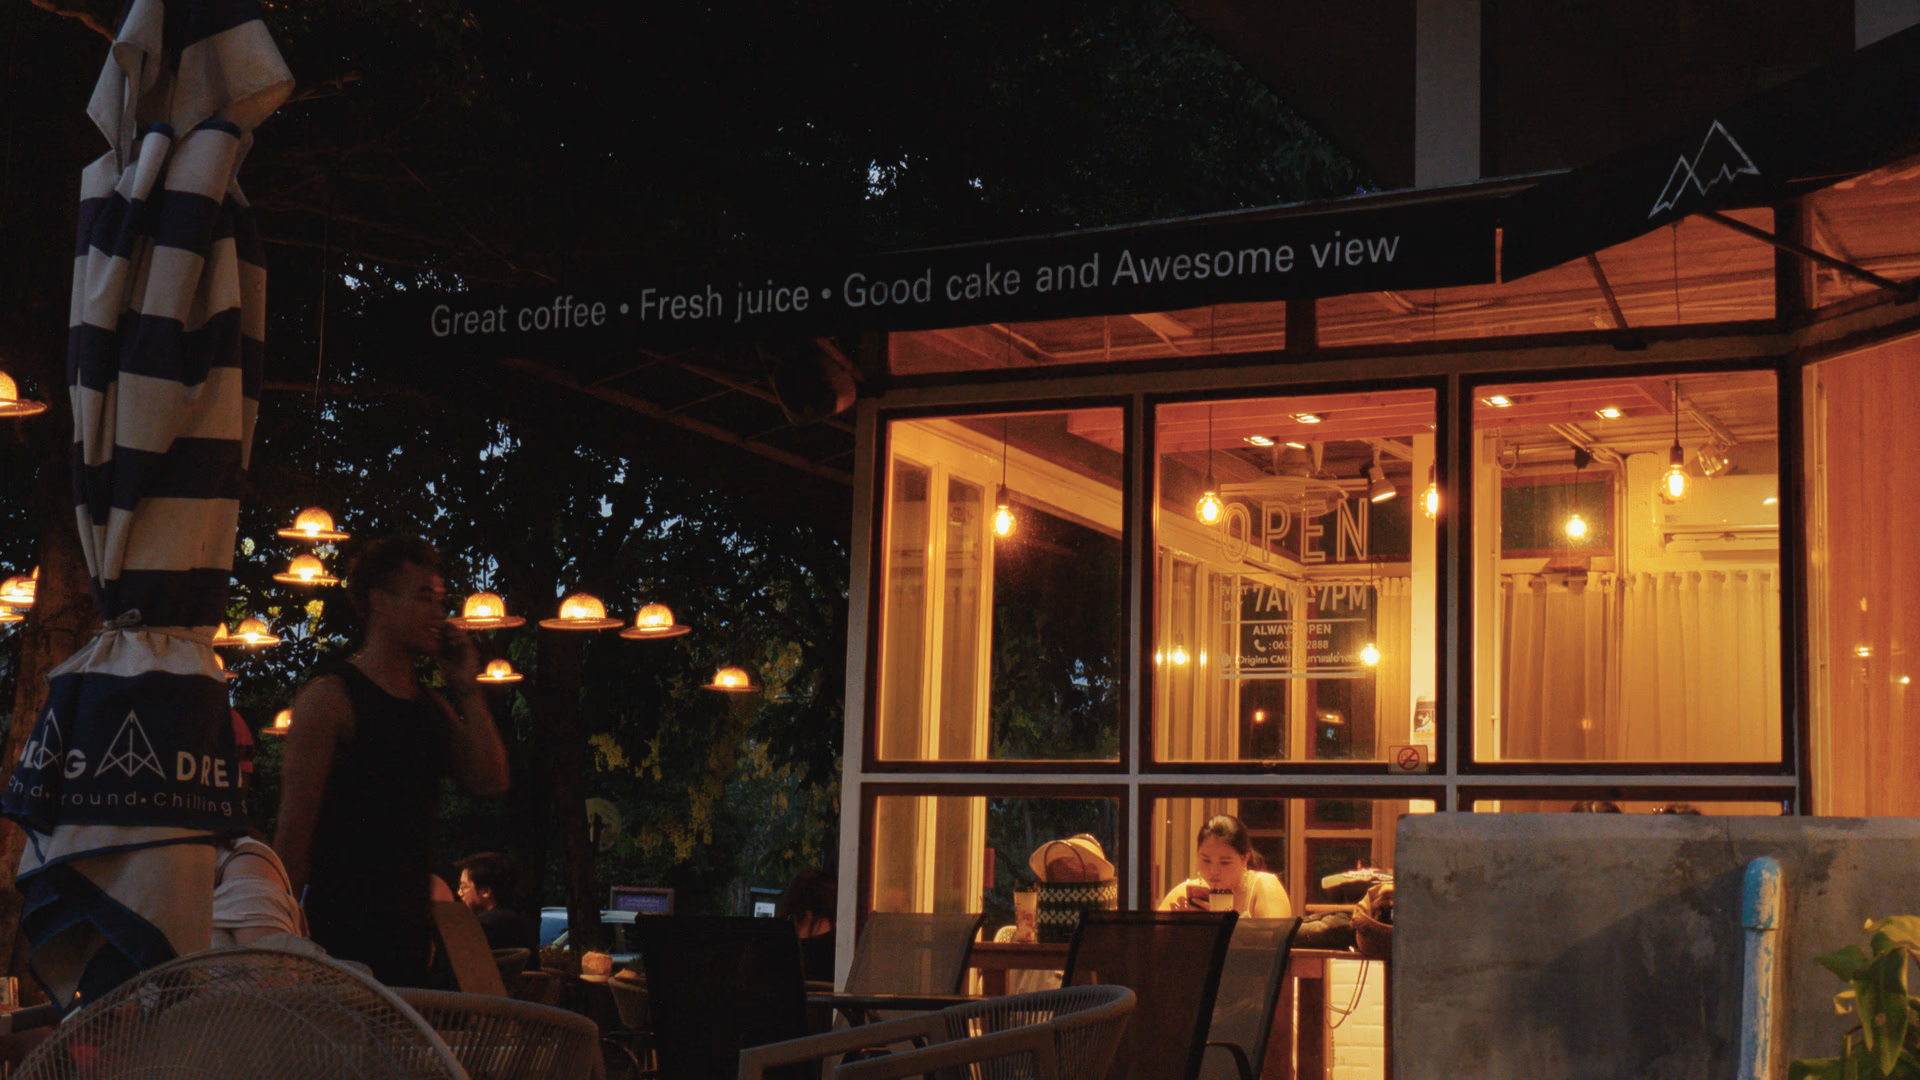
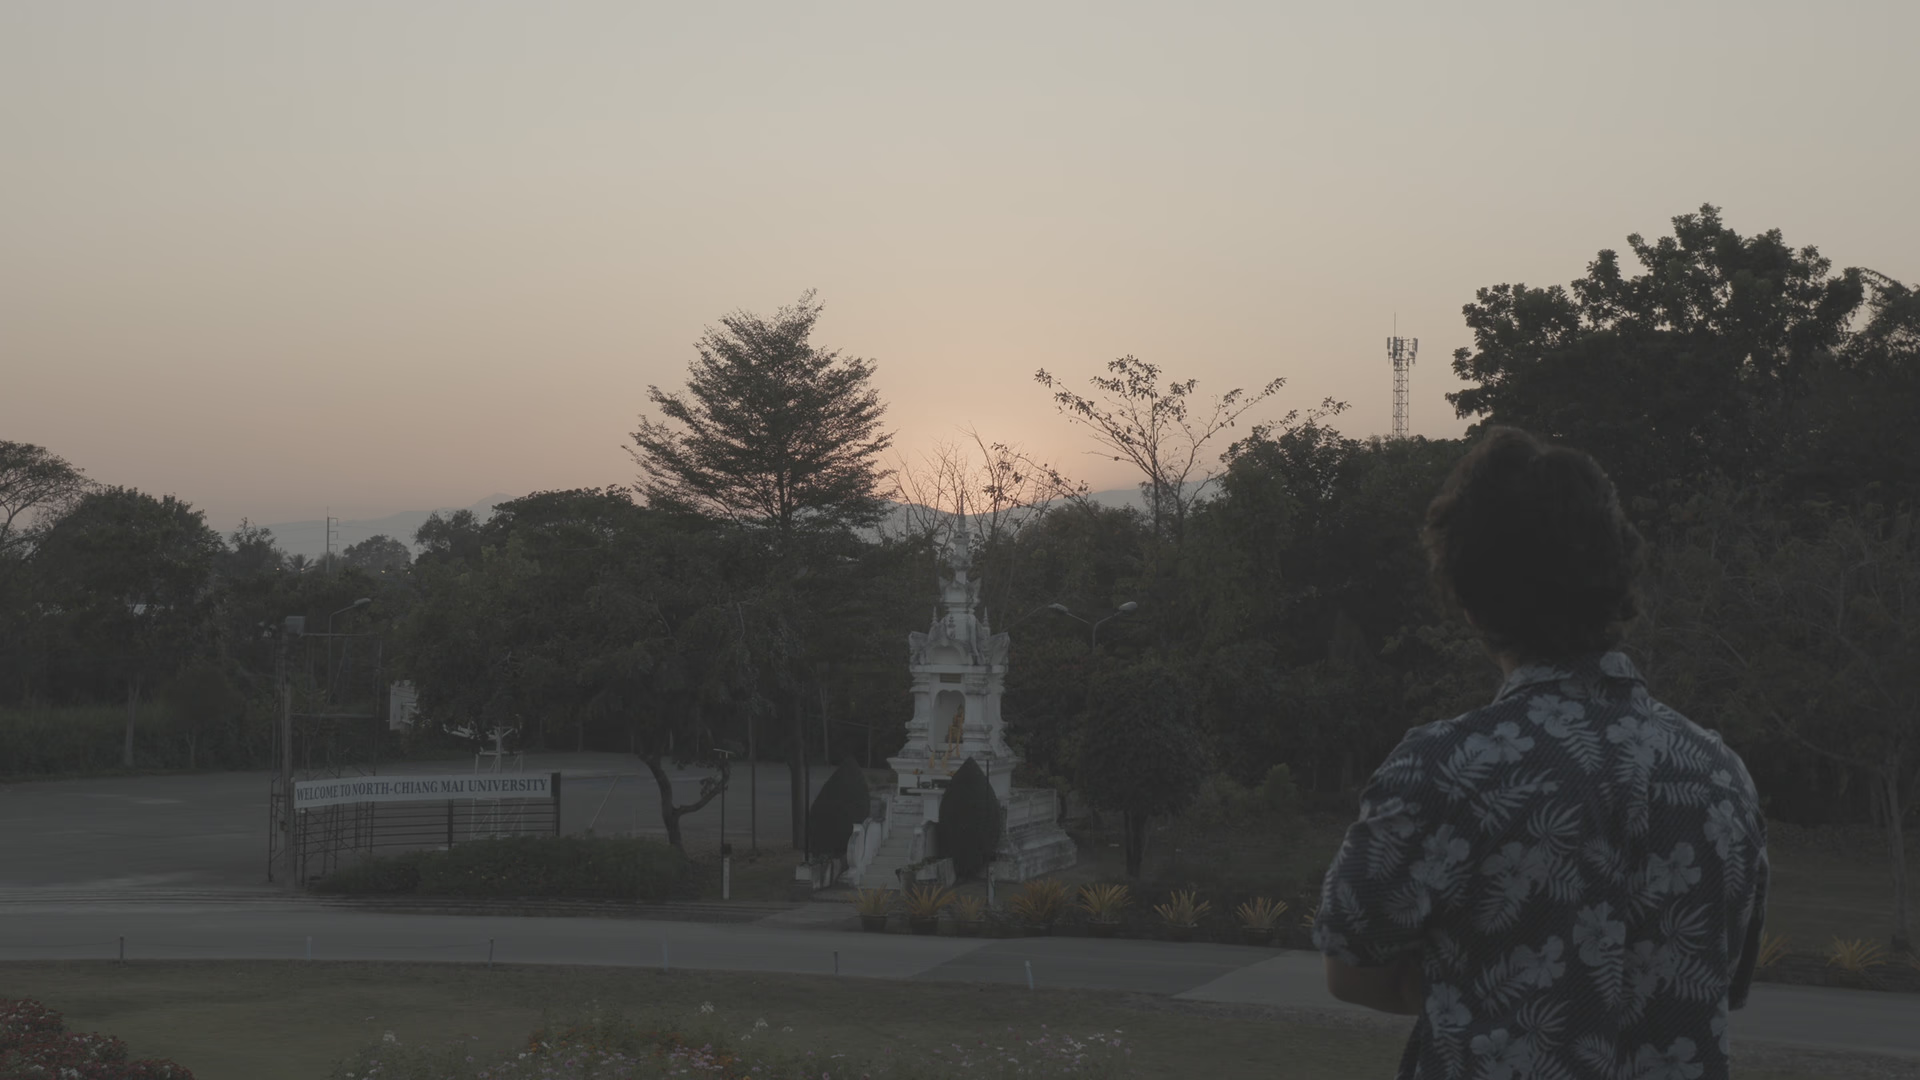
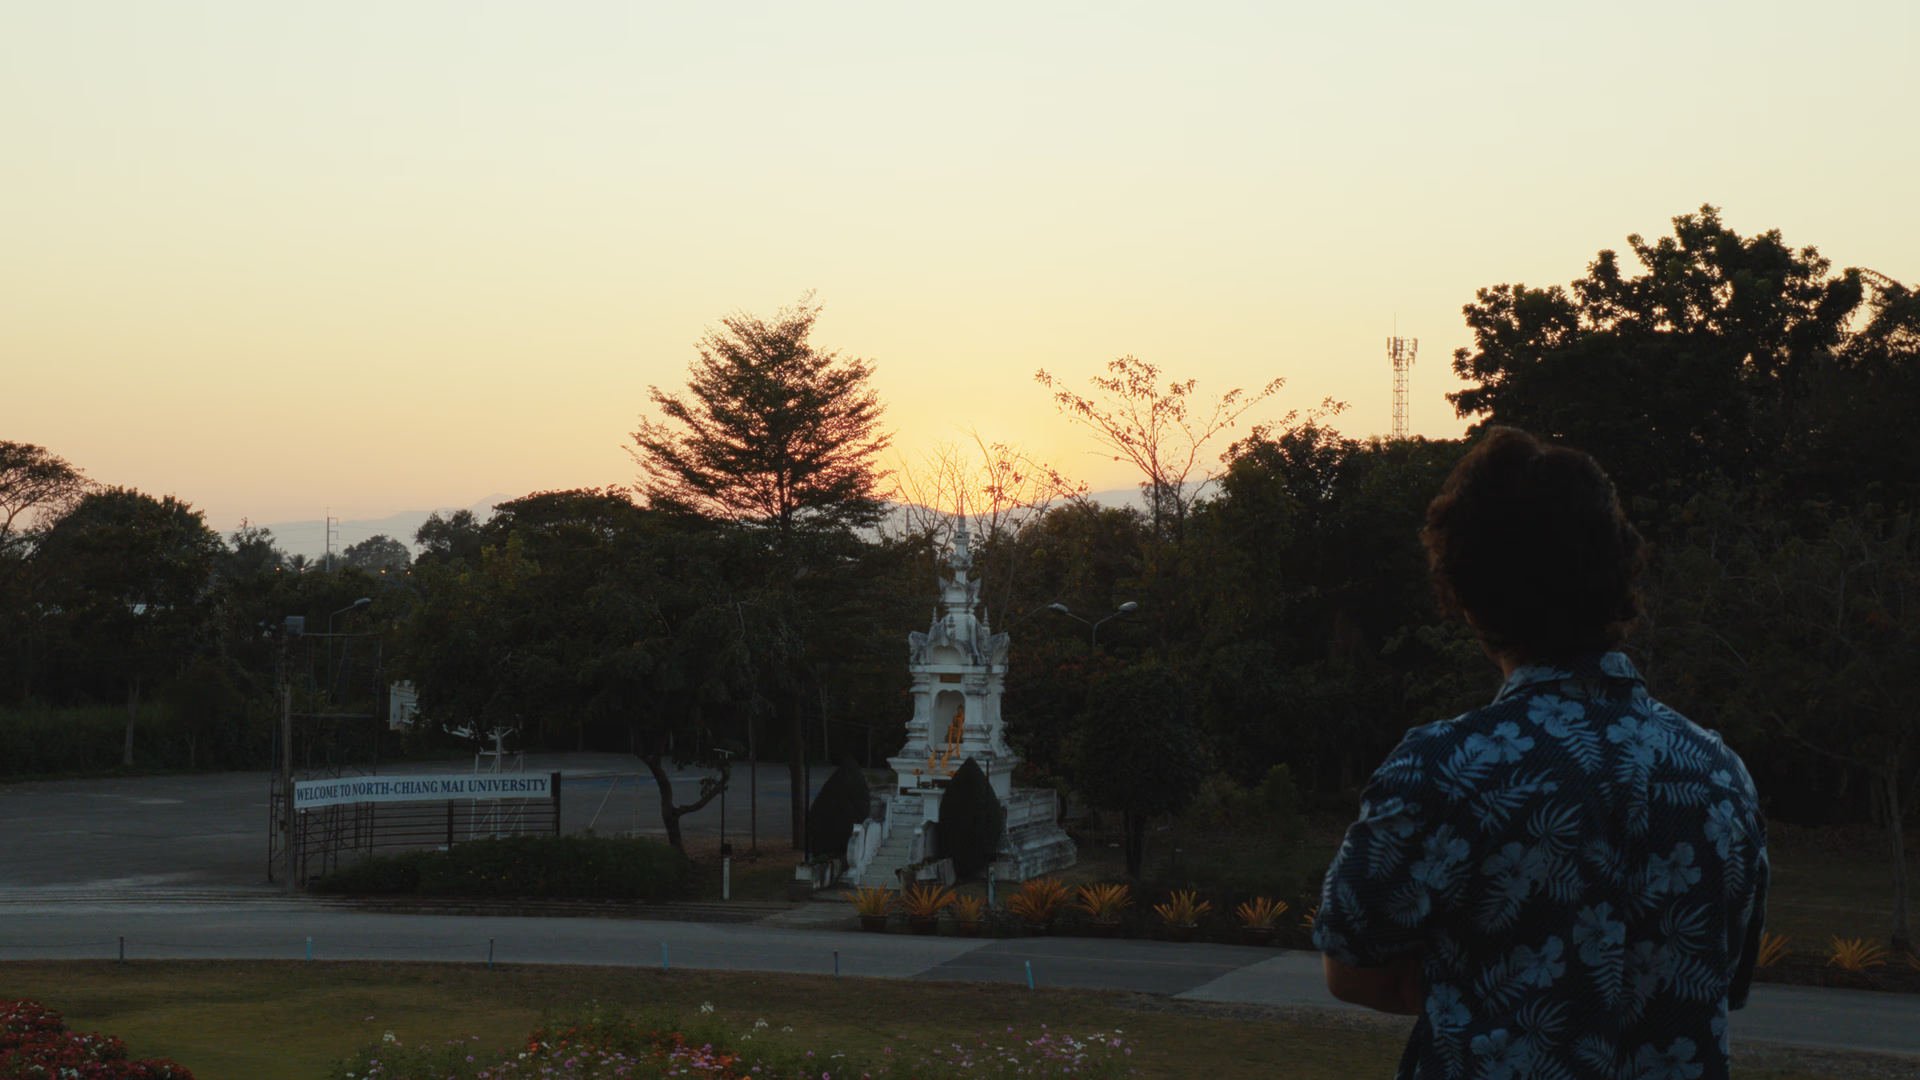
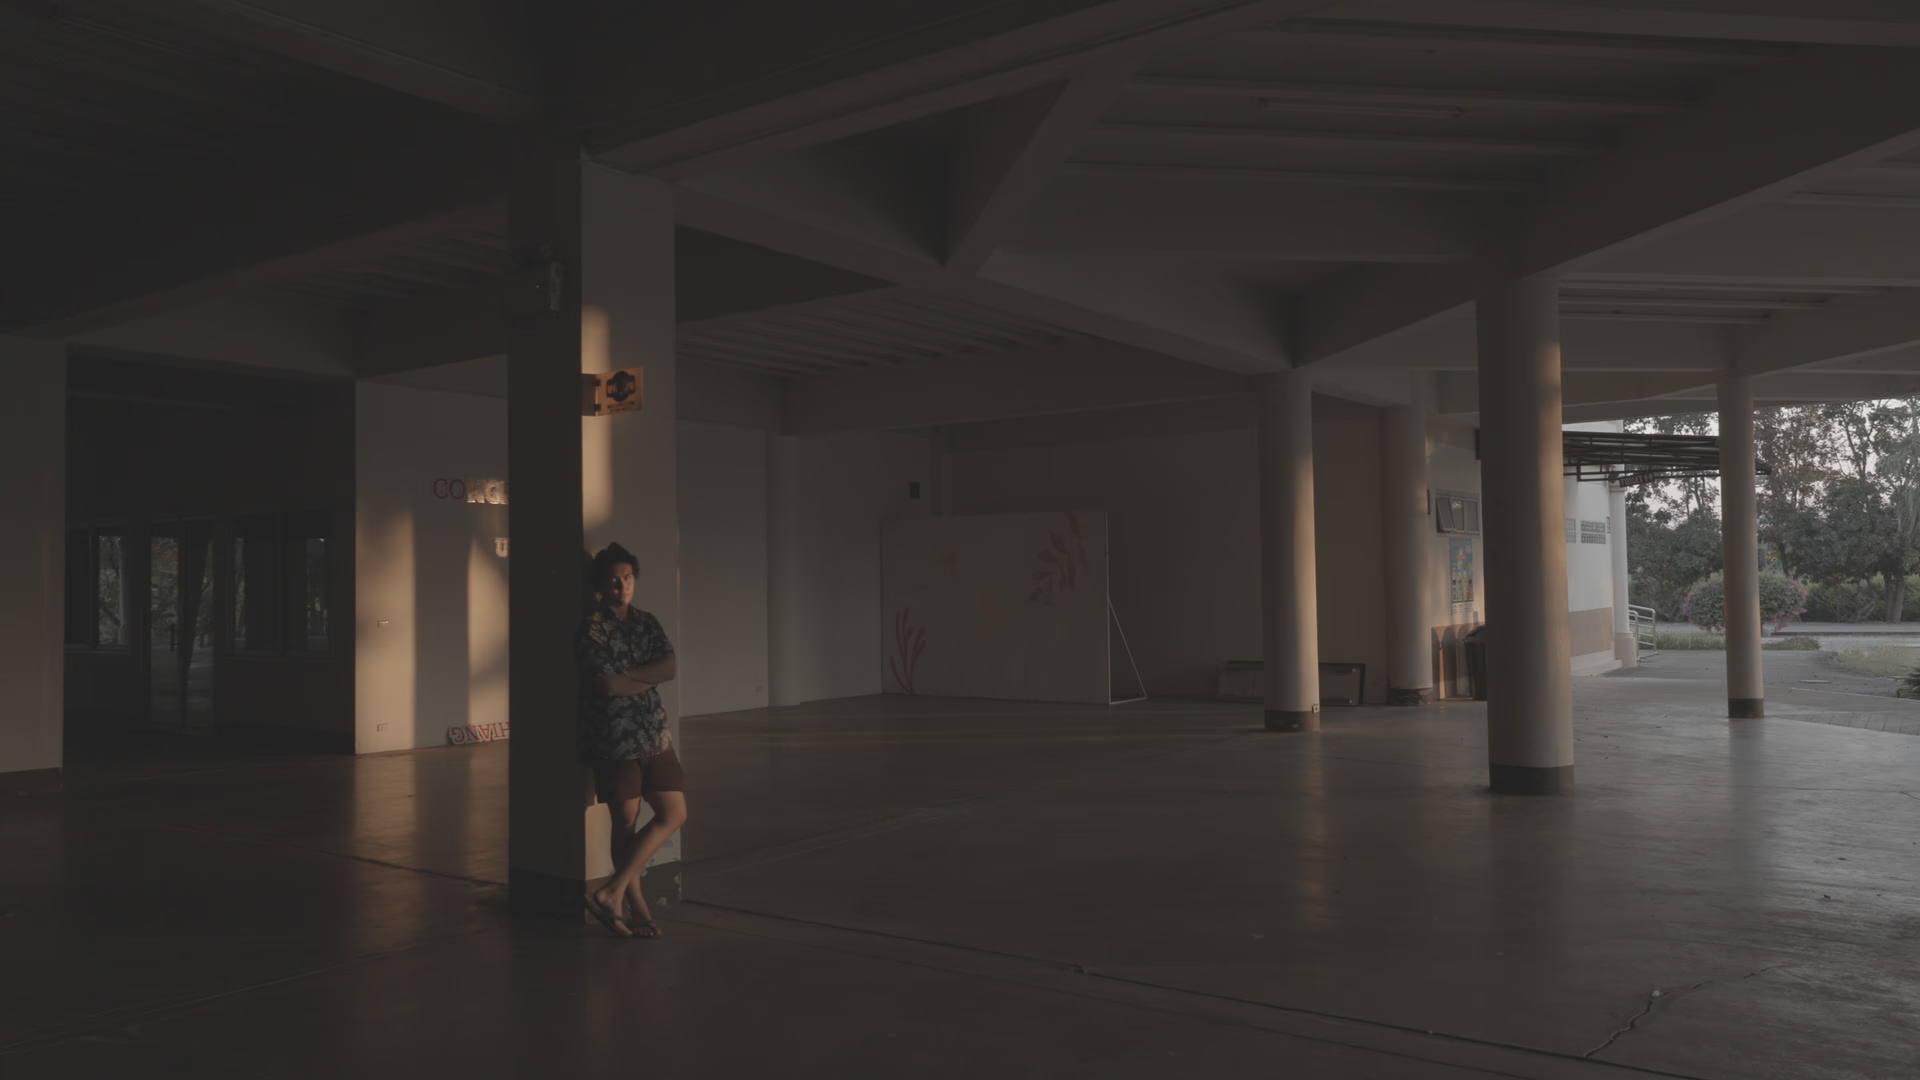
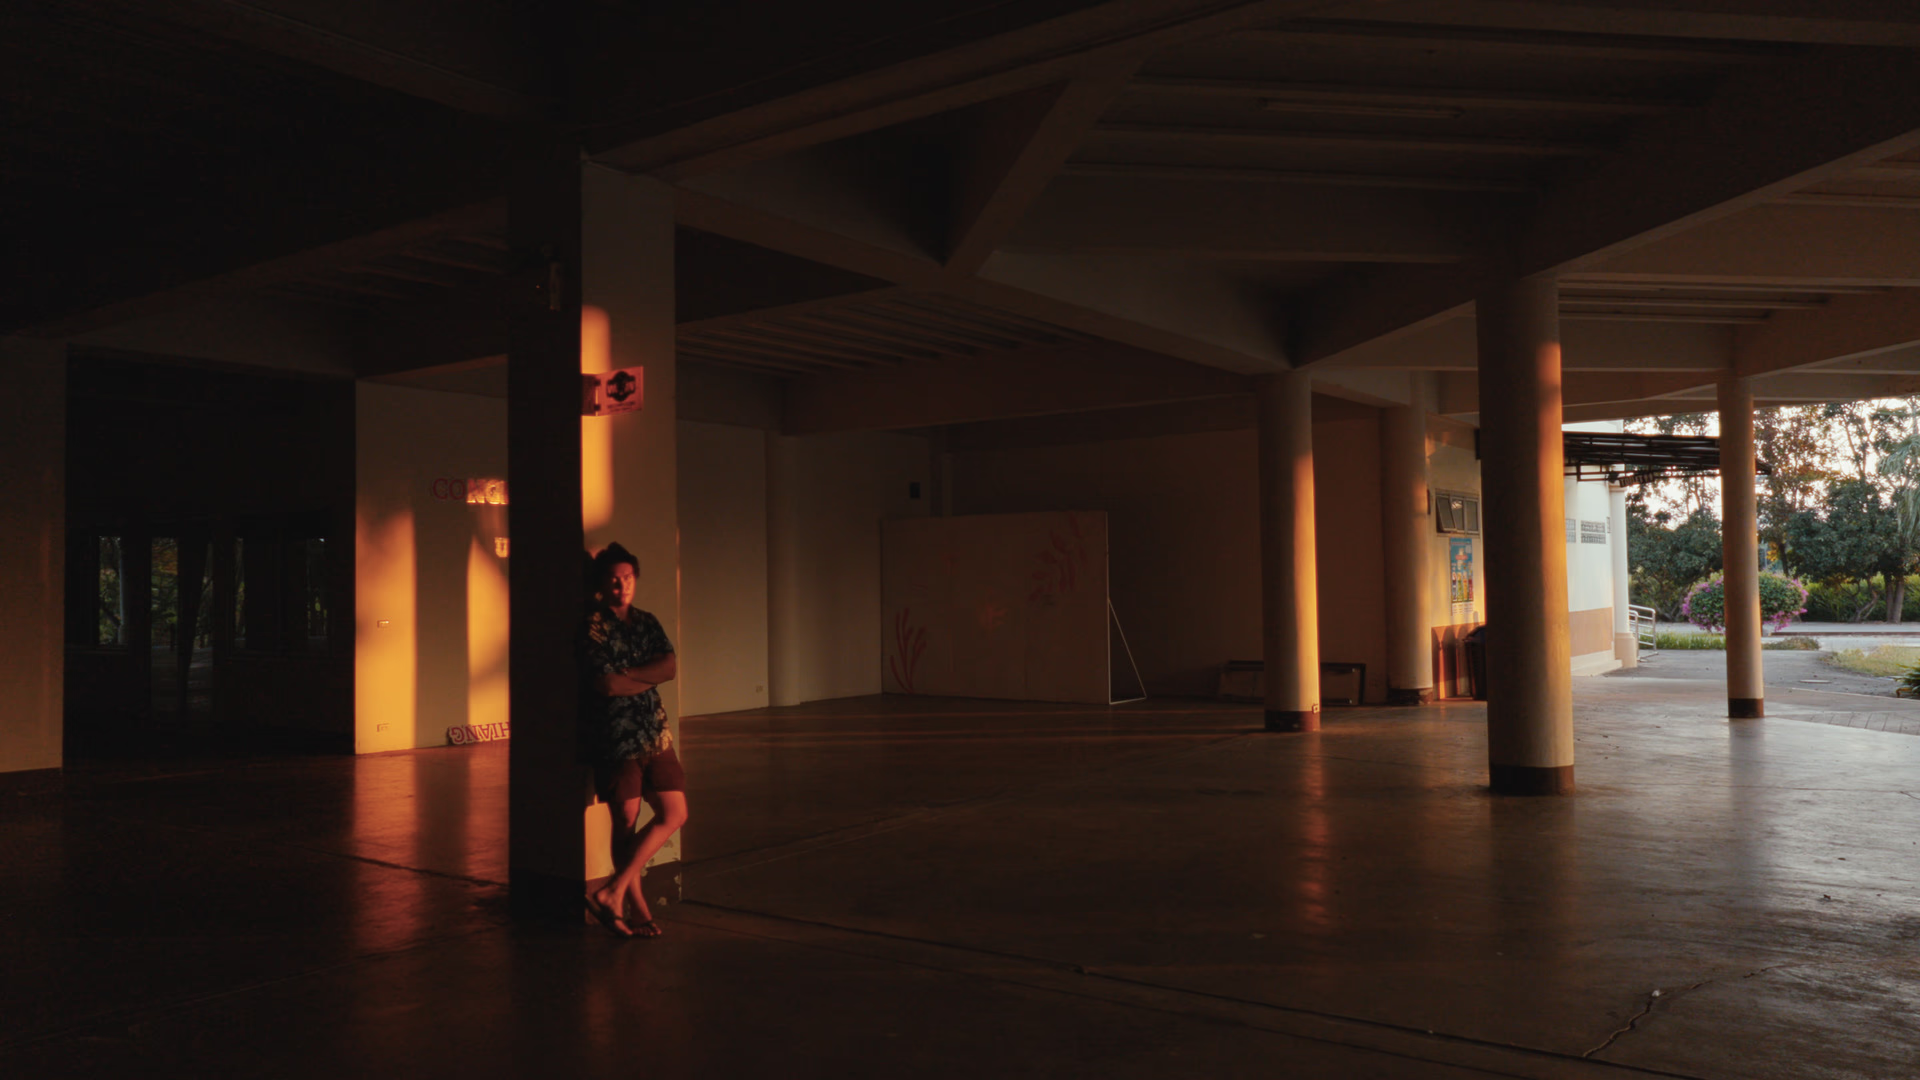
Film emulation for DaVinci Resolve, built from the film makers’ own datasheets.
In development. No price or date yet.
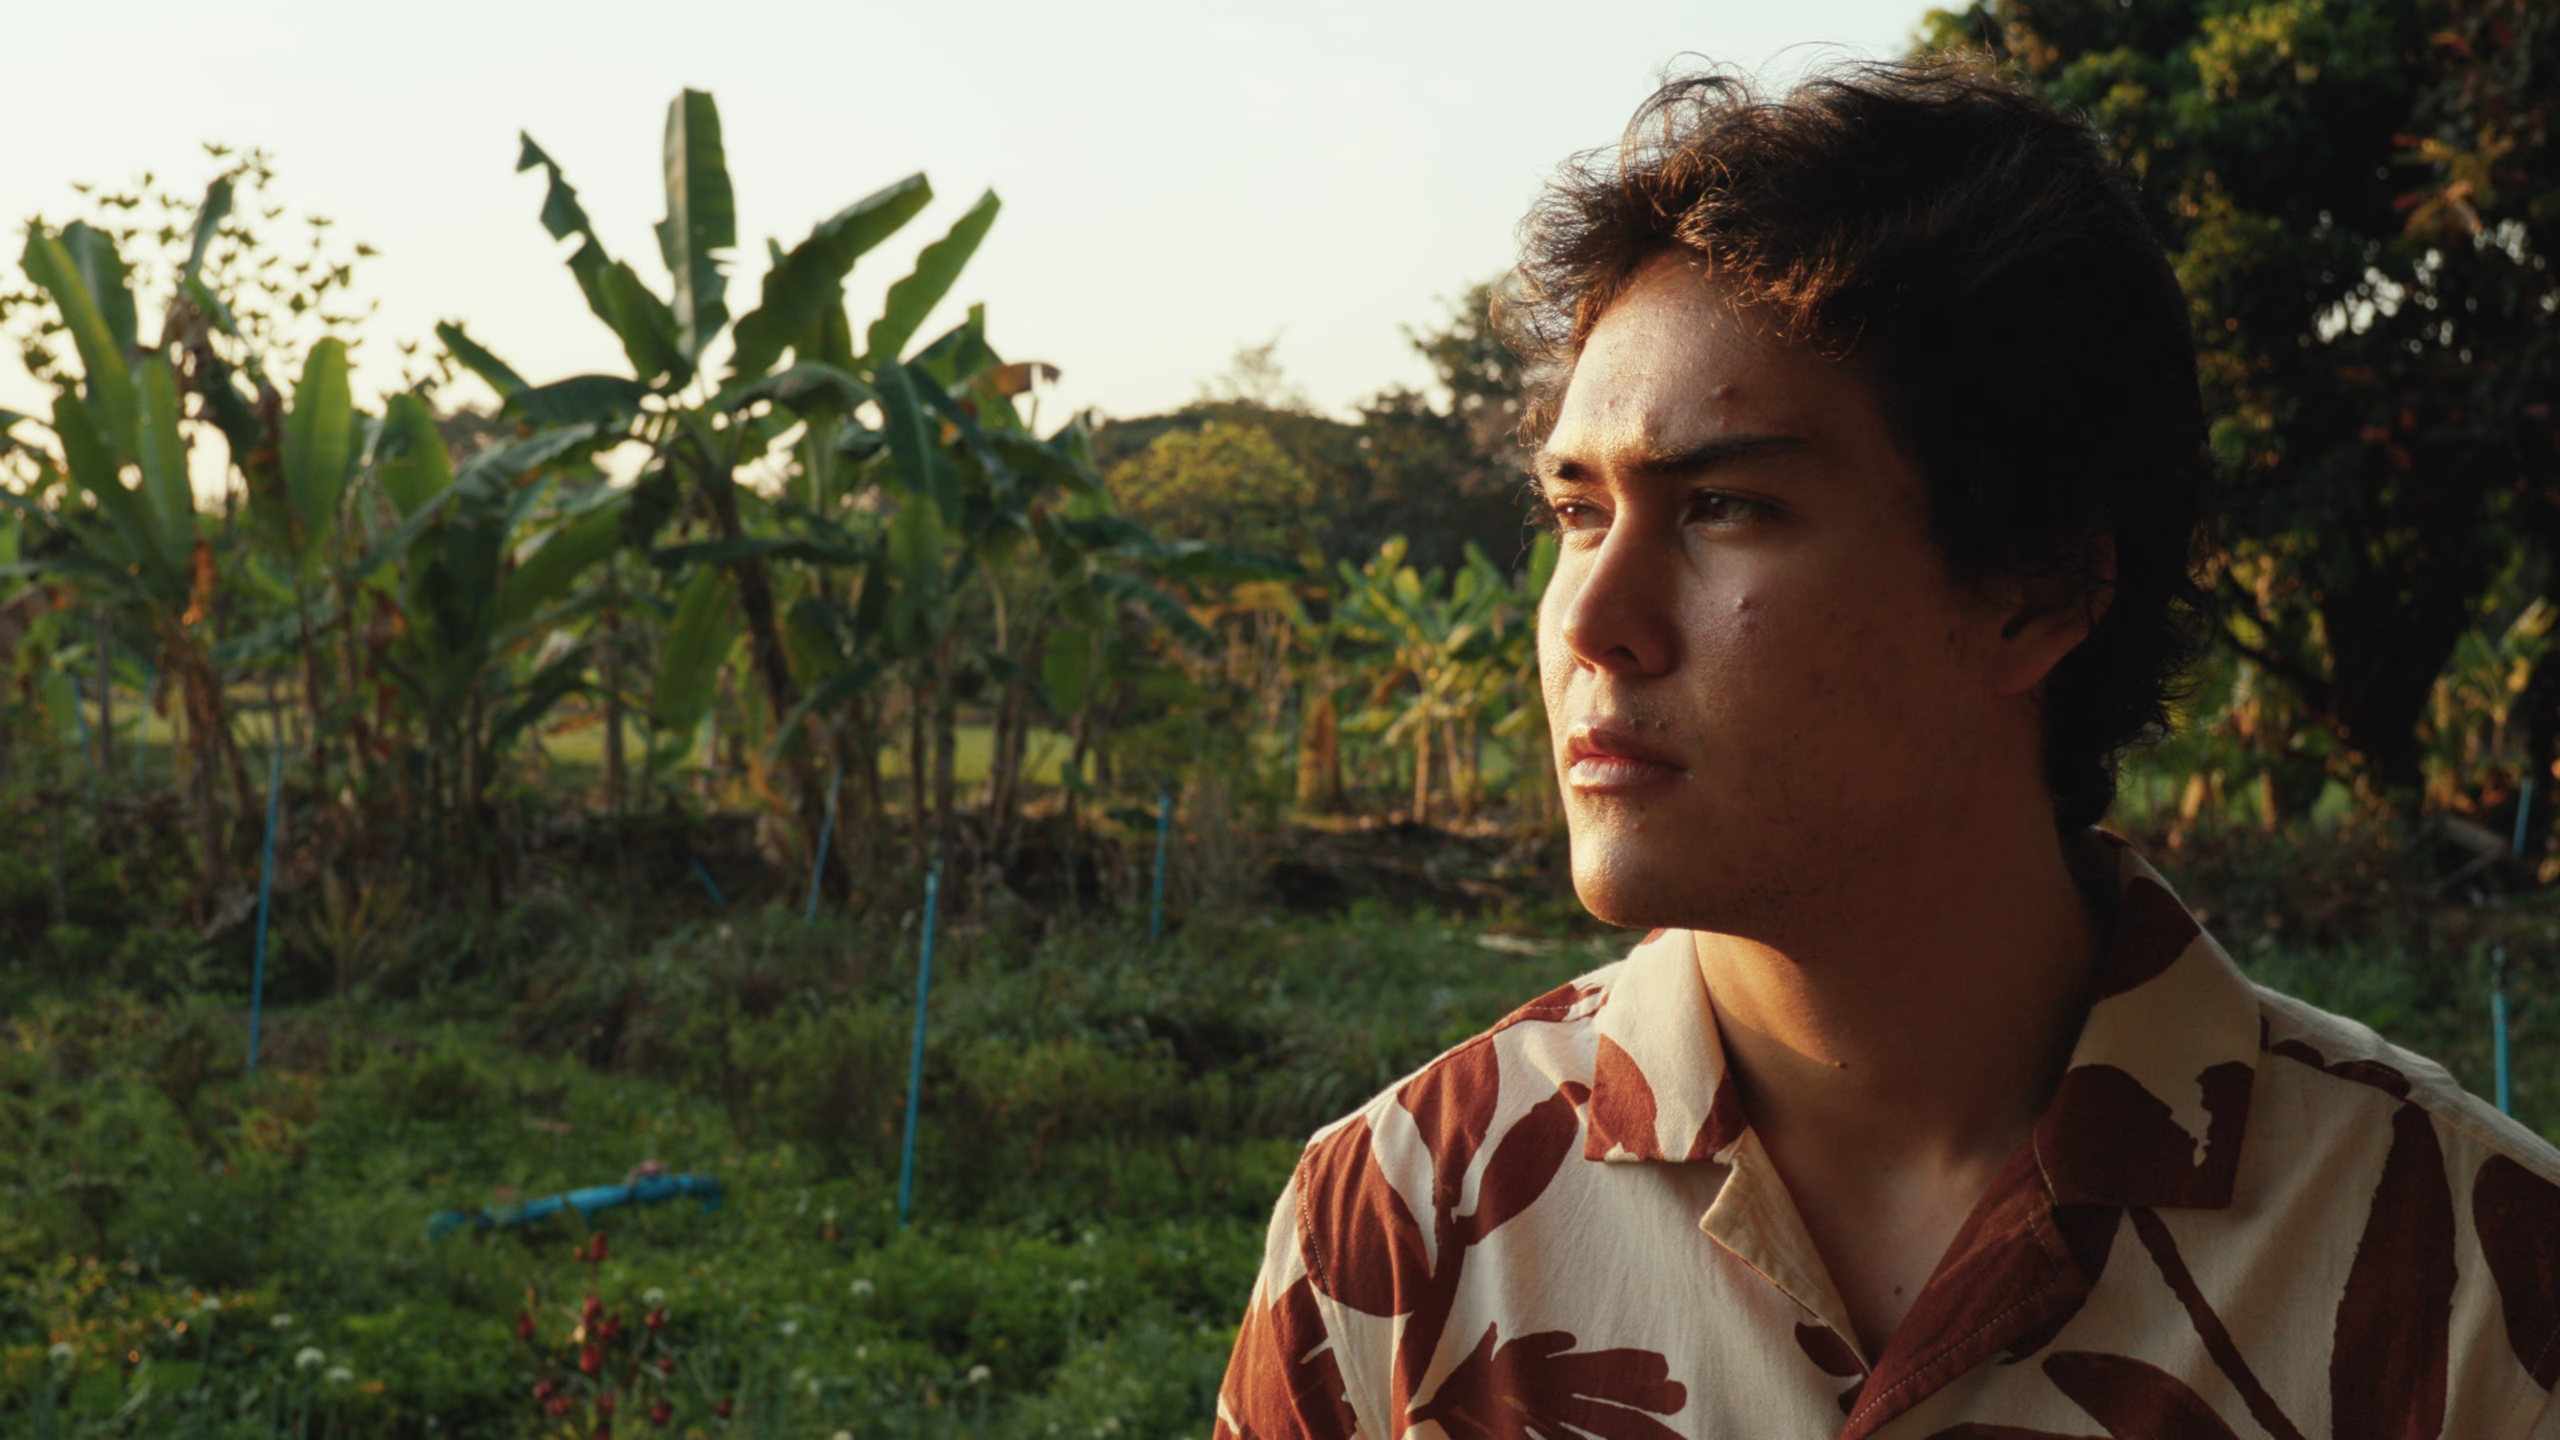
One frame
As shot, as the negative, as the print
A film look starts as a negative and becomes a print. Driffield does both, on one node, from your camera’s log.
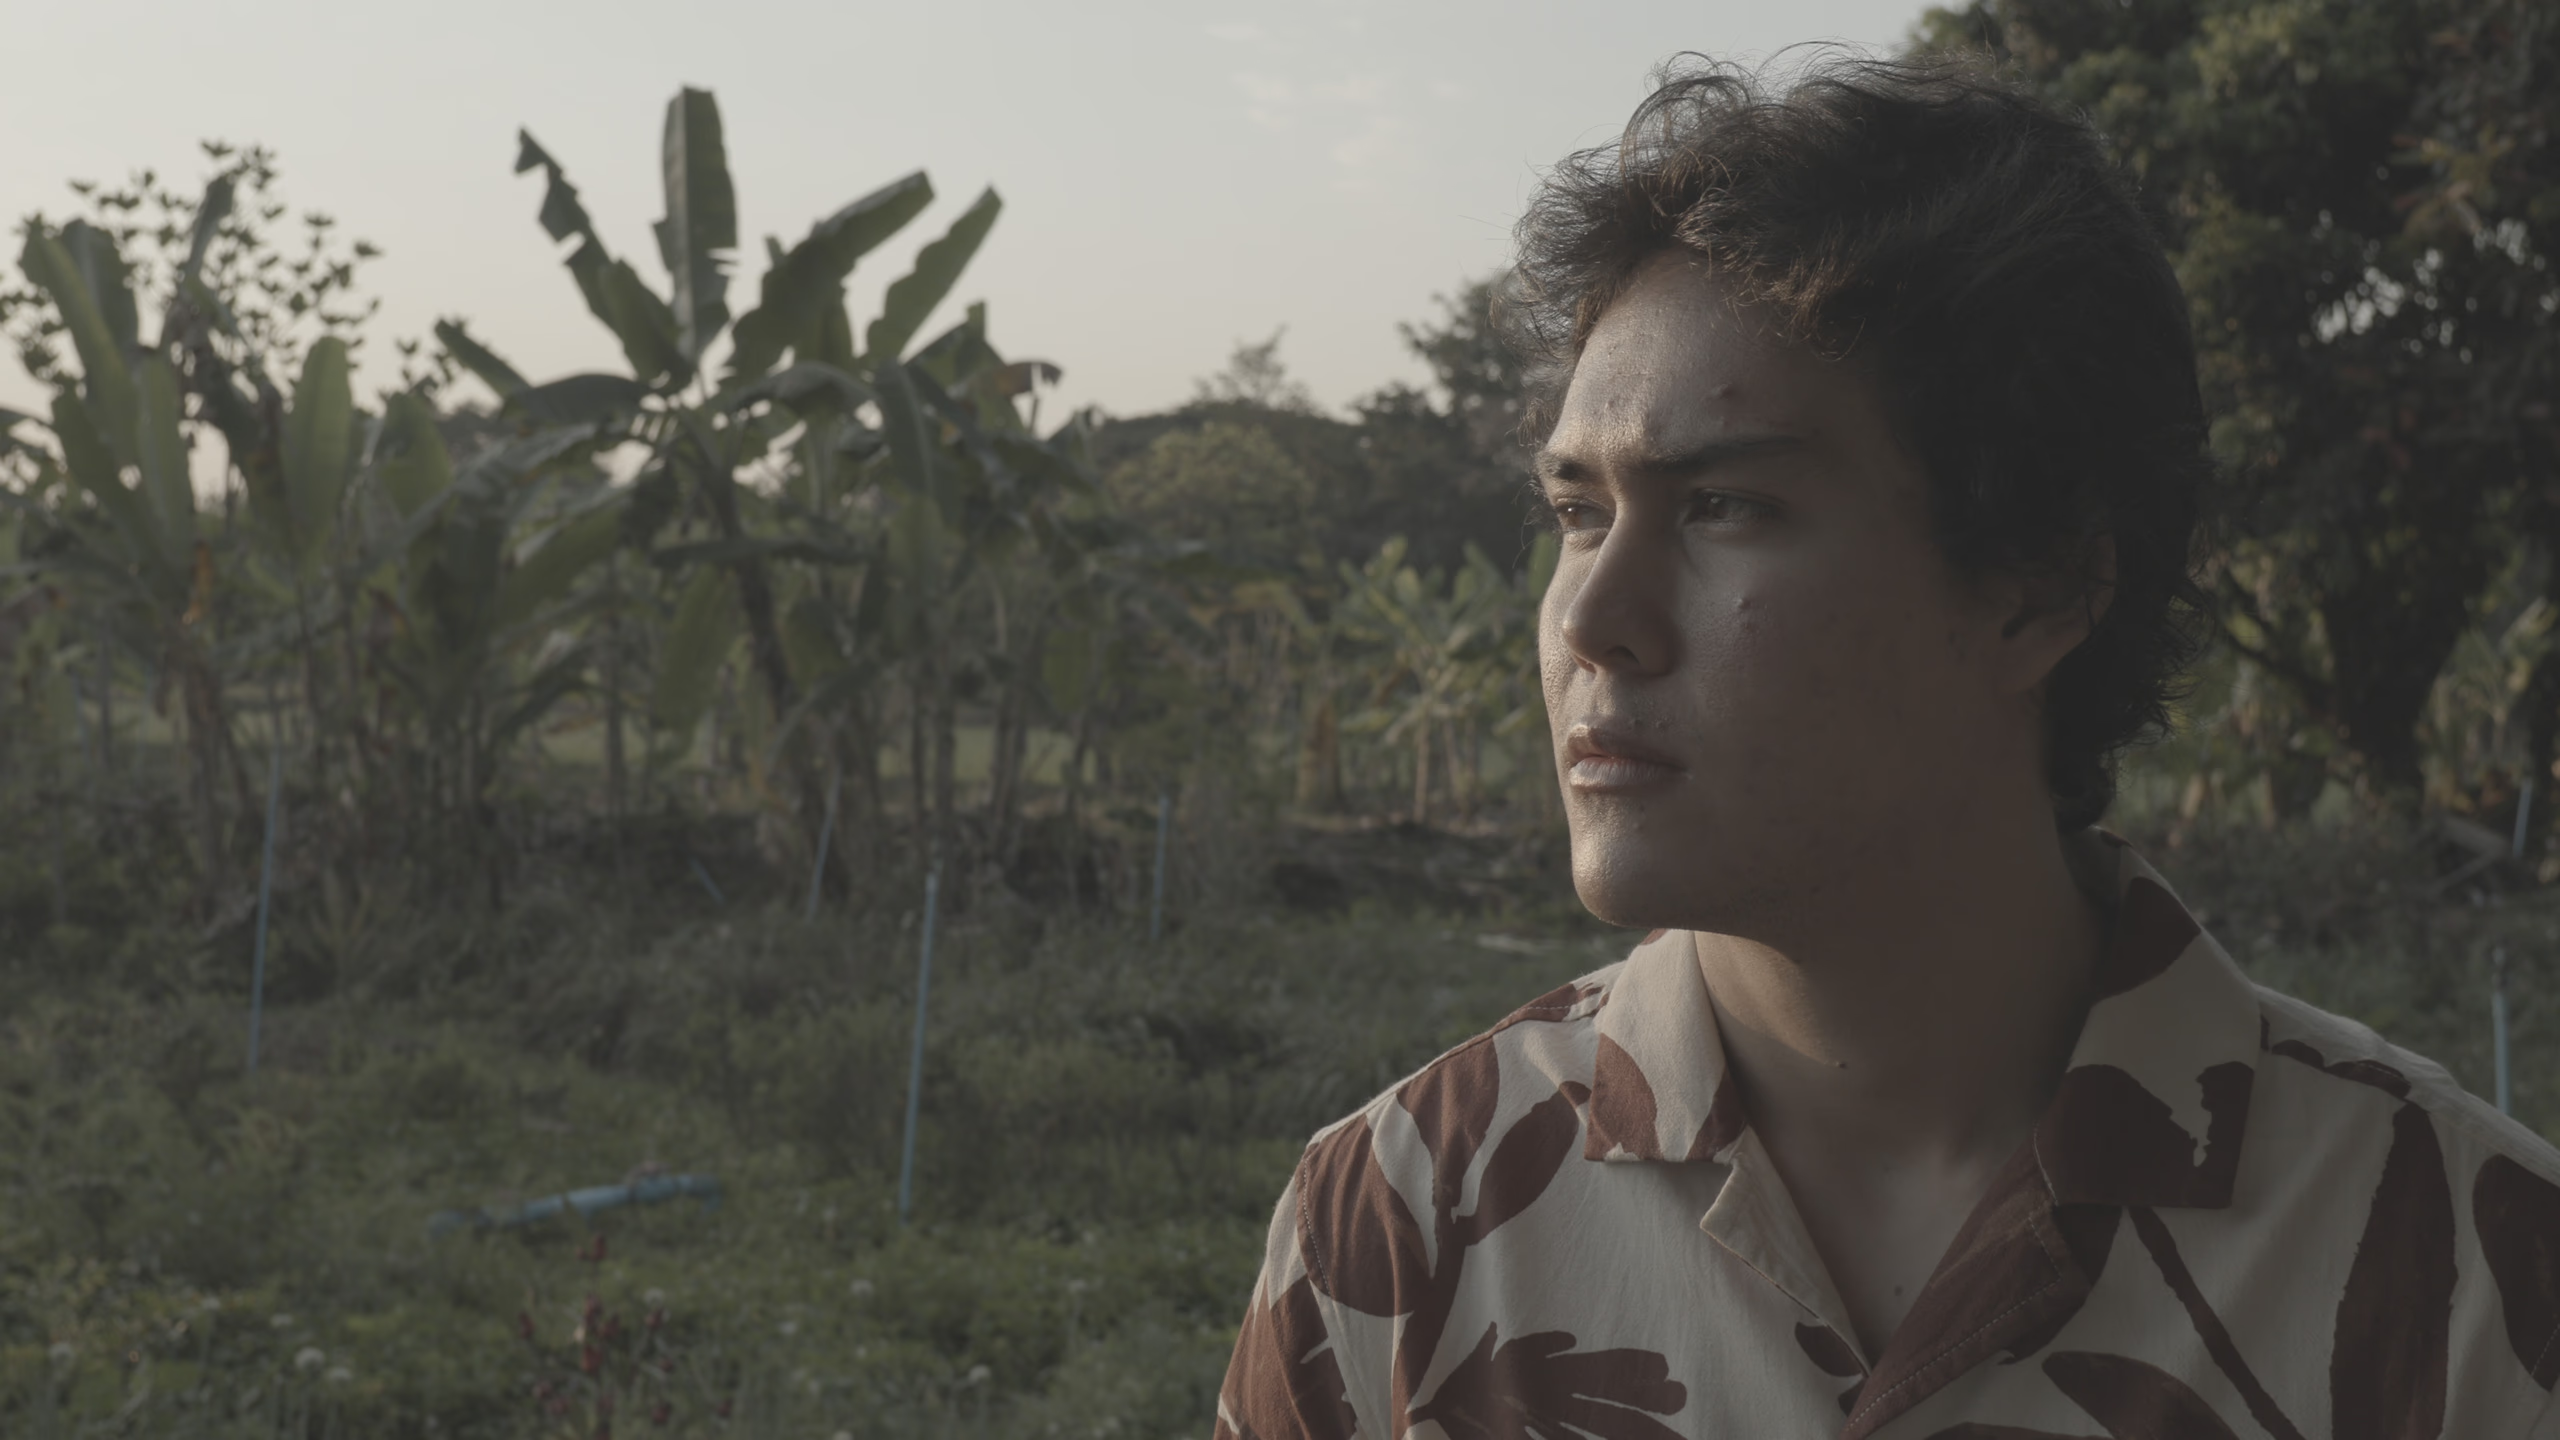
 As shotThe print
The films
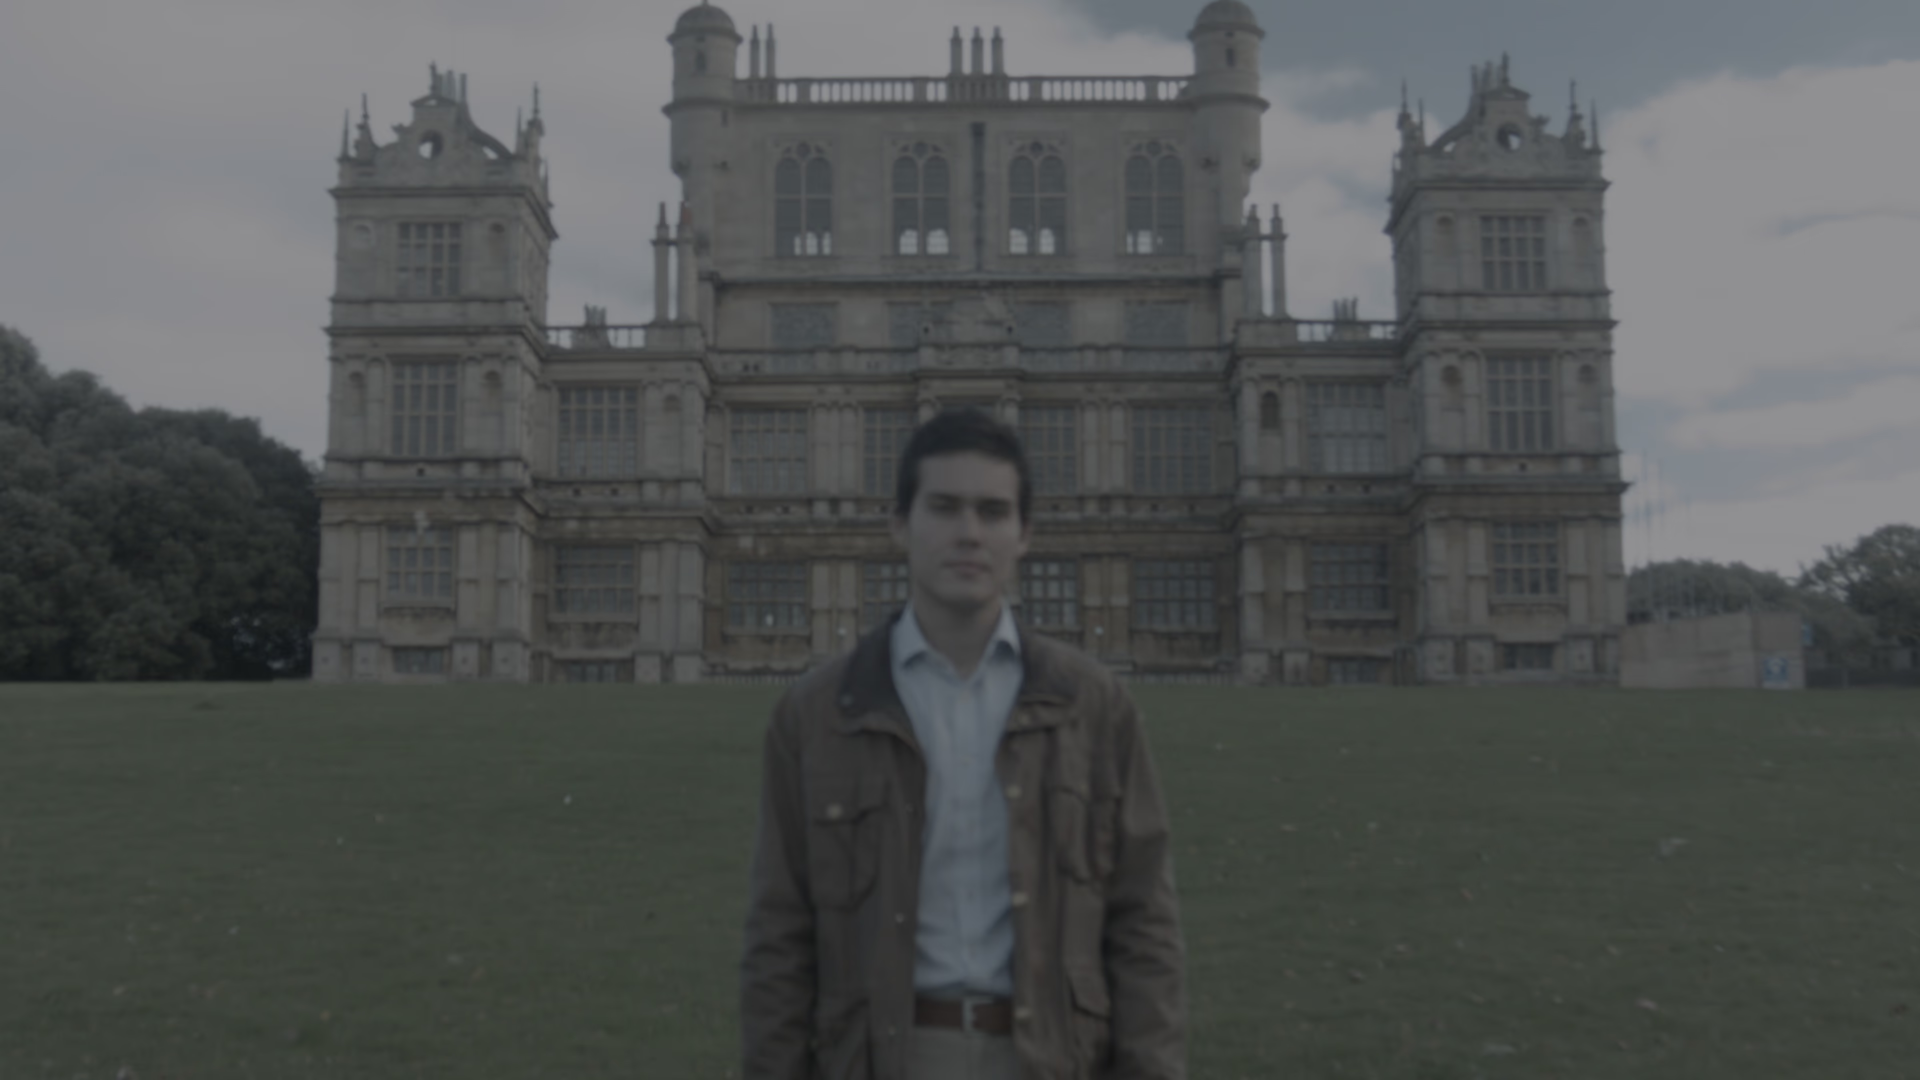
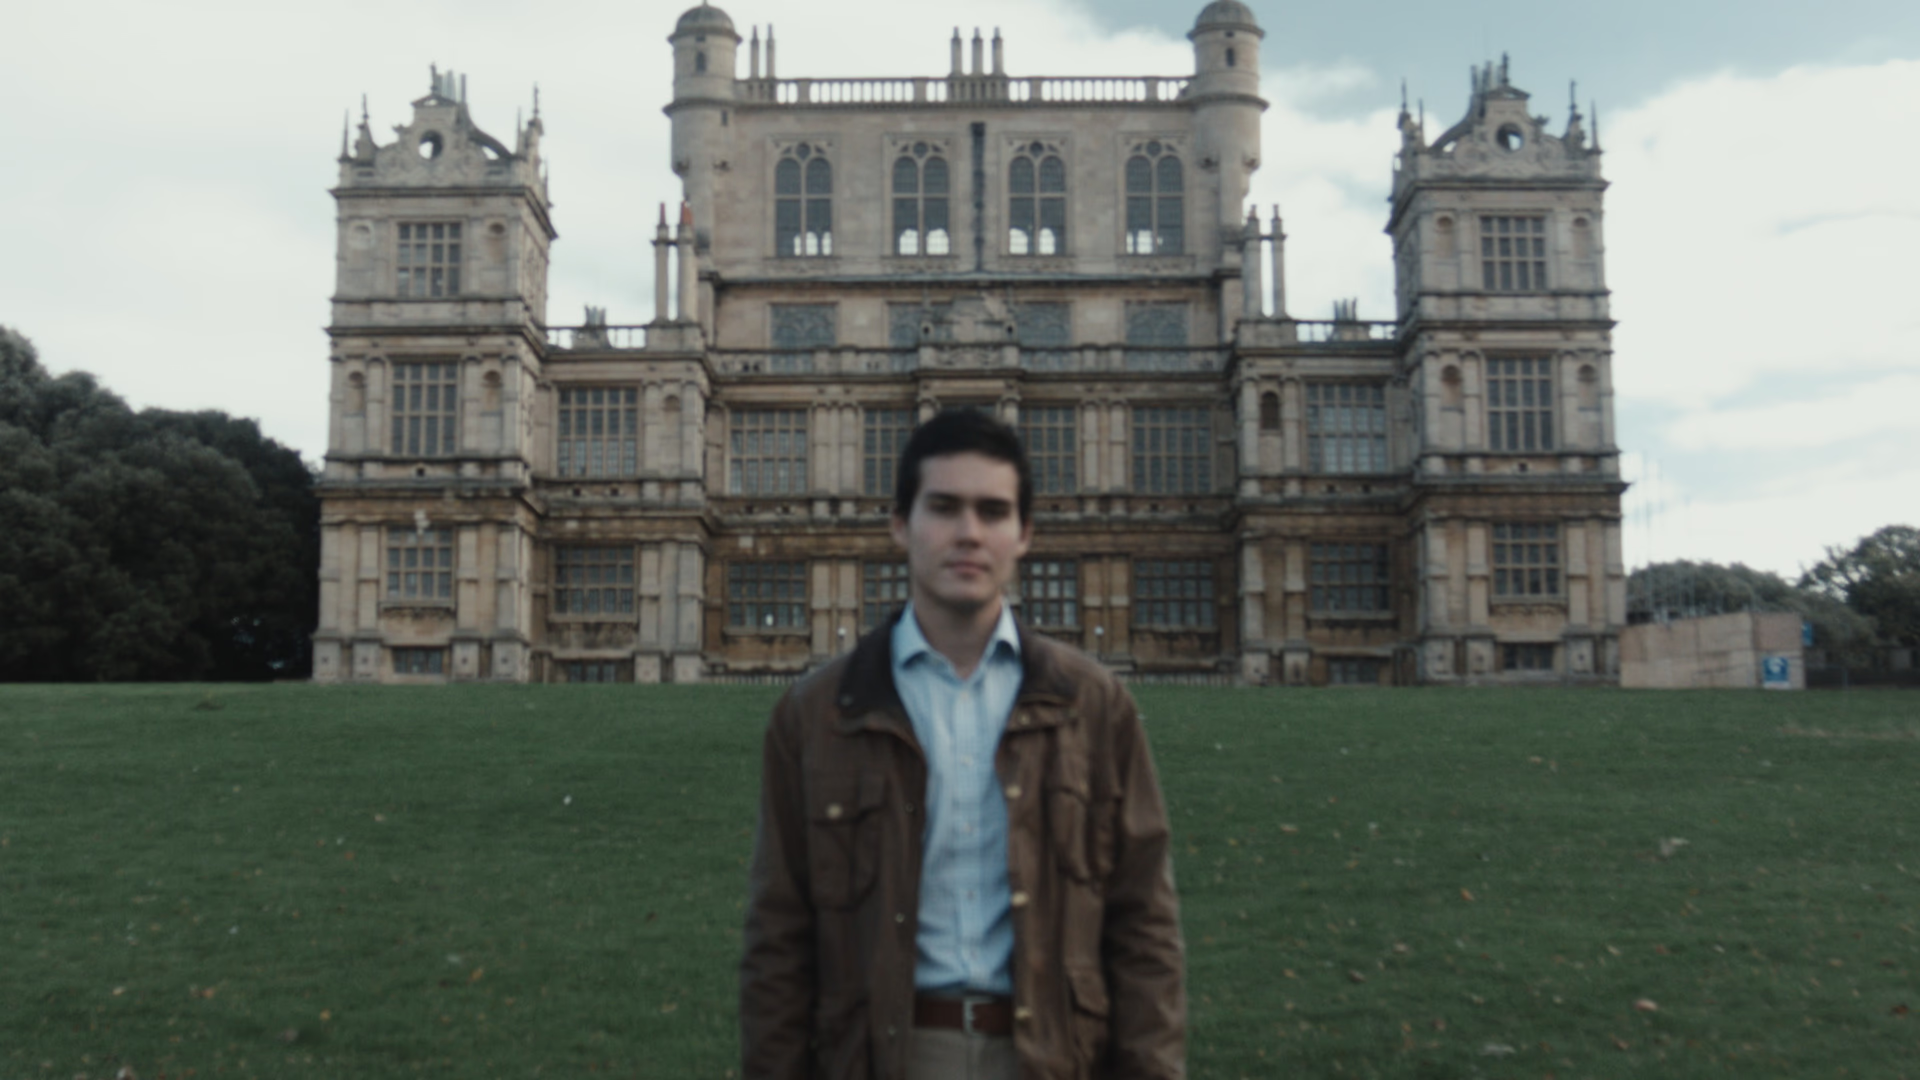
Nine films, on their own prints
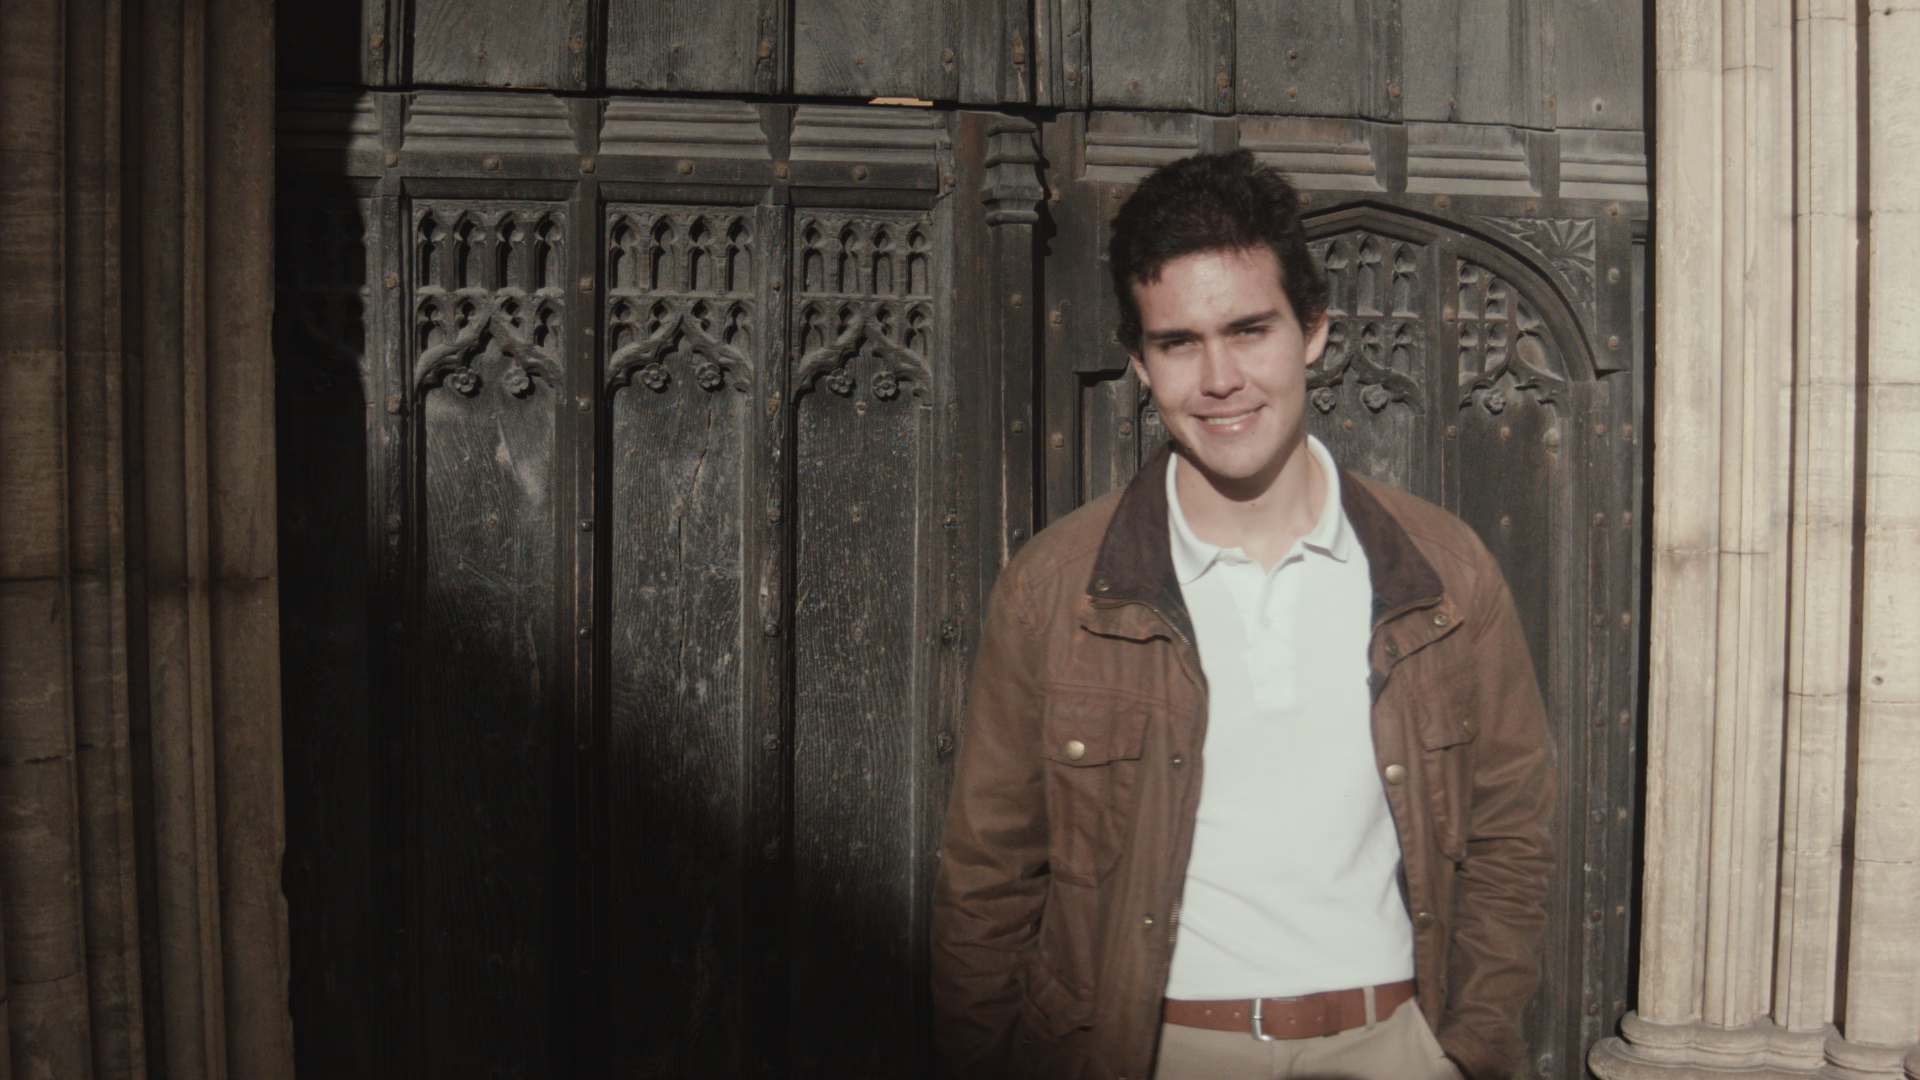
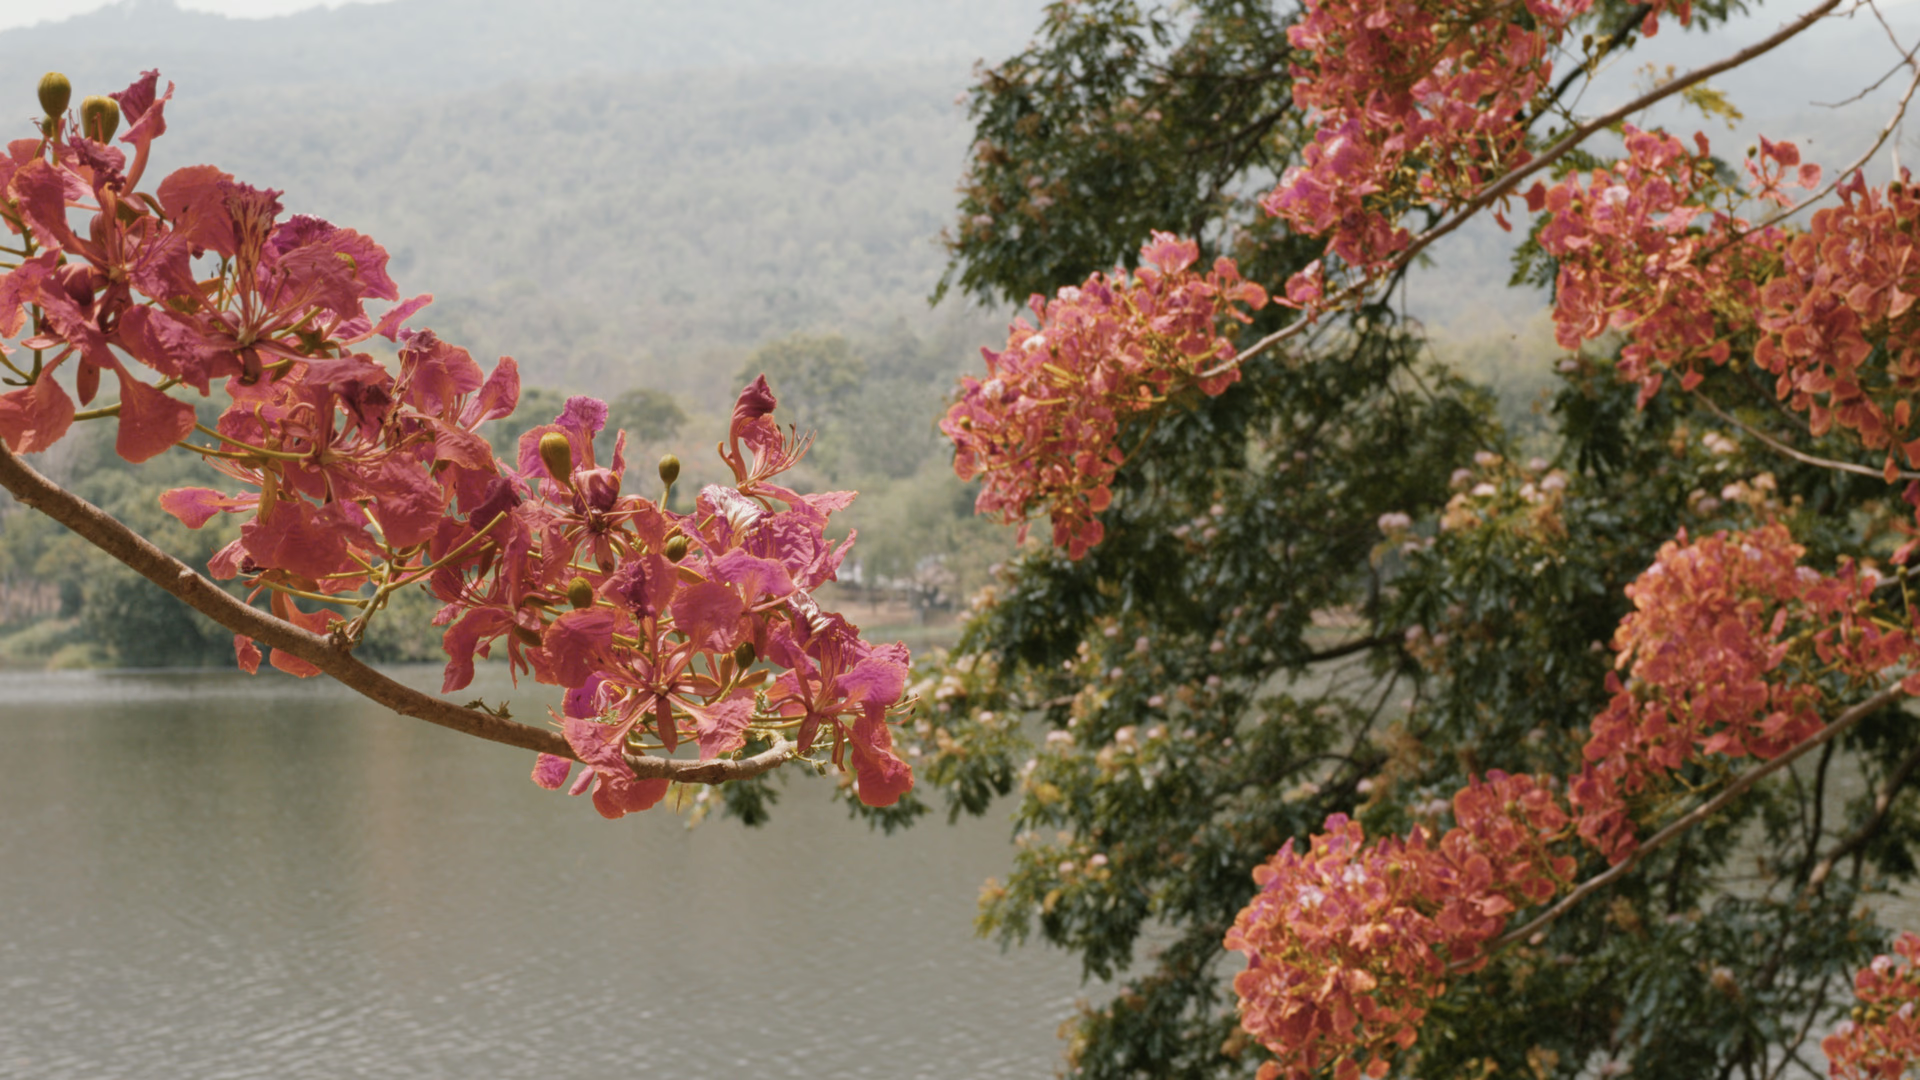
Each film as published, printed the way it was in real life: motion picture film on 2383 or 2393, stills film on RA‑4 paper. Where a frame was graded, inside the plugin, the settings are under it. Drag across each one.
 As shotVision3 50D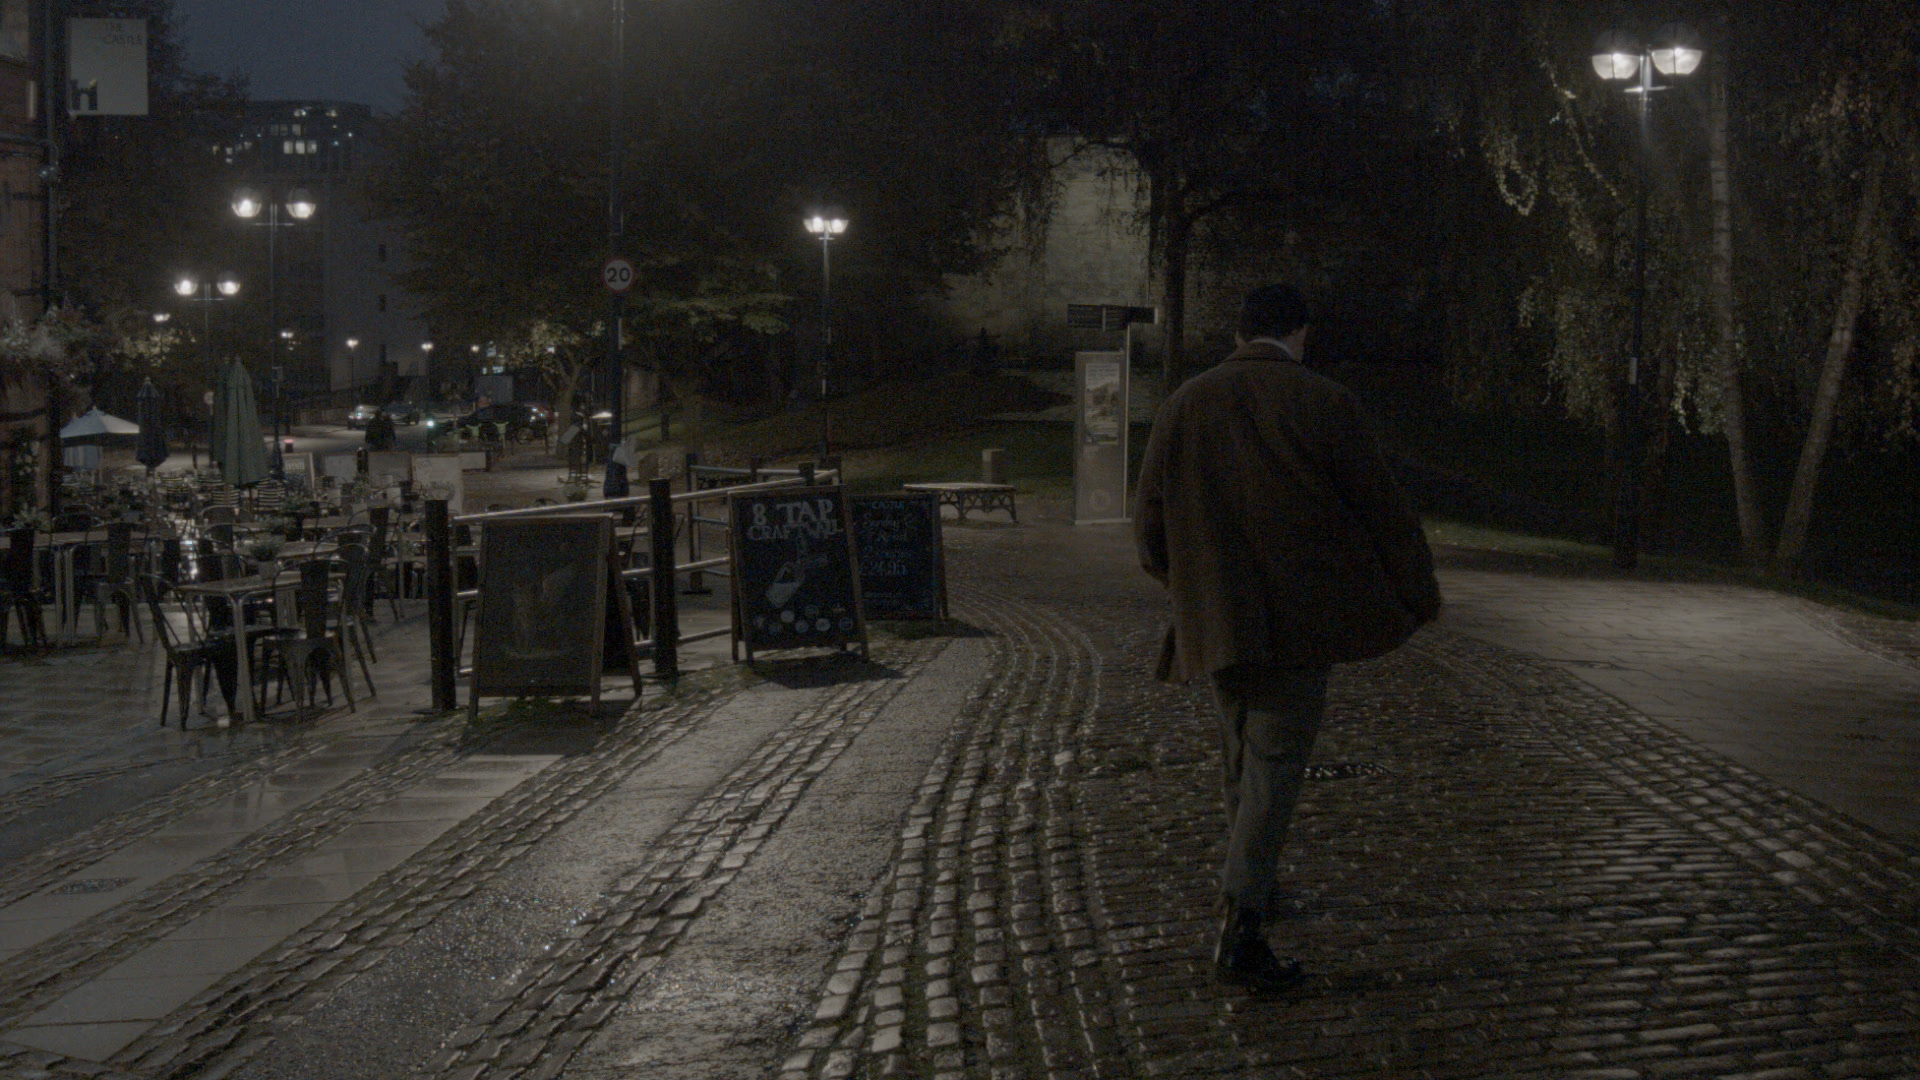
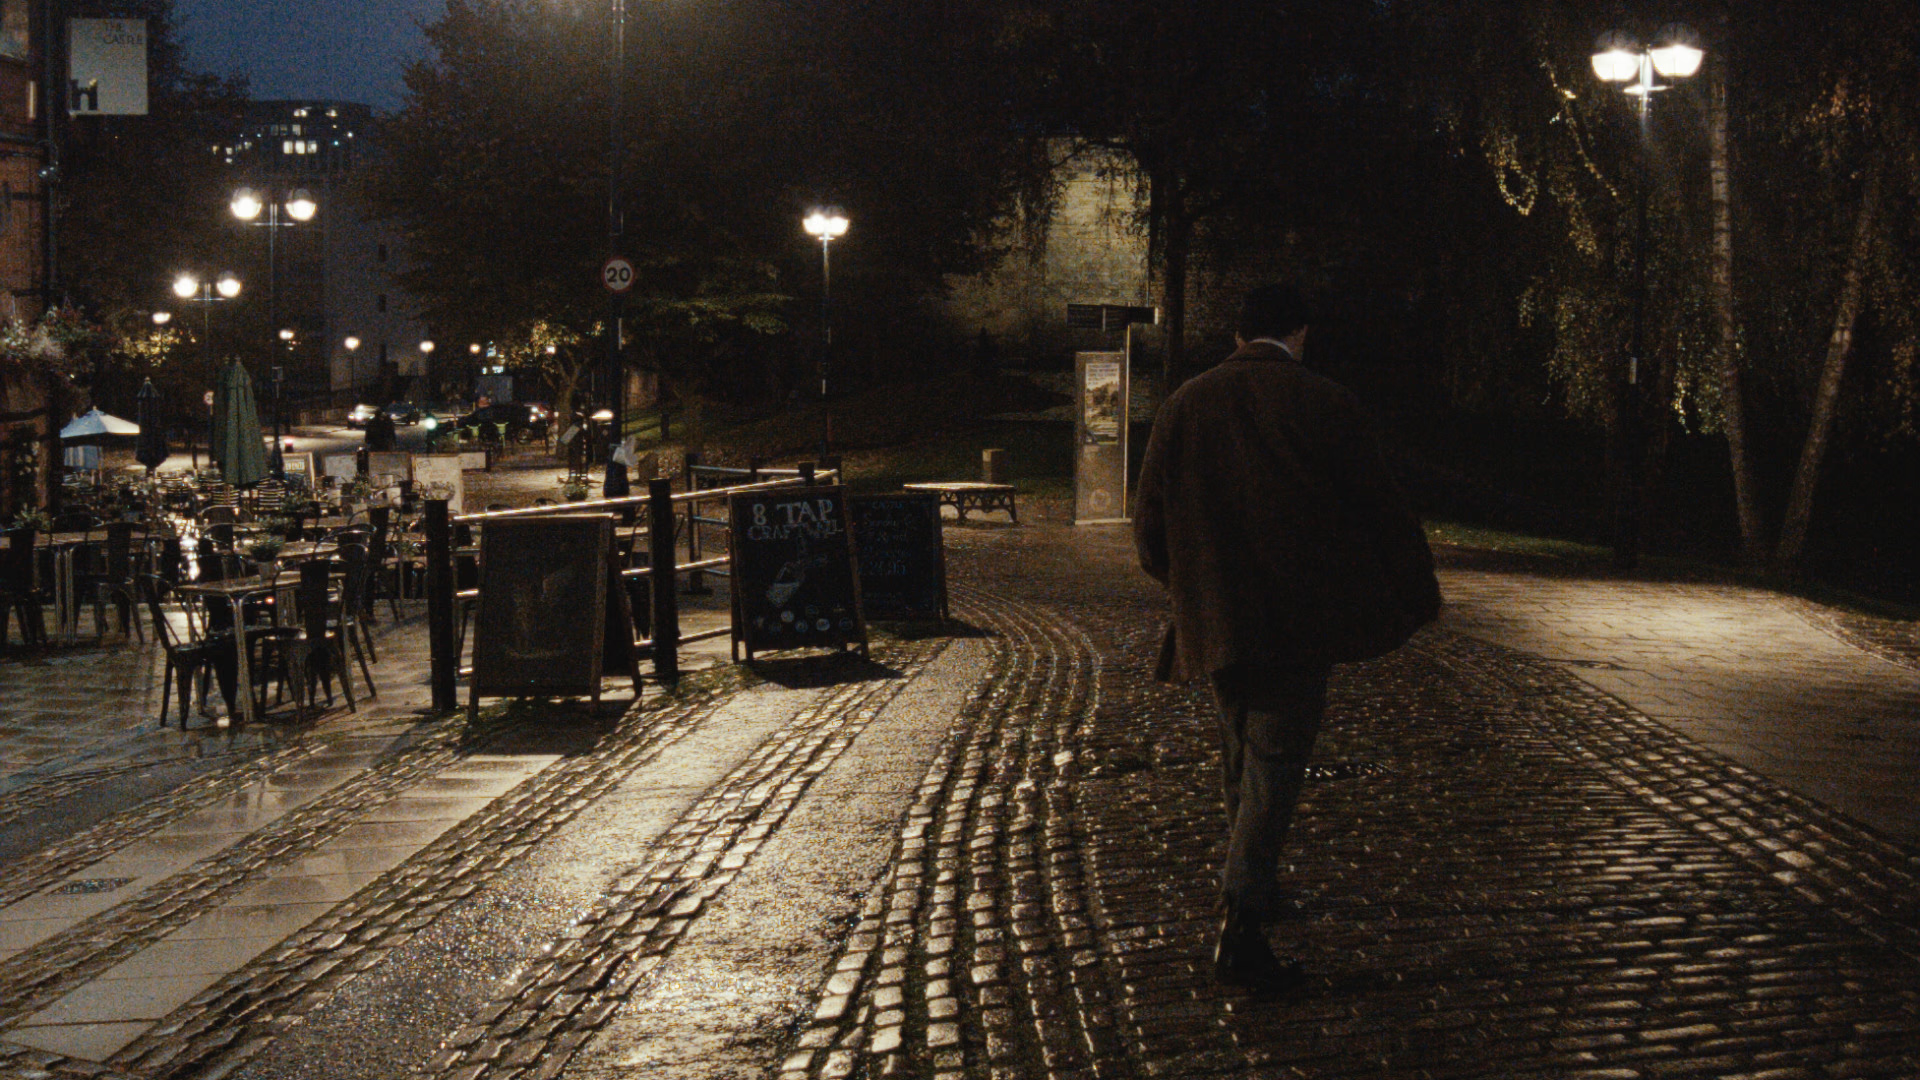 As shotVision3 500T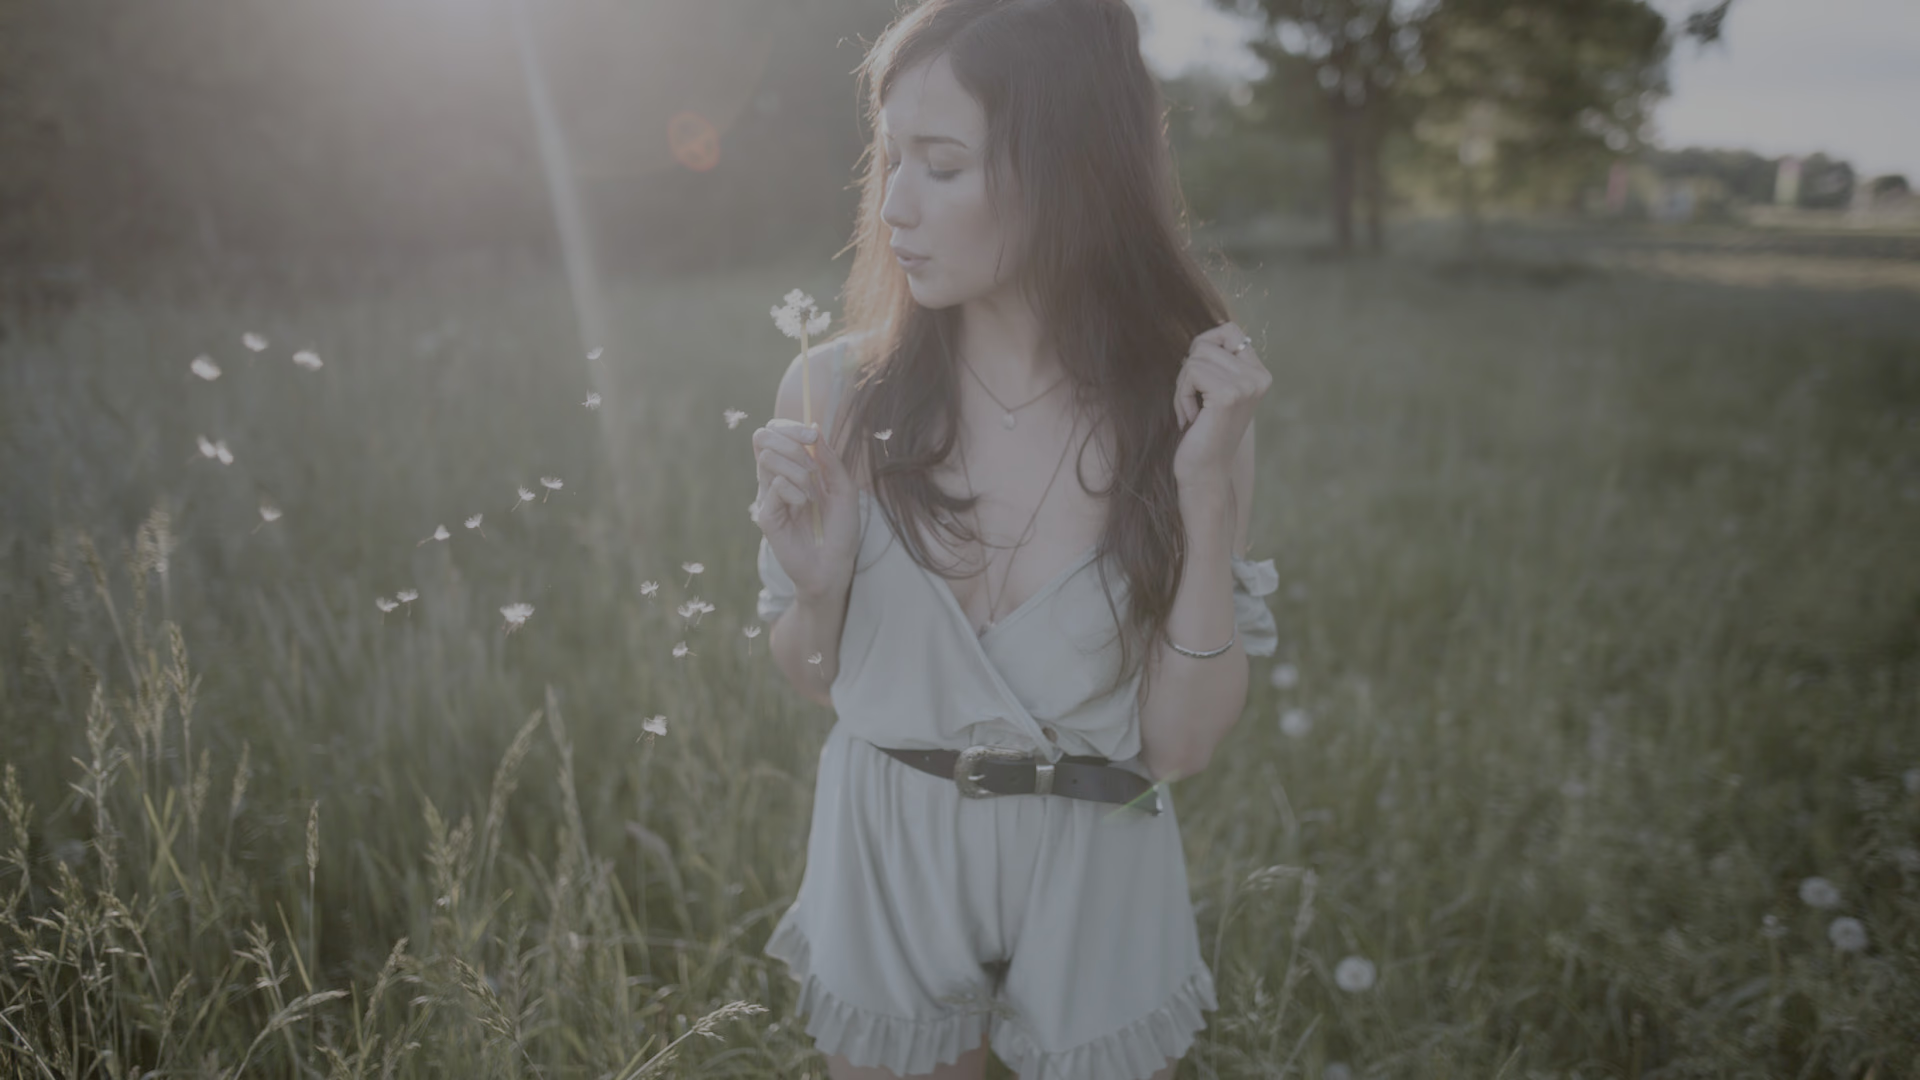
 As shotPortra 400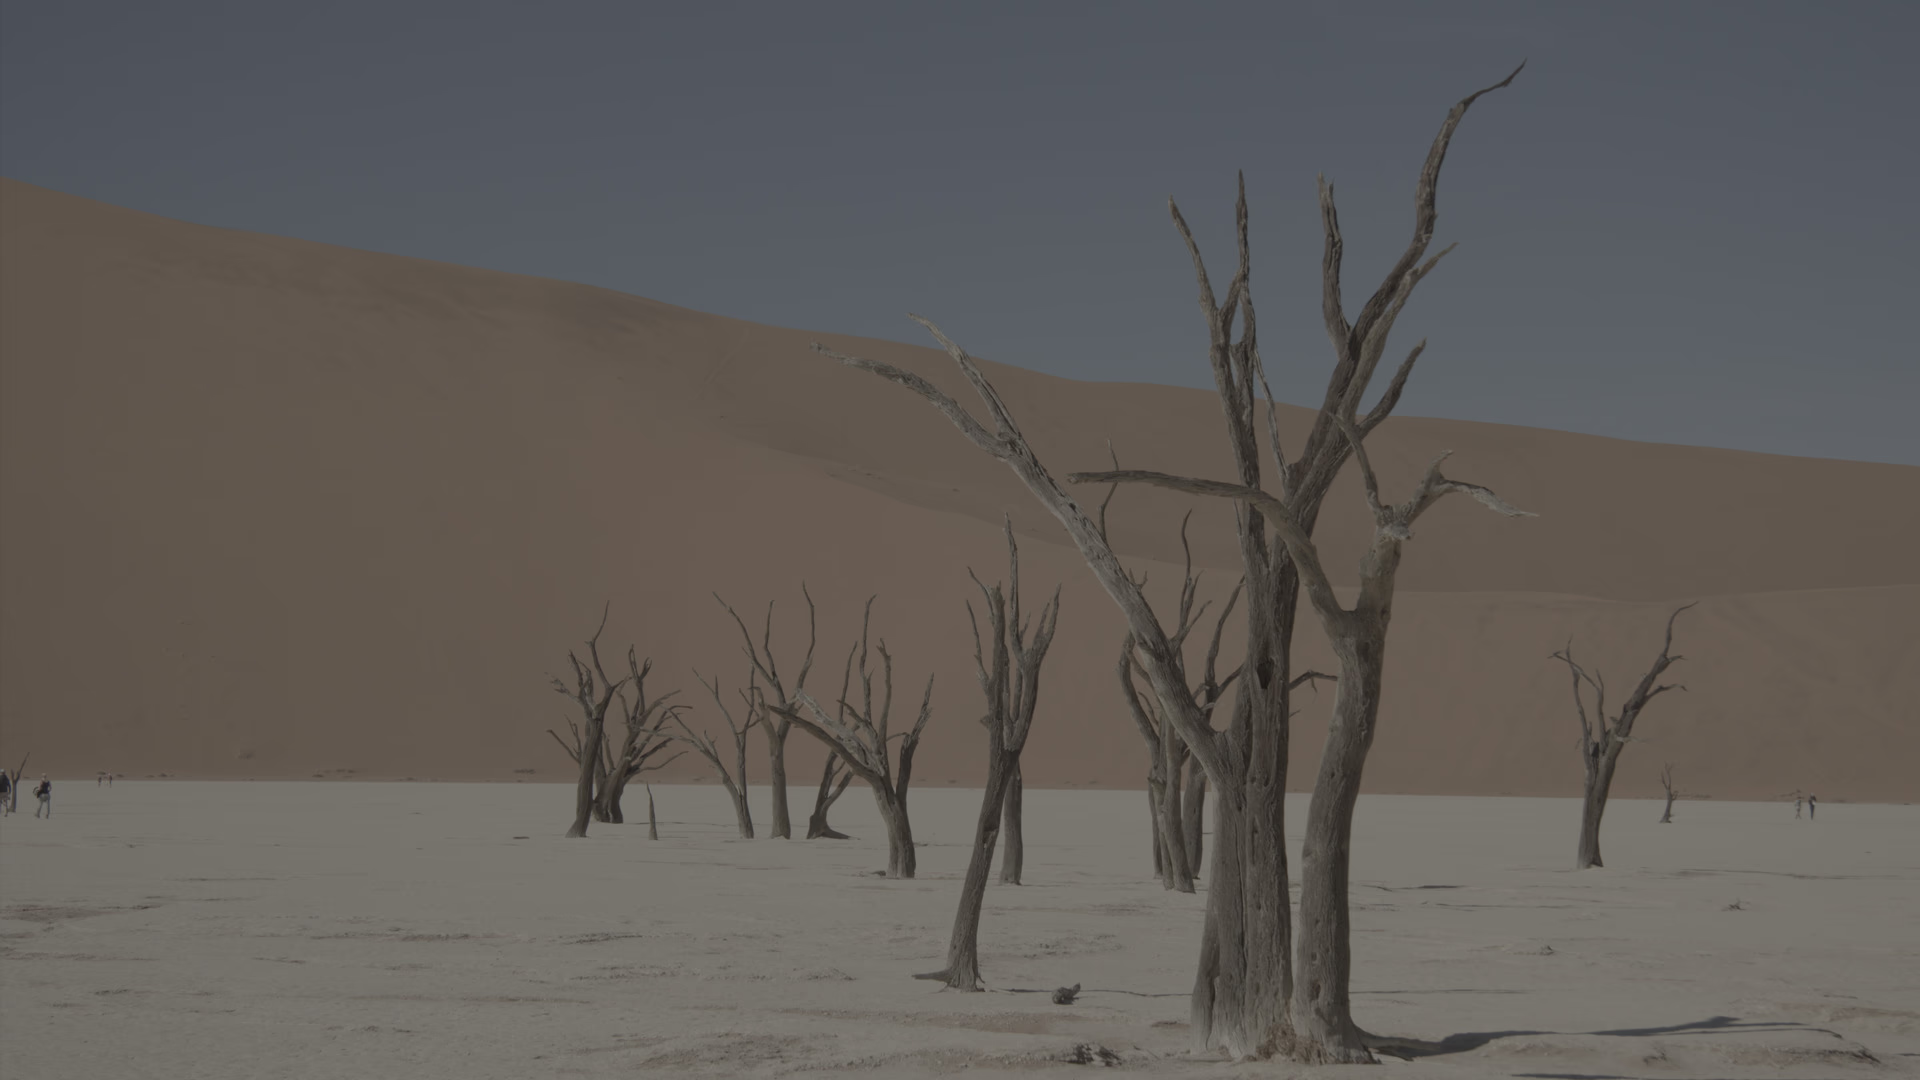
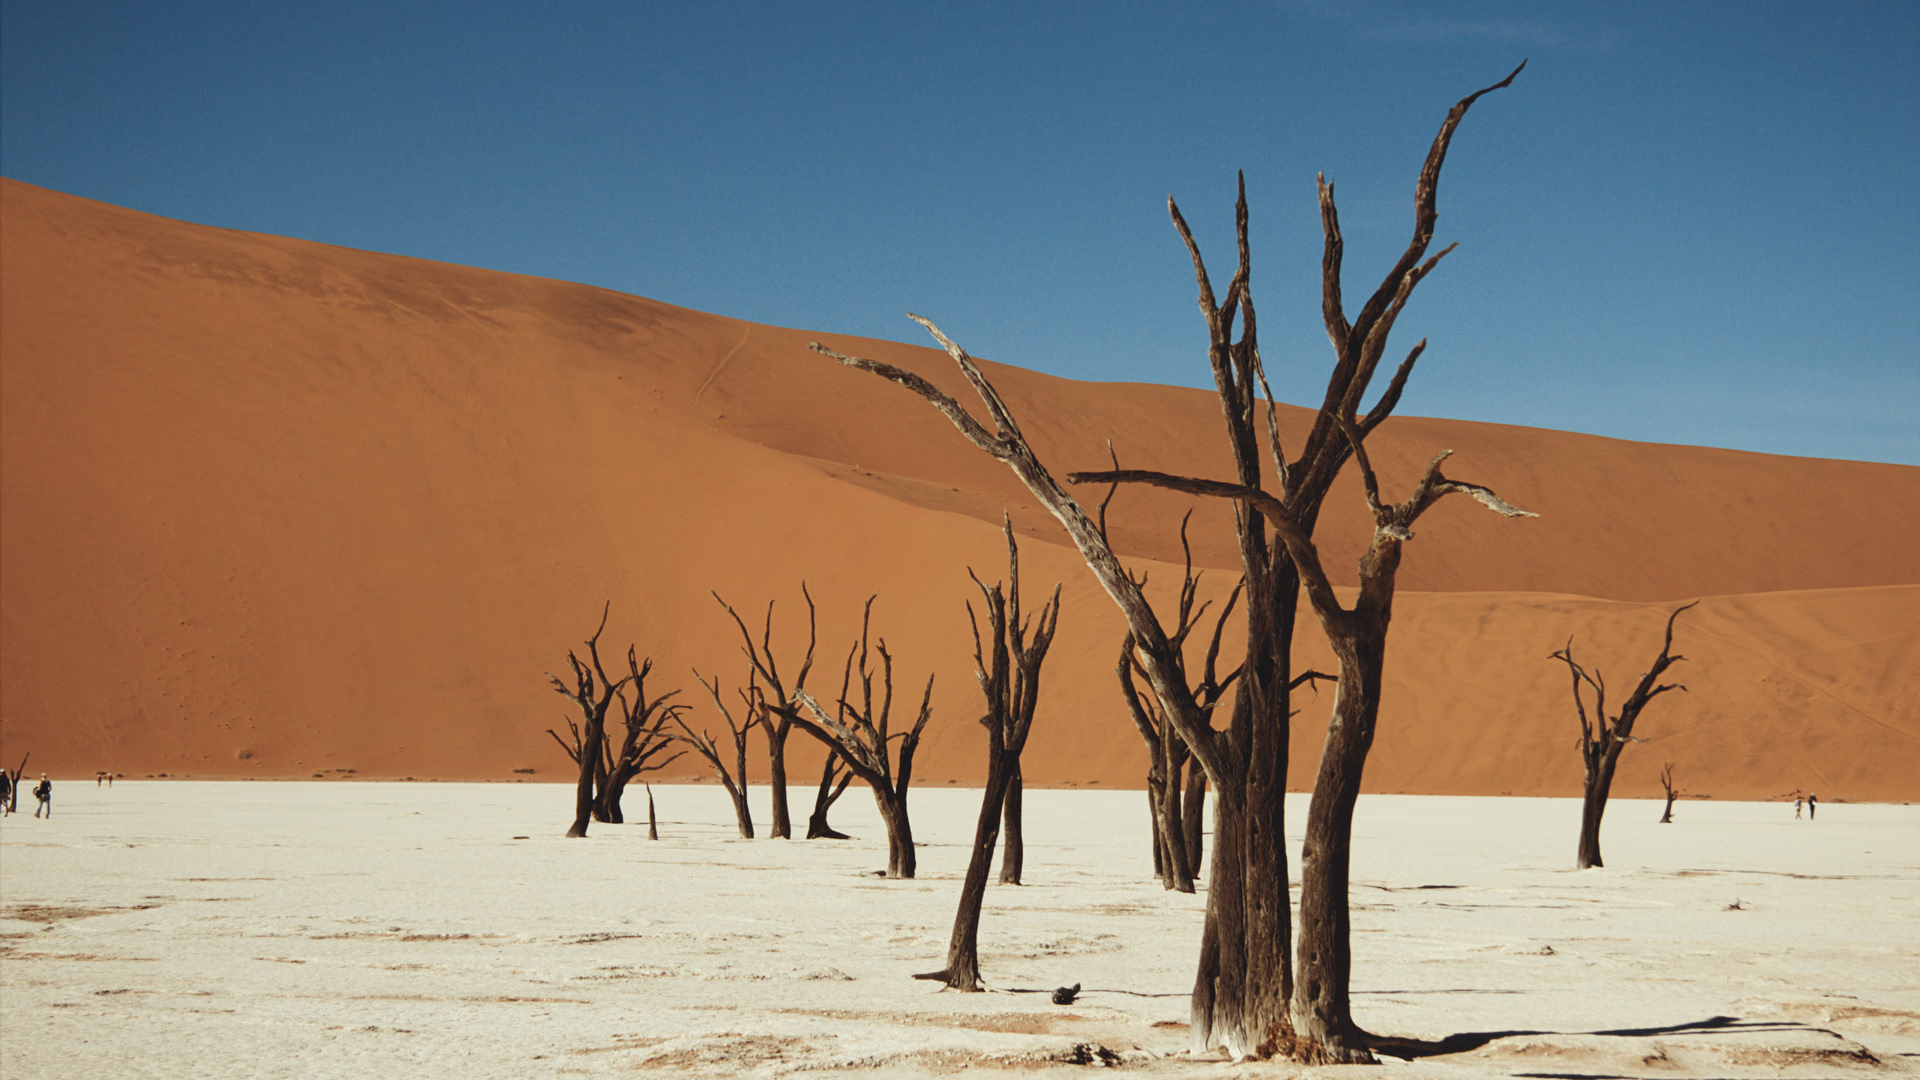 As shotEktar 100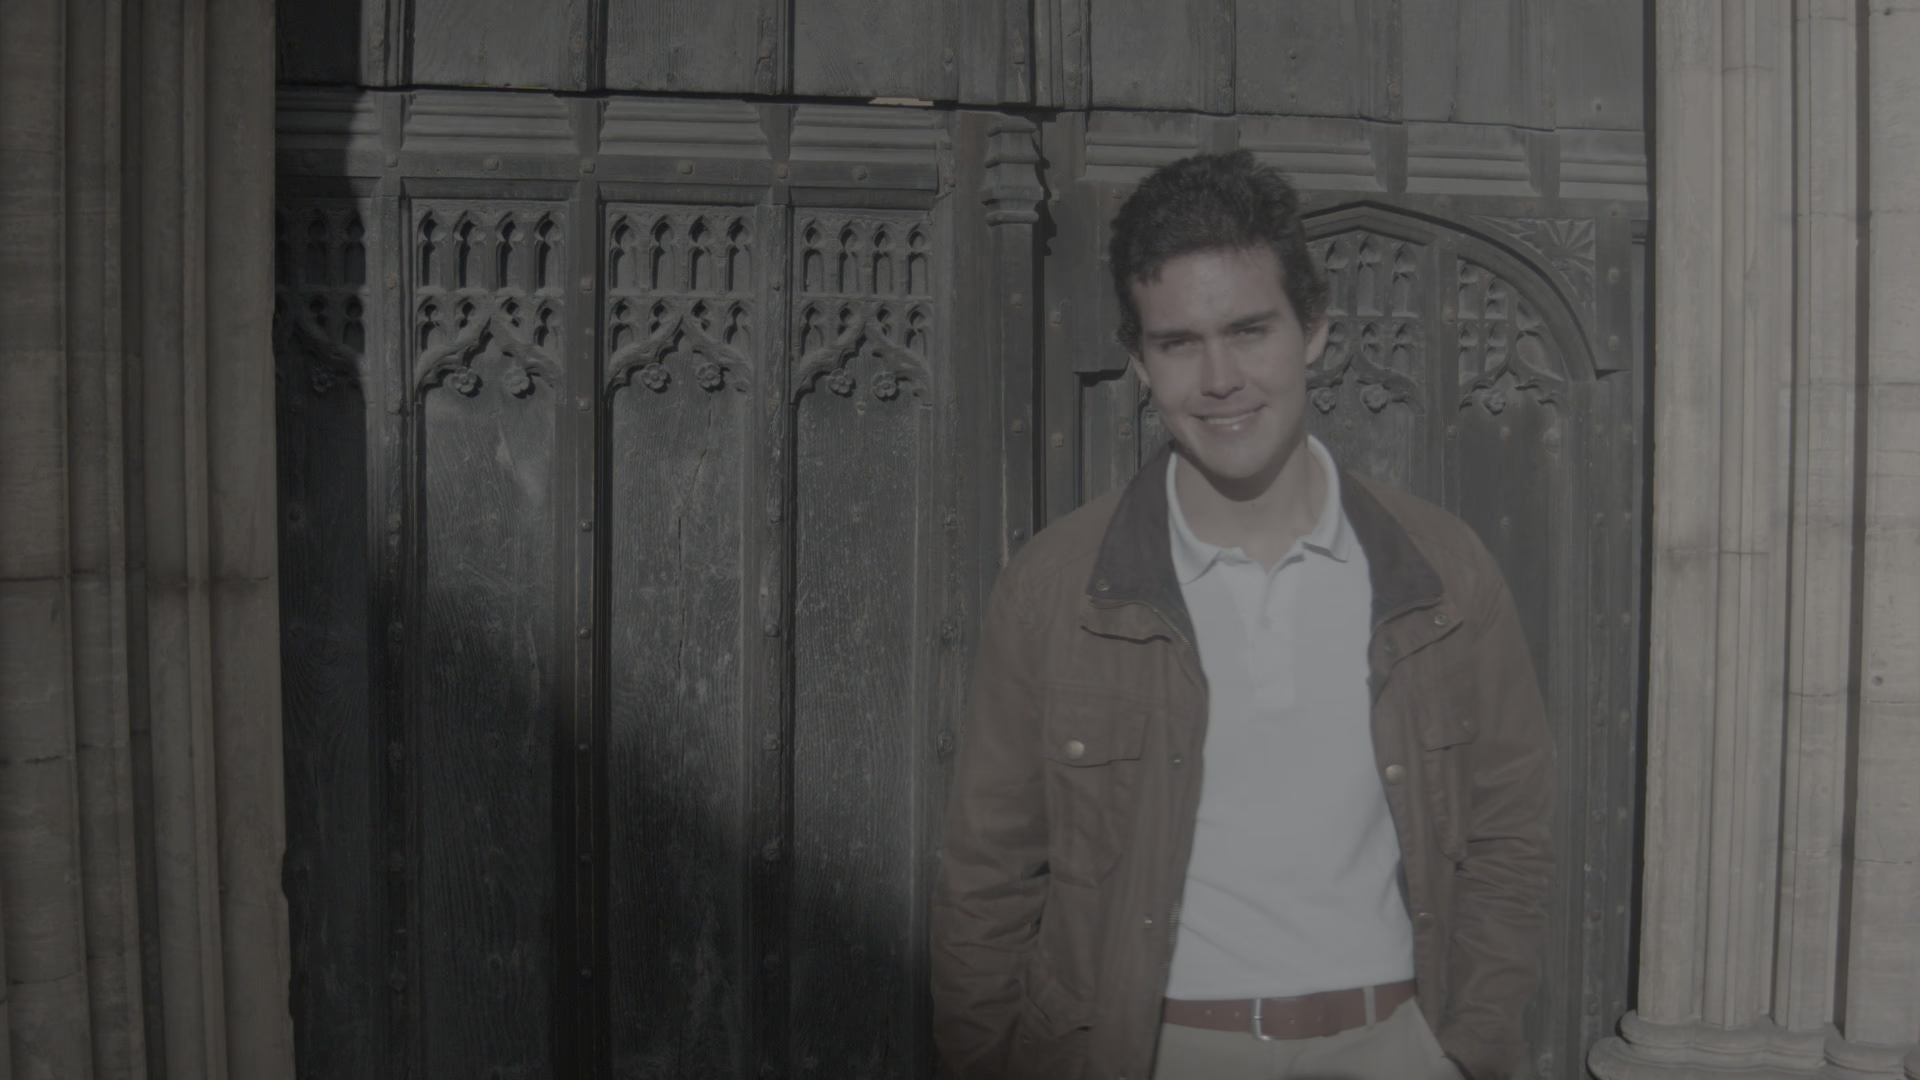
 As shotVision3 250D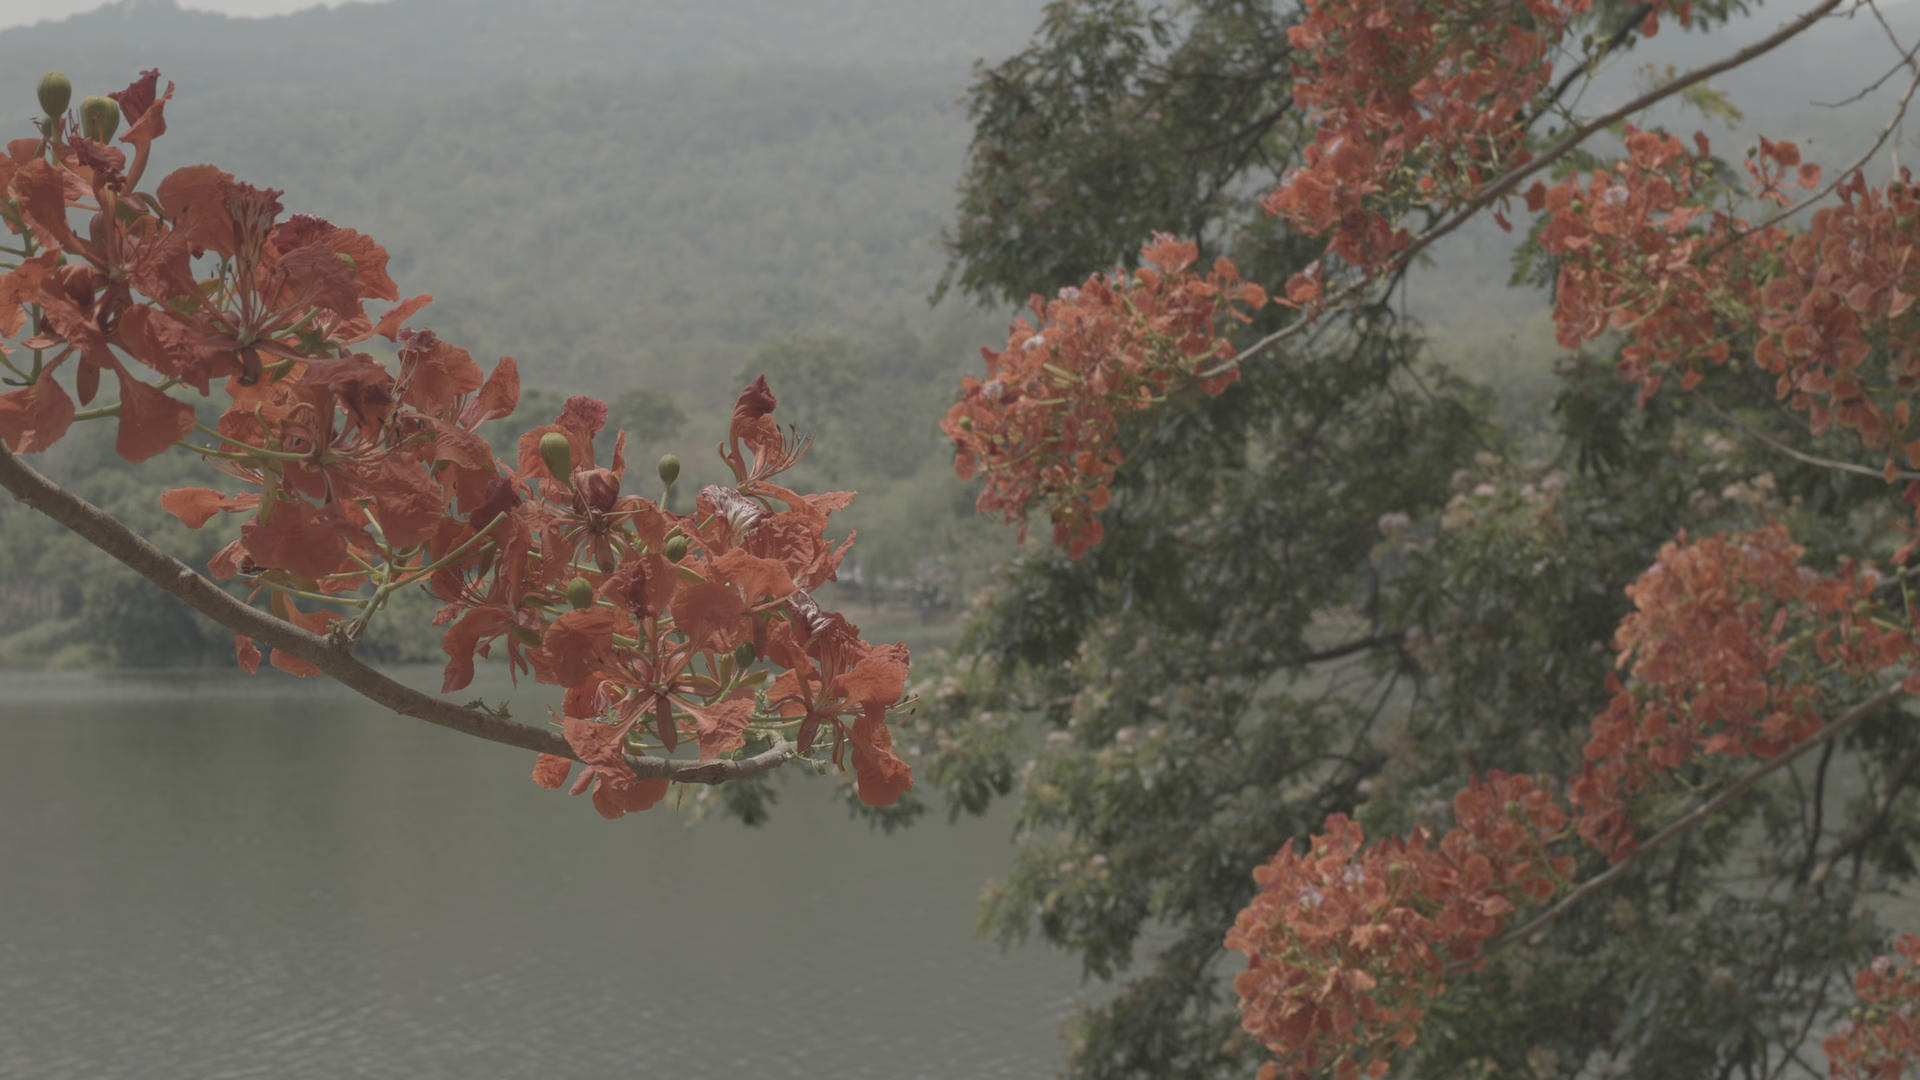
 As shotVerita 200D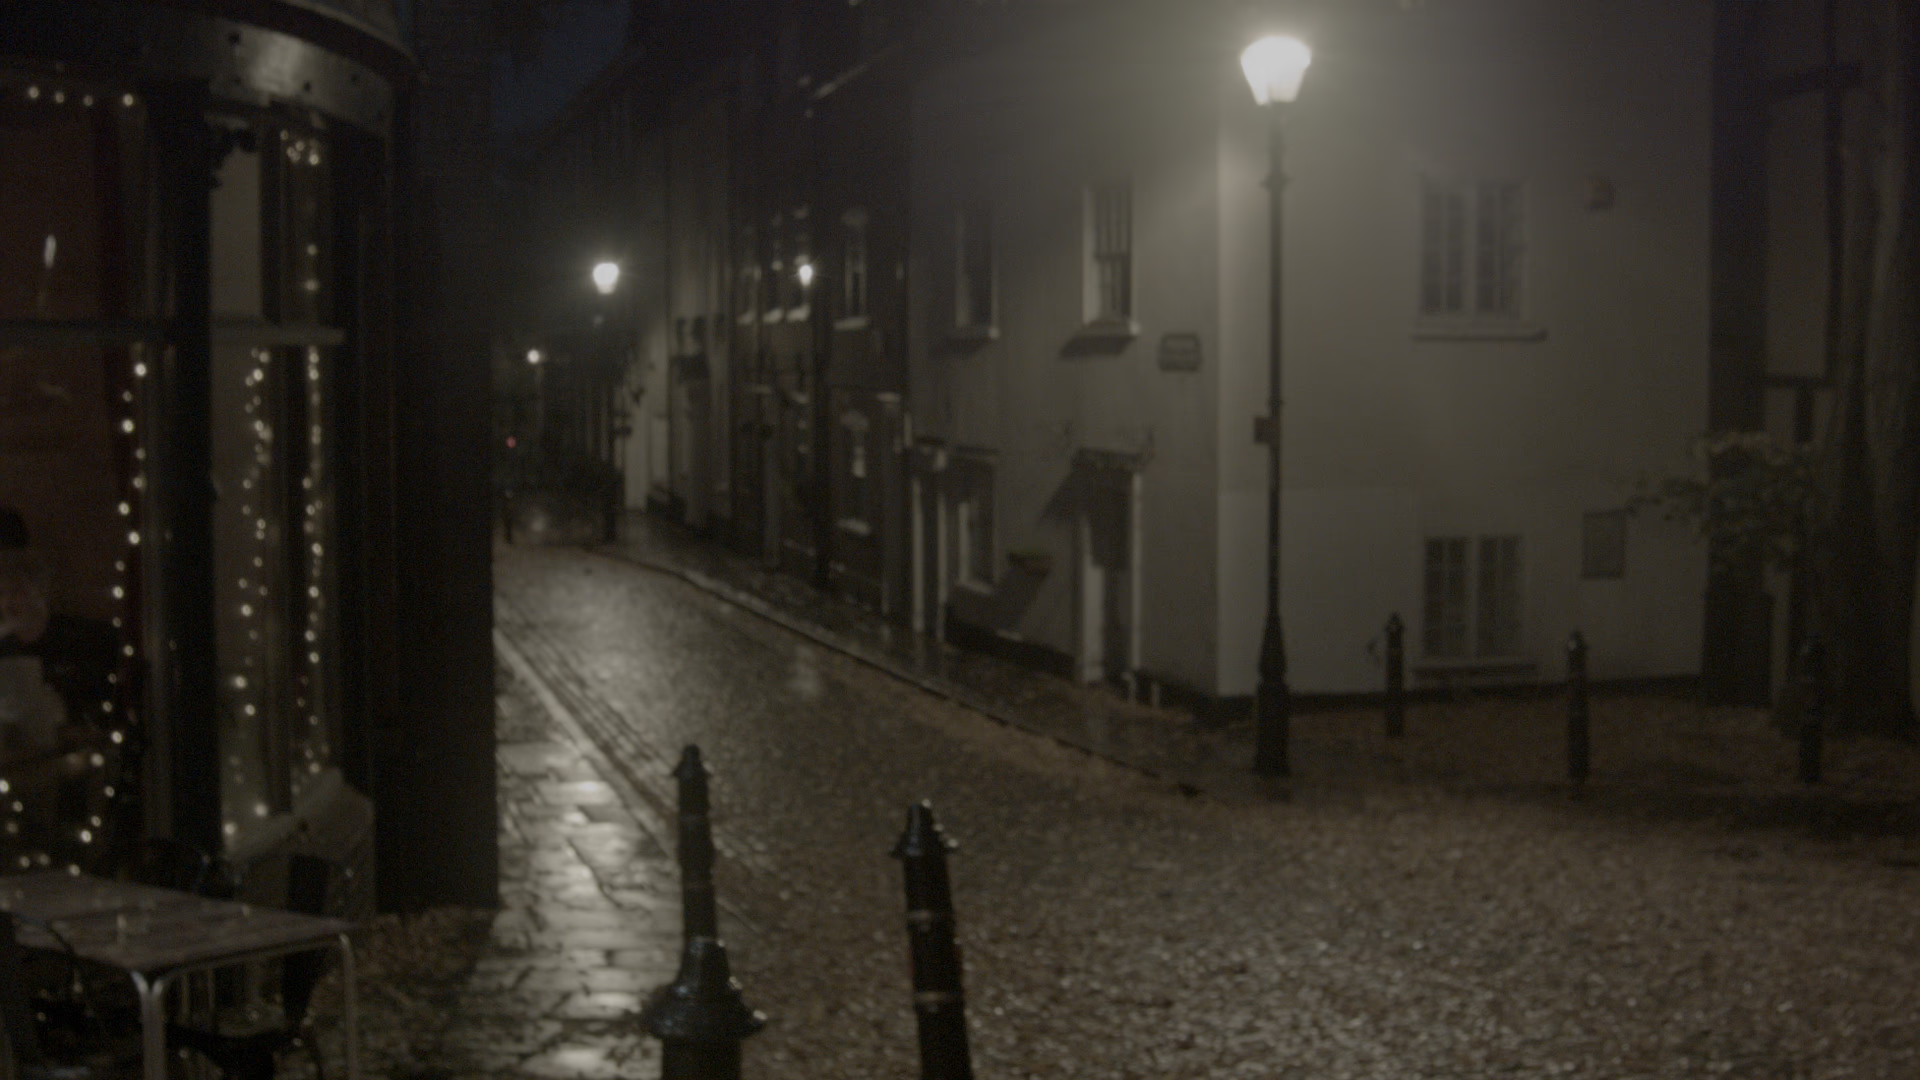
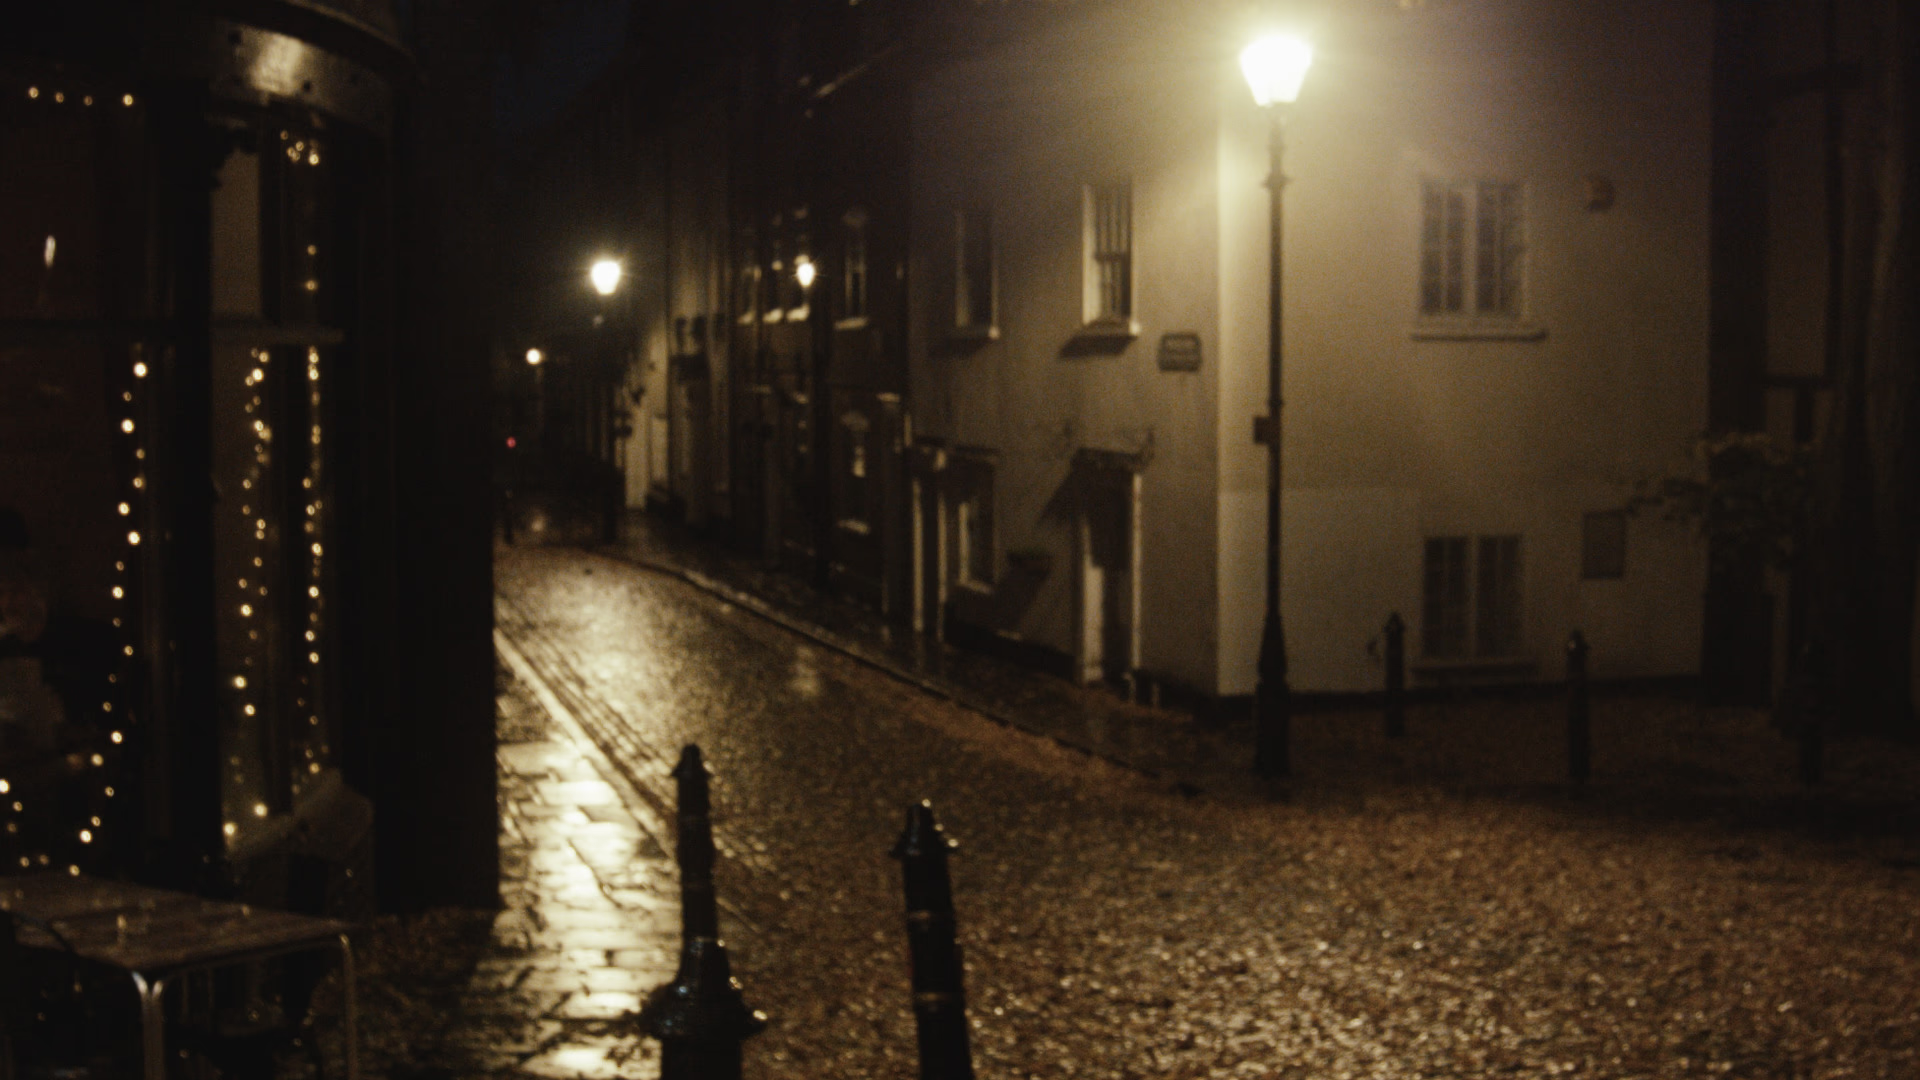 As shotCineStill 800T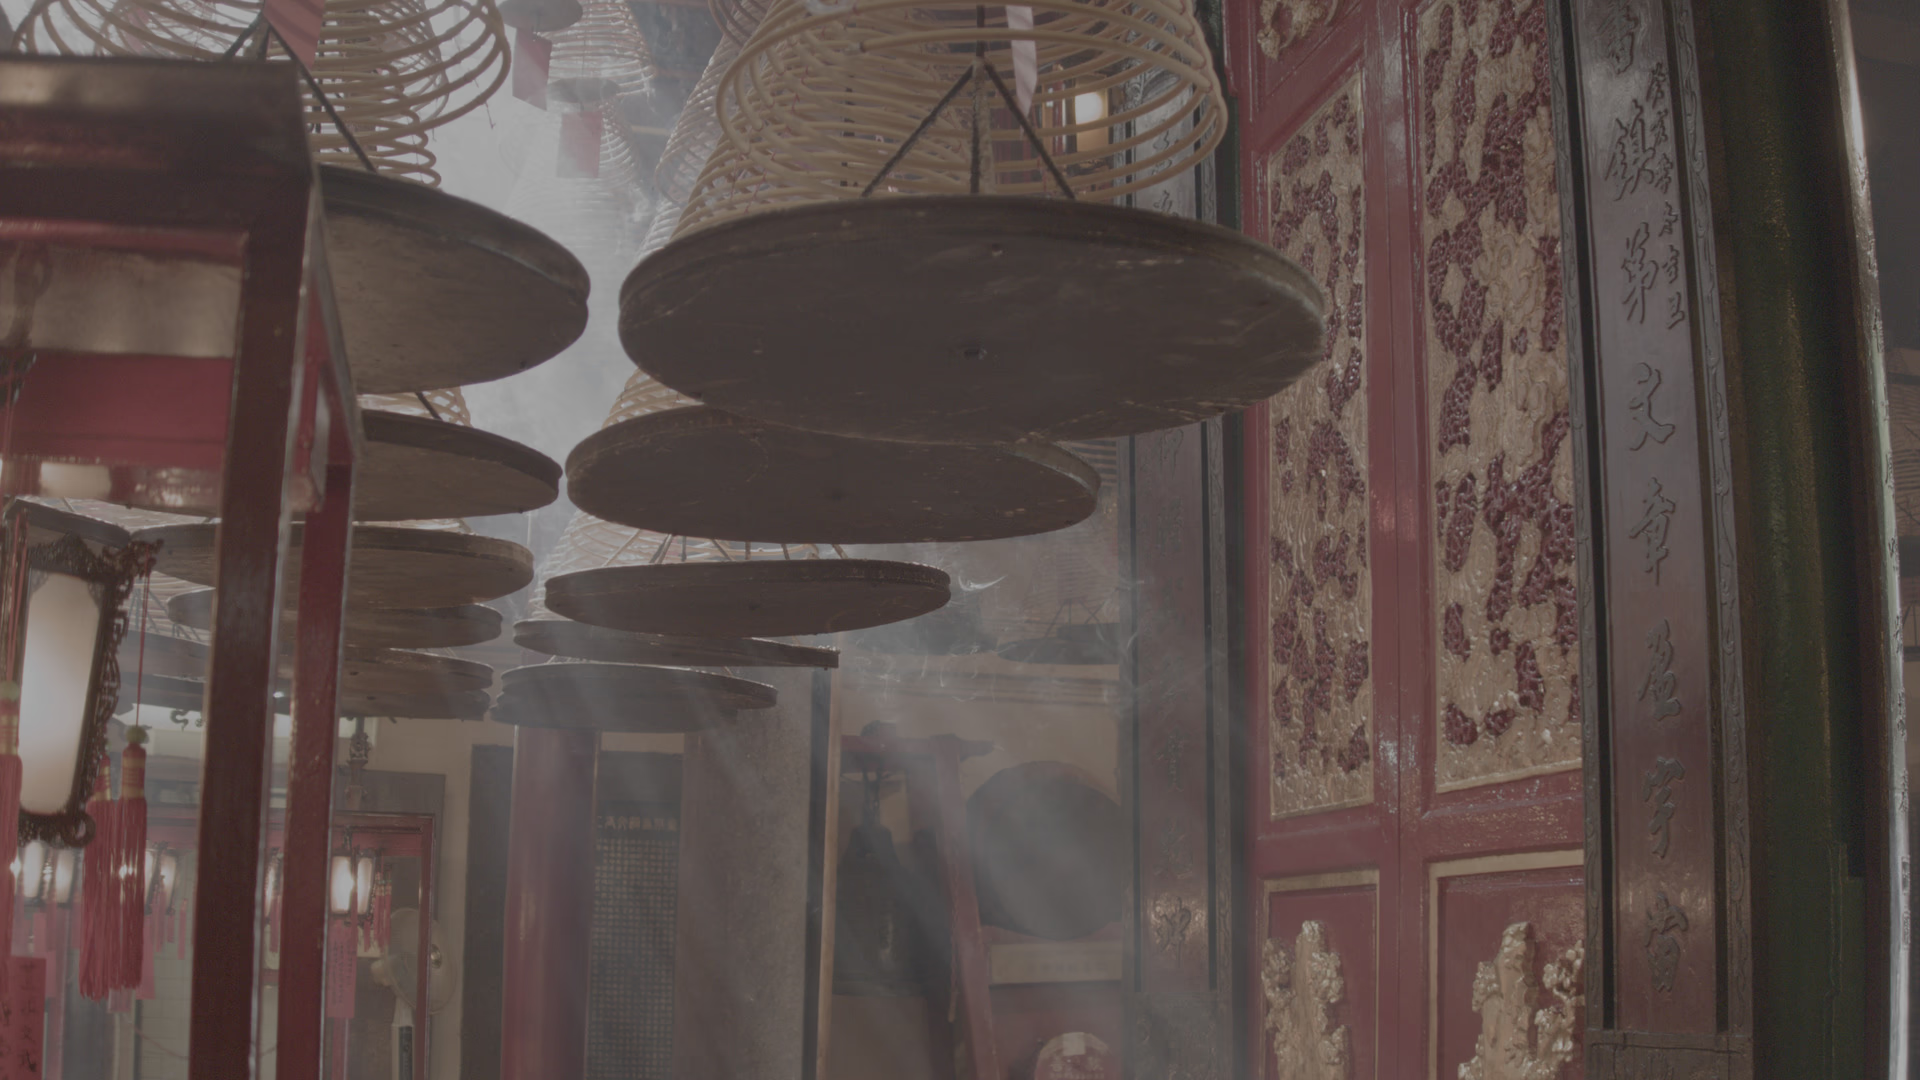
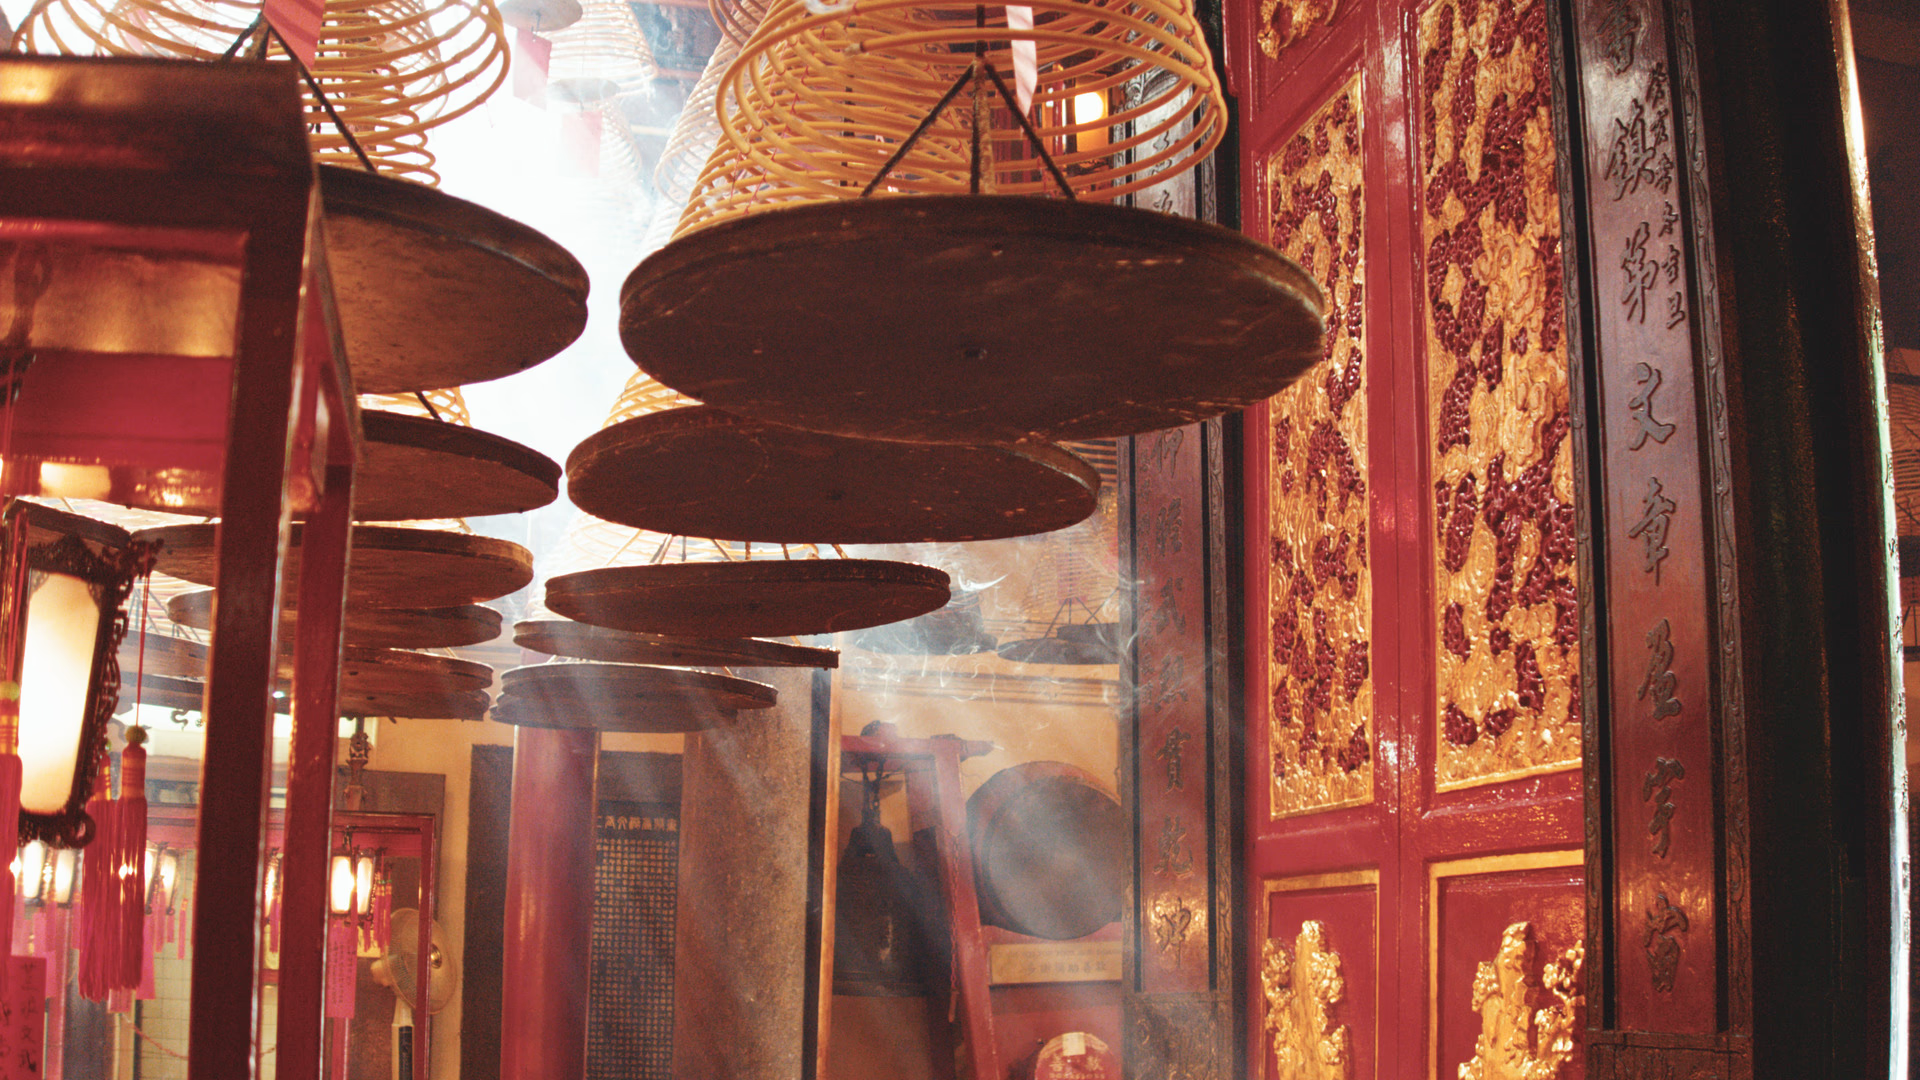 As shotGold 200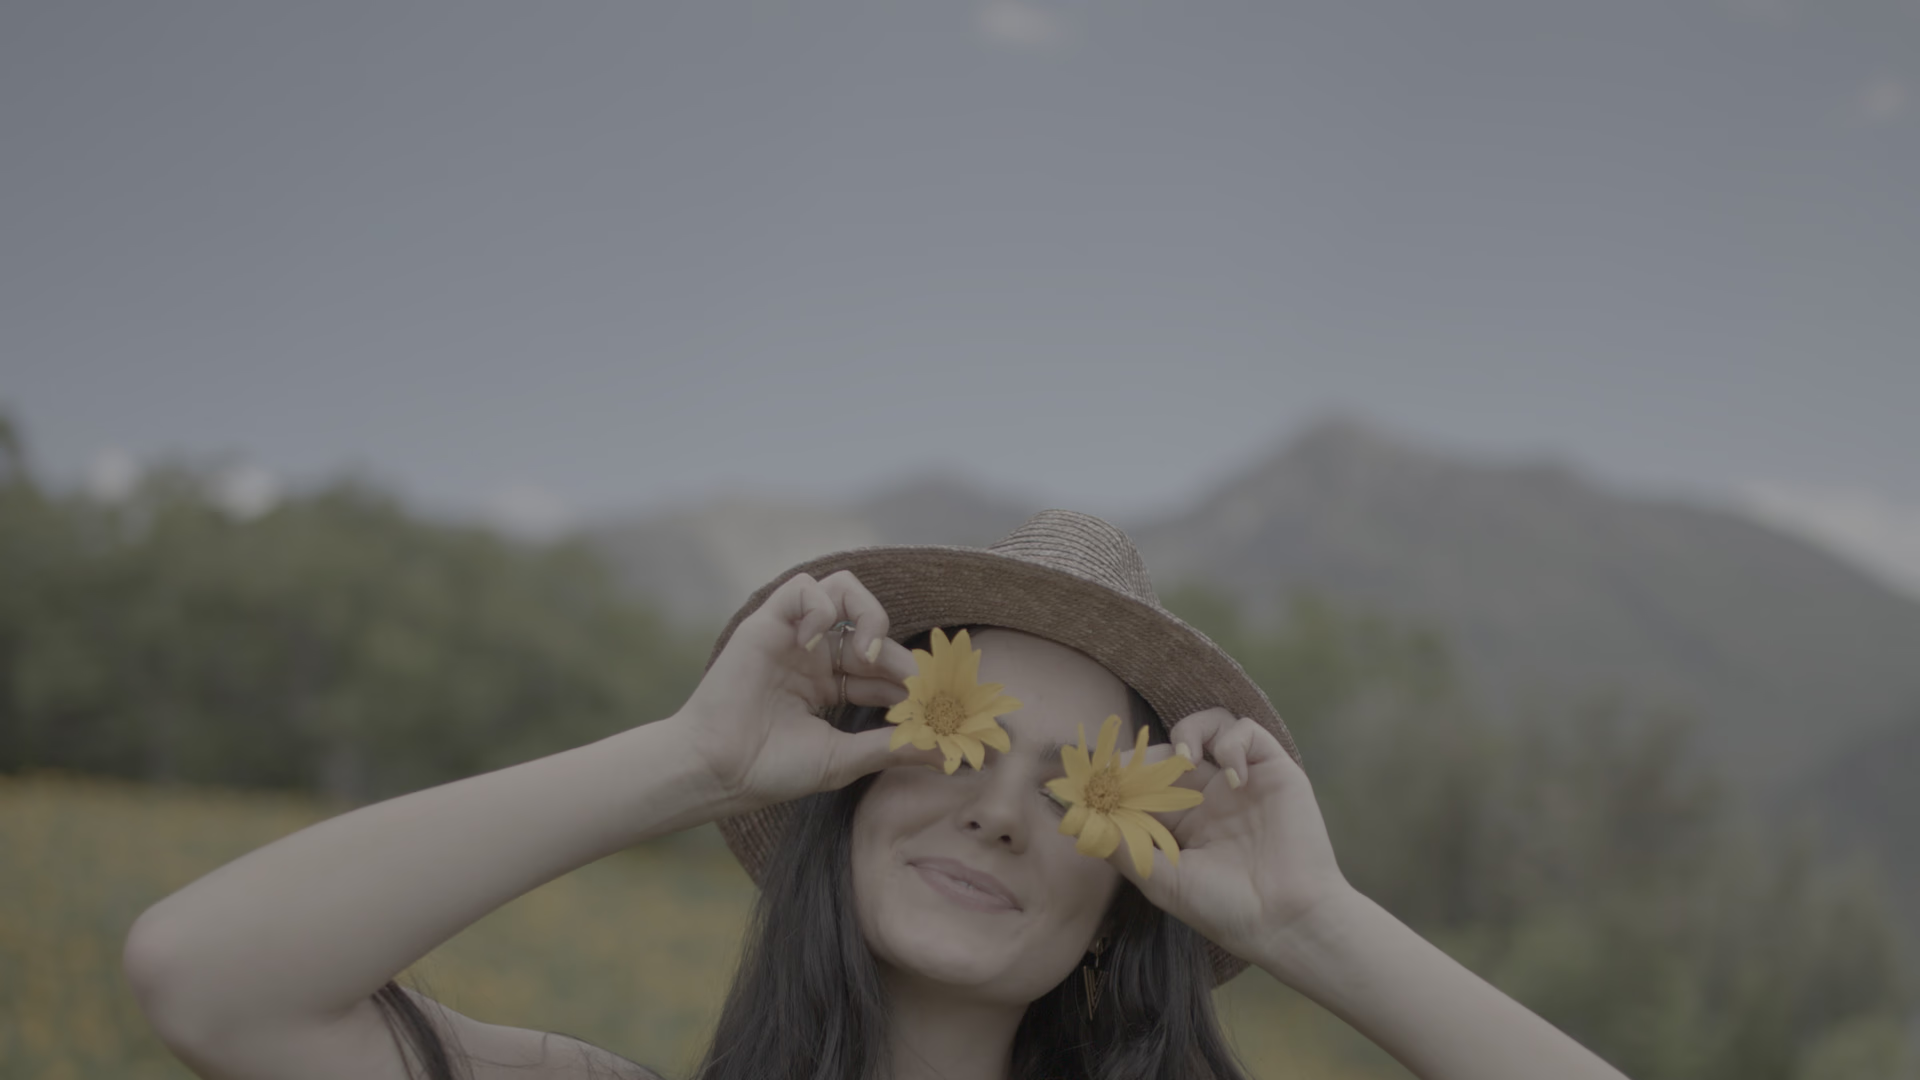
 As shotFujicolor PRO 400H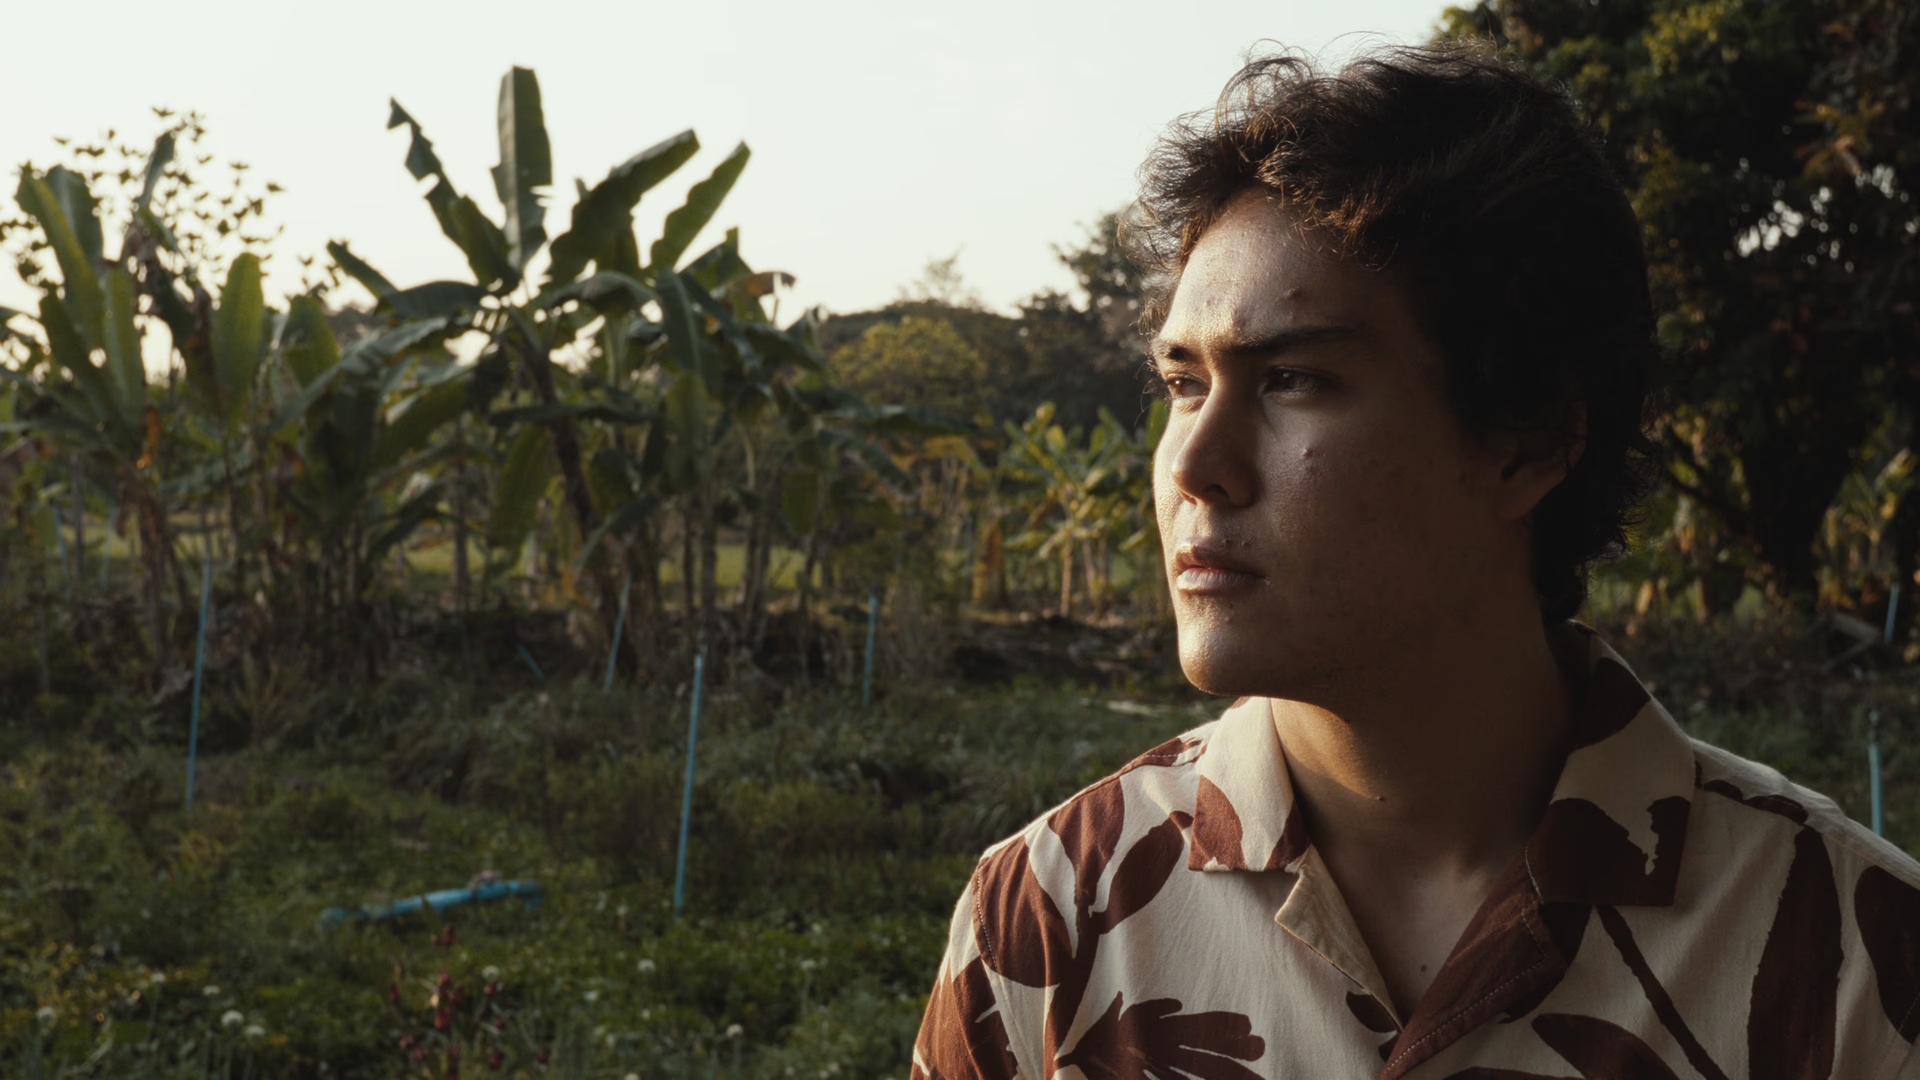
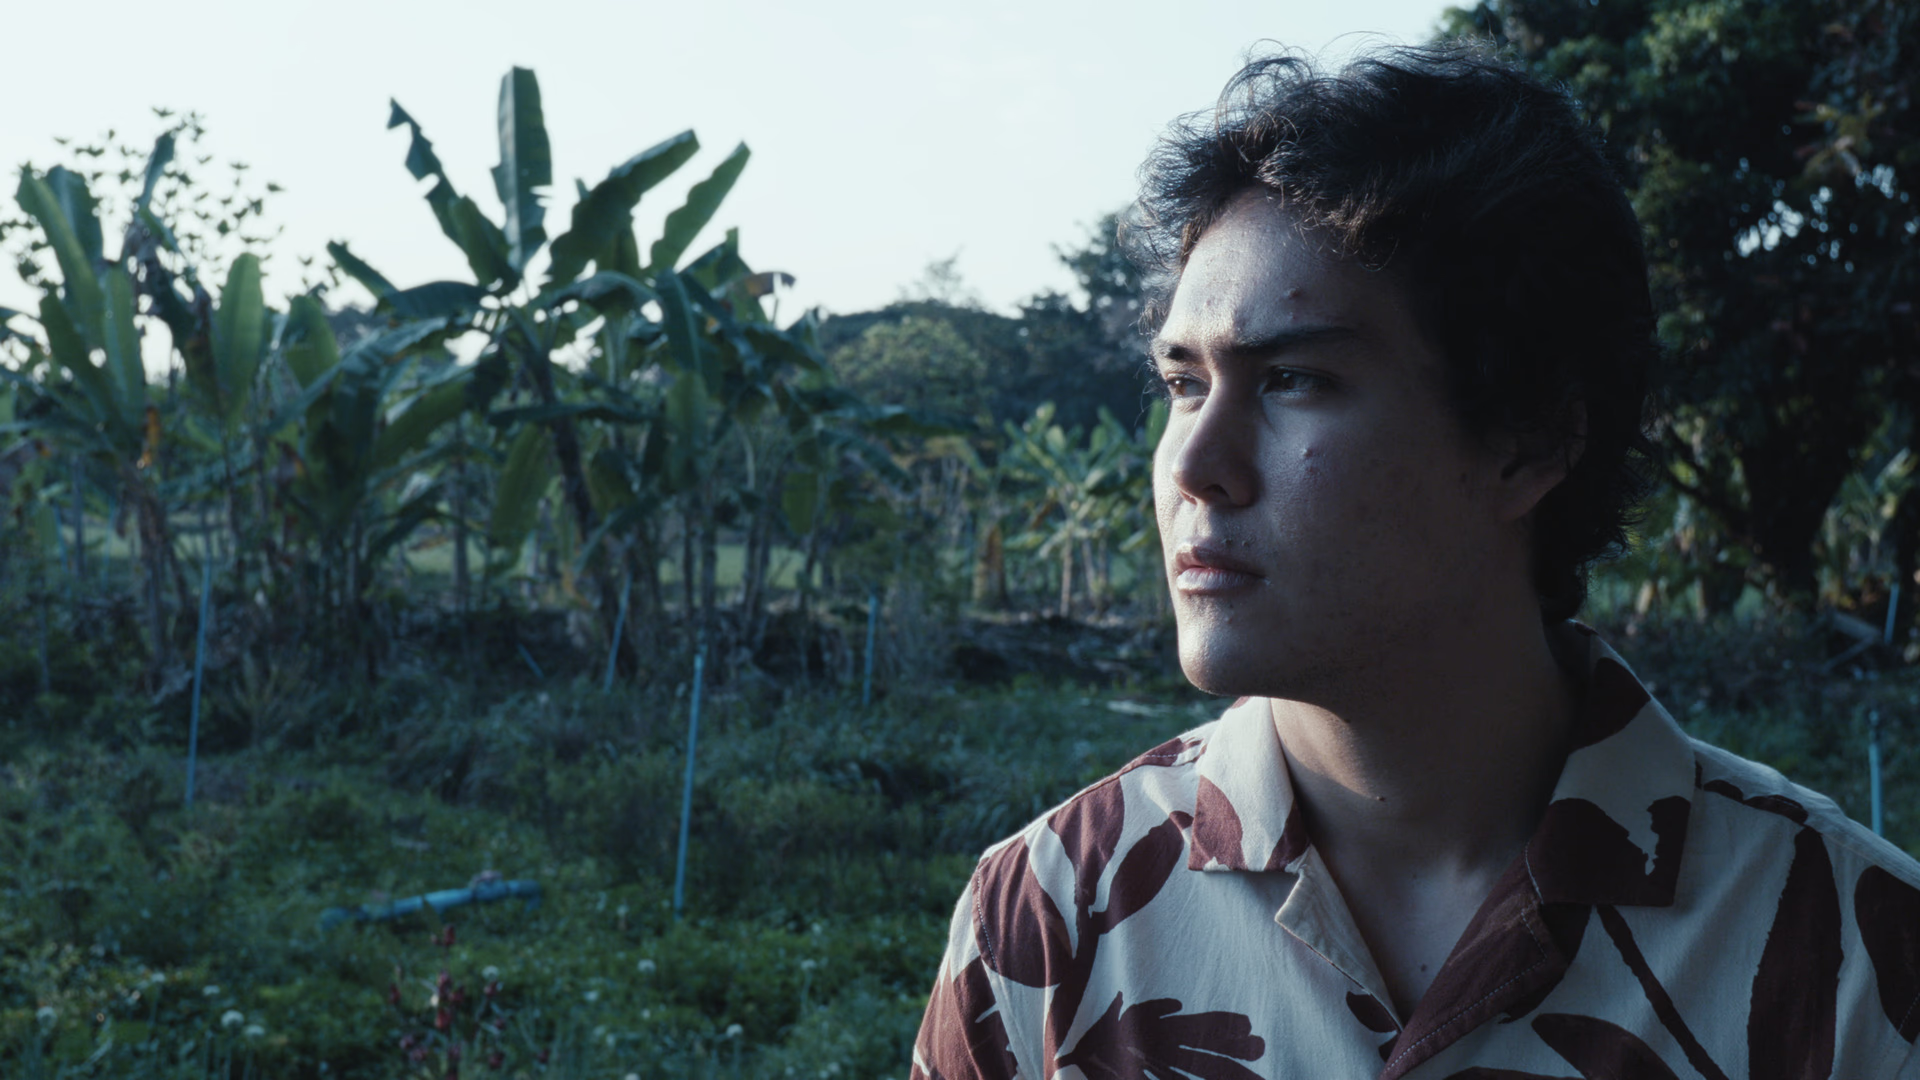 85 filter onNo filter
On the big screen
Shot on the same stocks
Vision3 50D and 500T are still at work in cinemas. These films were shot on them, as their cinematographers told Kodak.
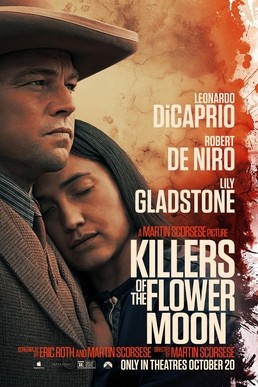 Killers of the Flower Moon2023 · Rodrigo Prieto50D and 500T
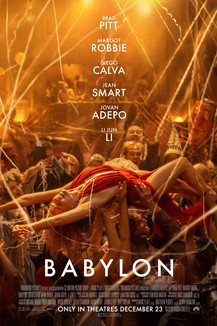 Babylon2022 · Linus Sandgren50D and 500T, with 250D
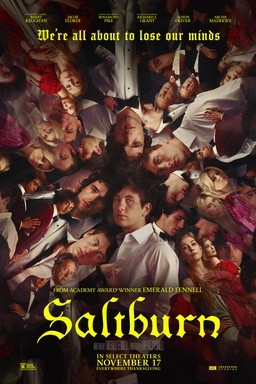 Saltburn2023 · Linus Sandgren50D and 500T, with 200T
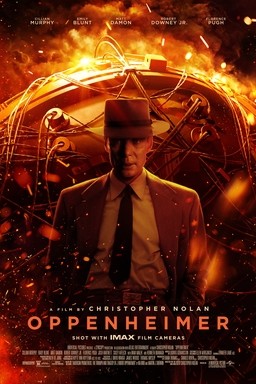 Oppenheimer2023 · Hoyte van Hoytema500T, with 250D and Double‑X, in 65mm
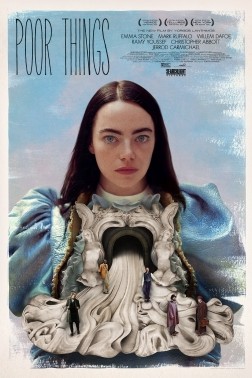 Poor Things2023 · Robbie Ryan500T, with Ektachrome and Double‑X
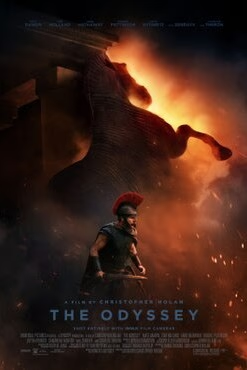 The Odyssey2026 · Hoyte van Hoytema500T, with 250D, in 65mm
Stocks as Kodak reports them; each poster opens its story. Posters belong to their studios. These films’ looks are their makers’ own: they’re here for the stocks they were shot on, not as a claim that the plugin matches them.
The controls
A lab, on my own footage
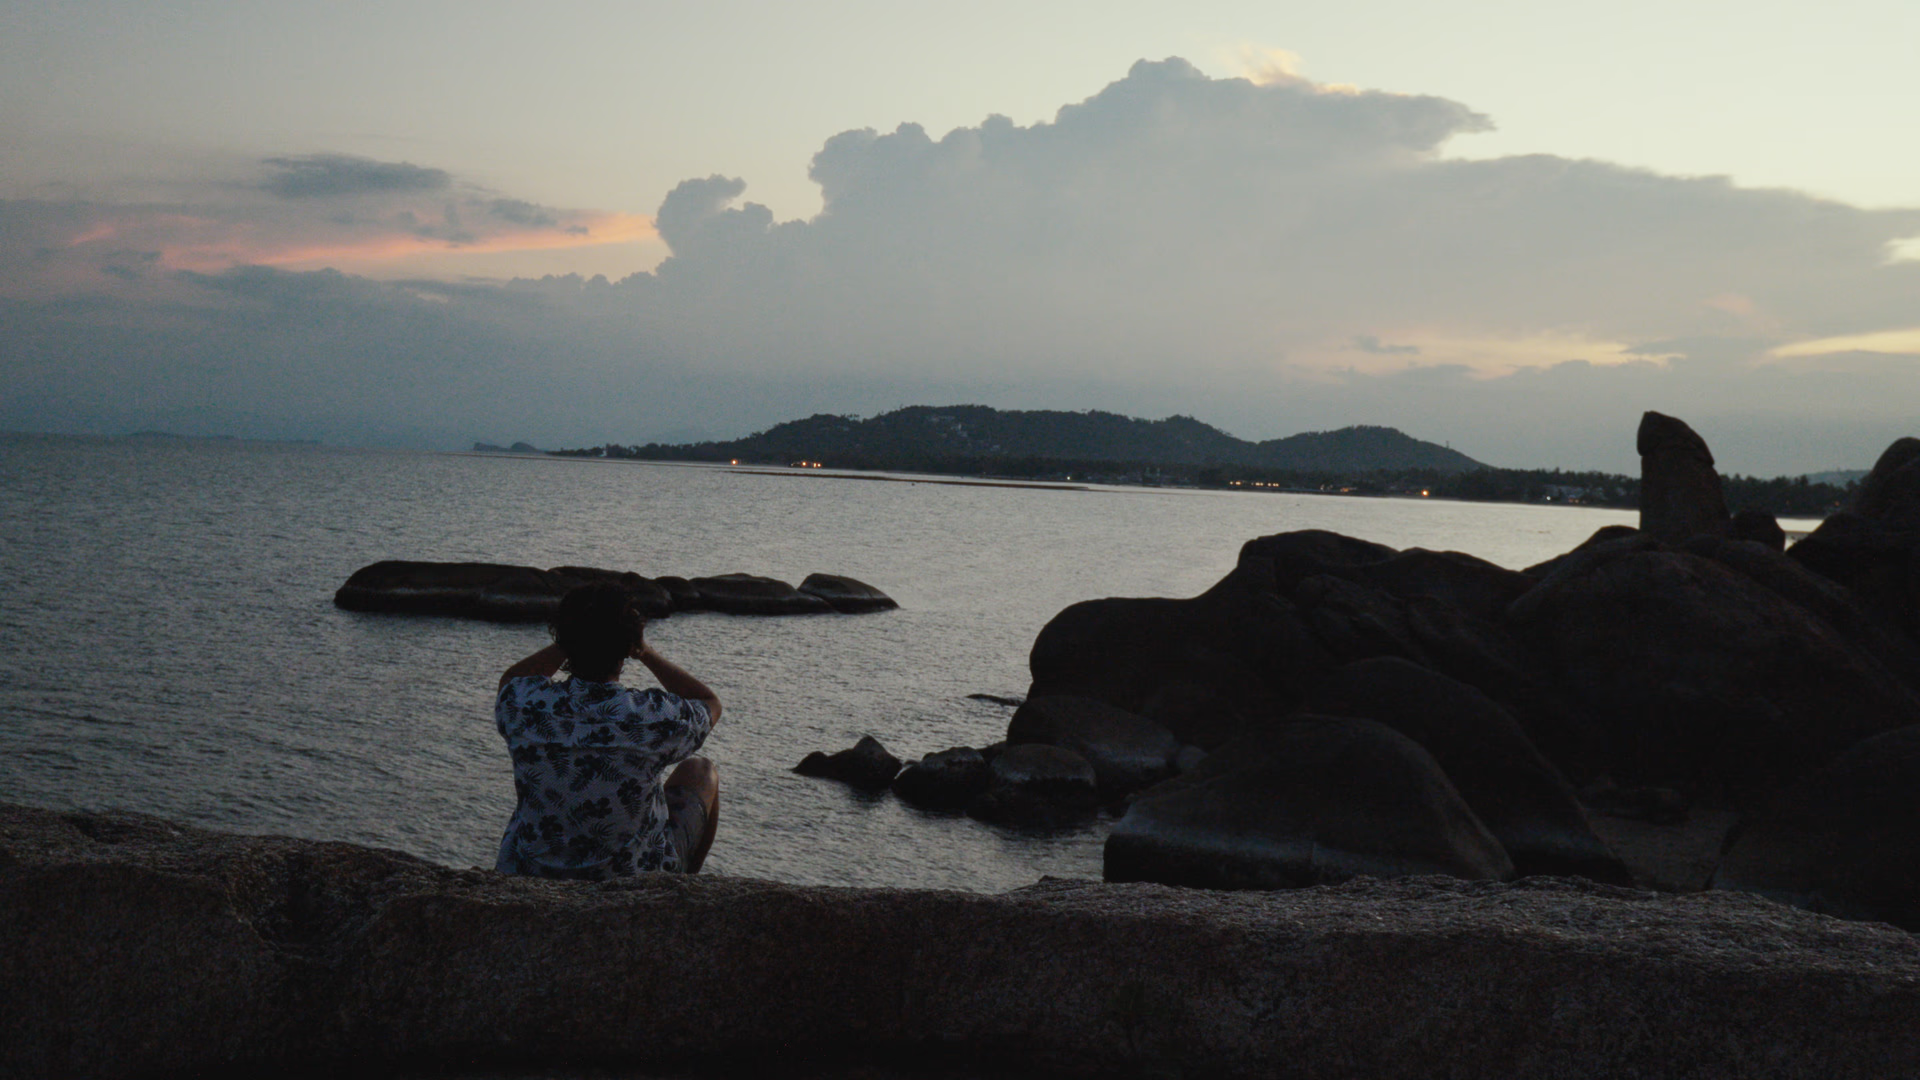
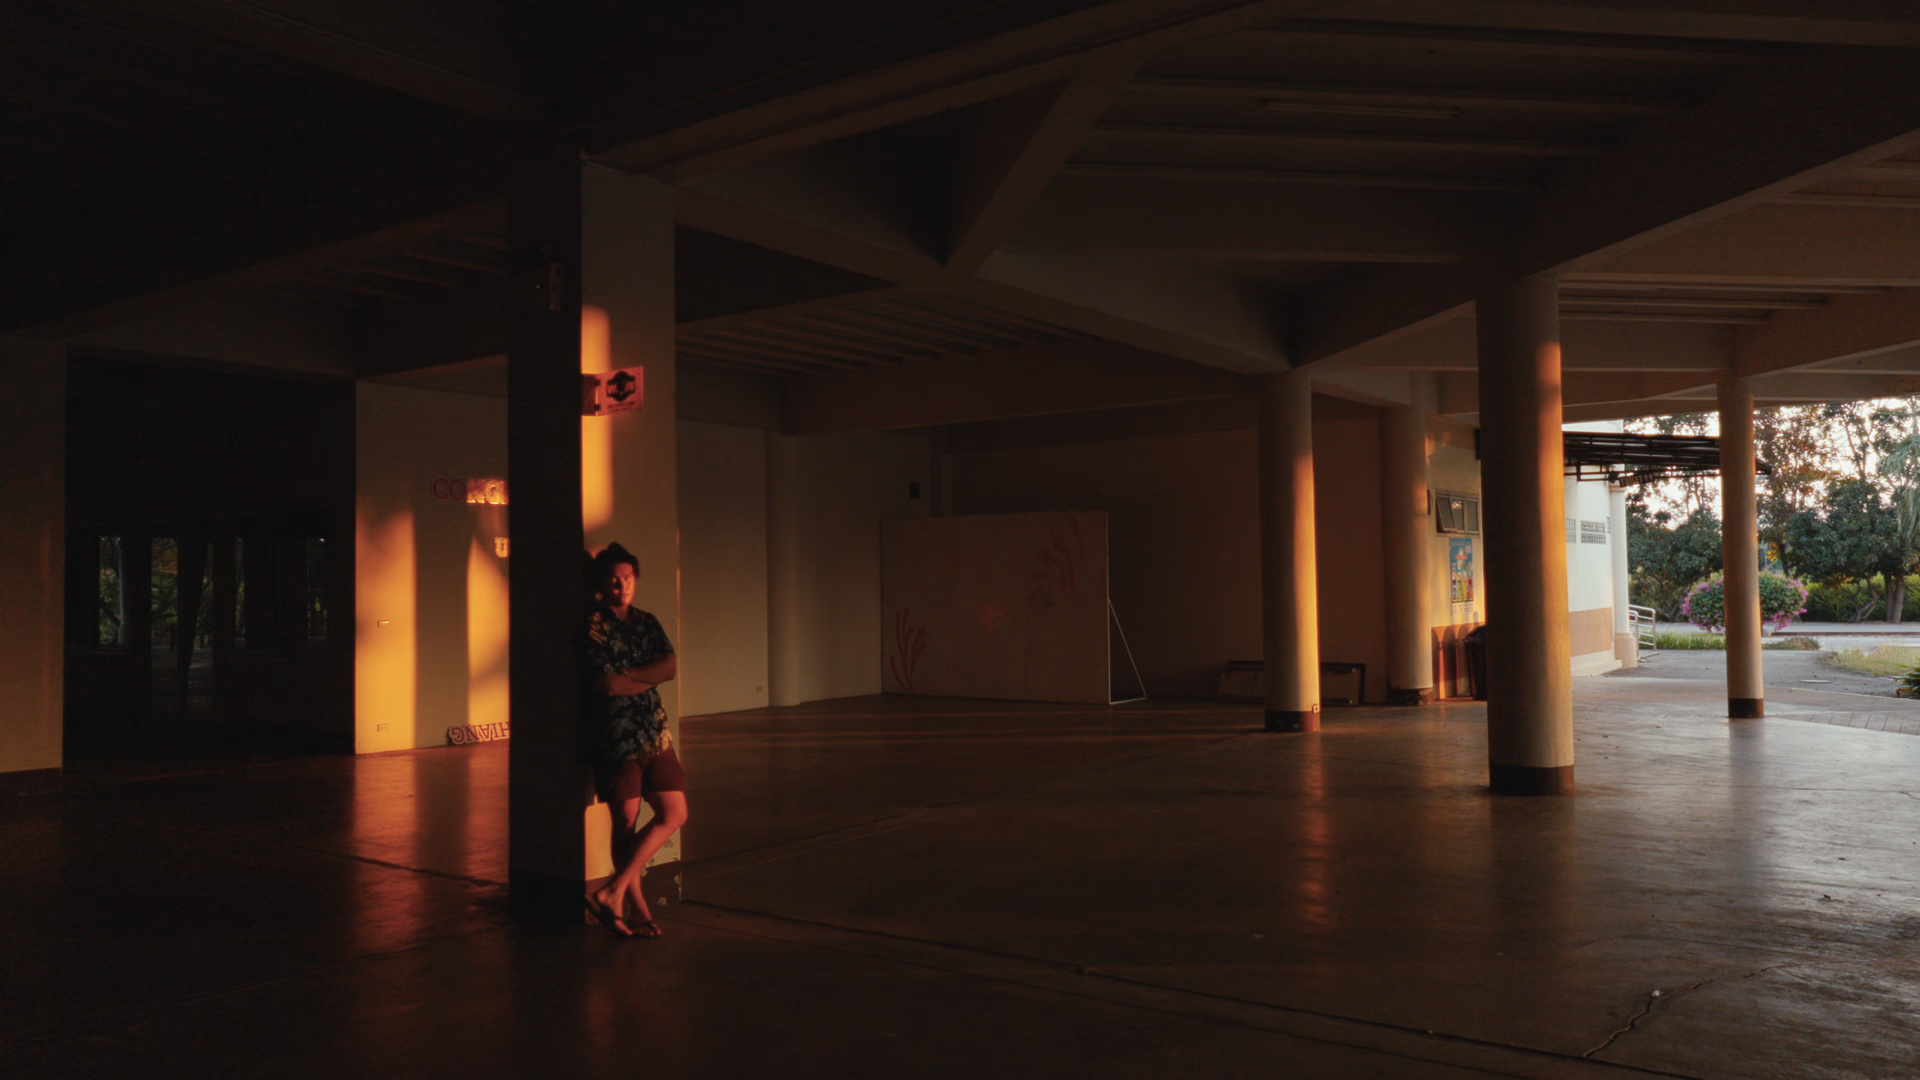
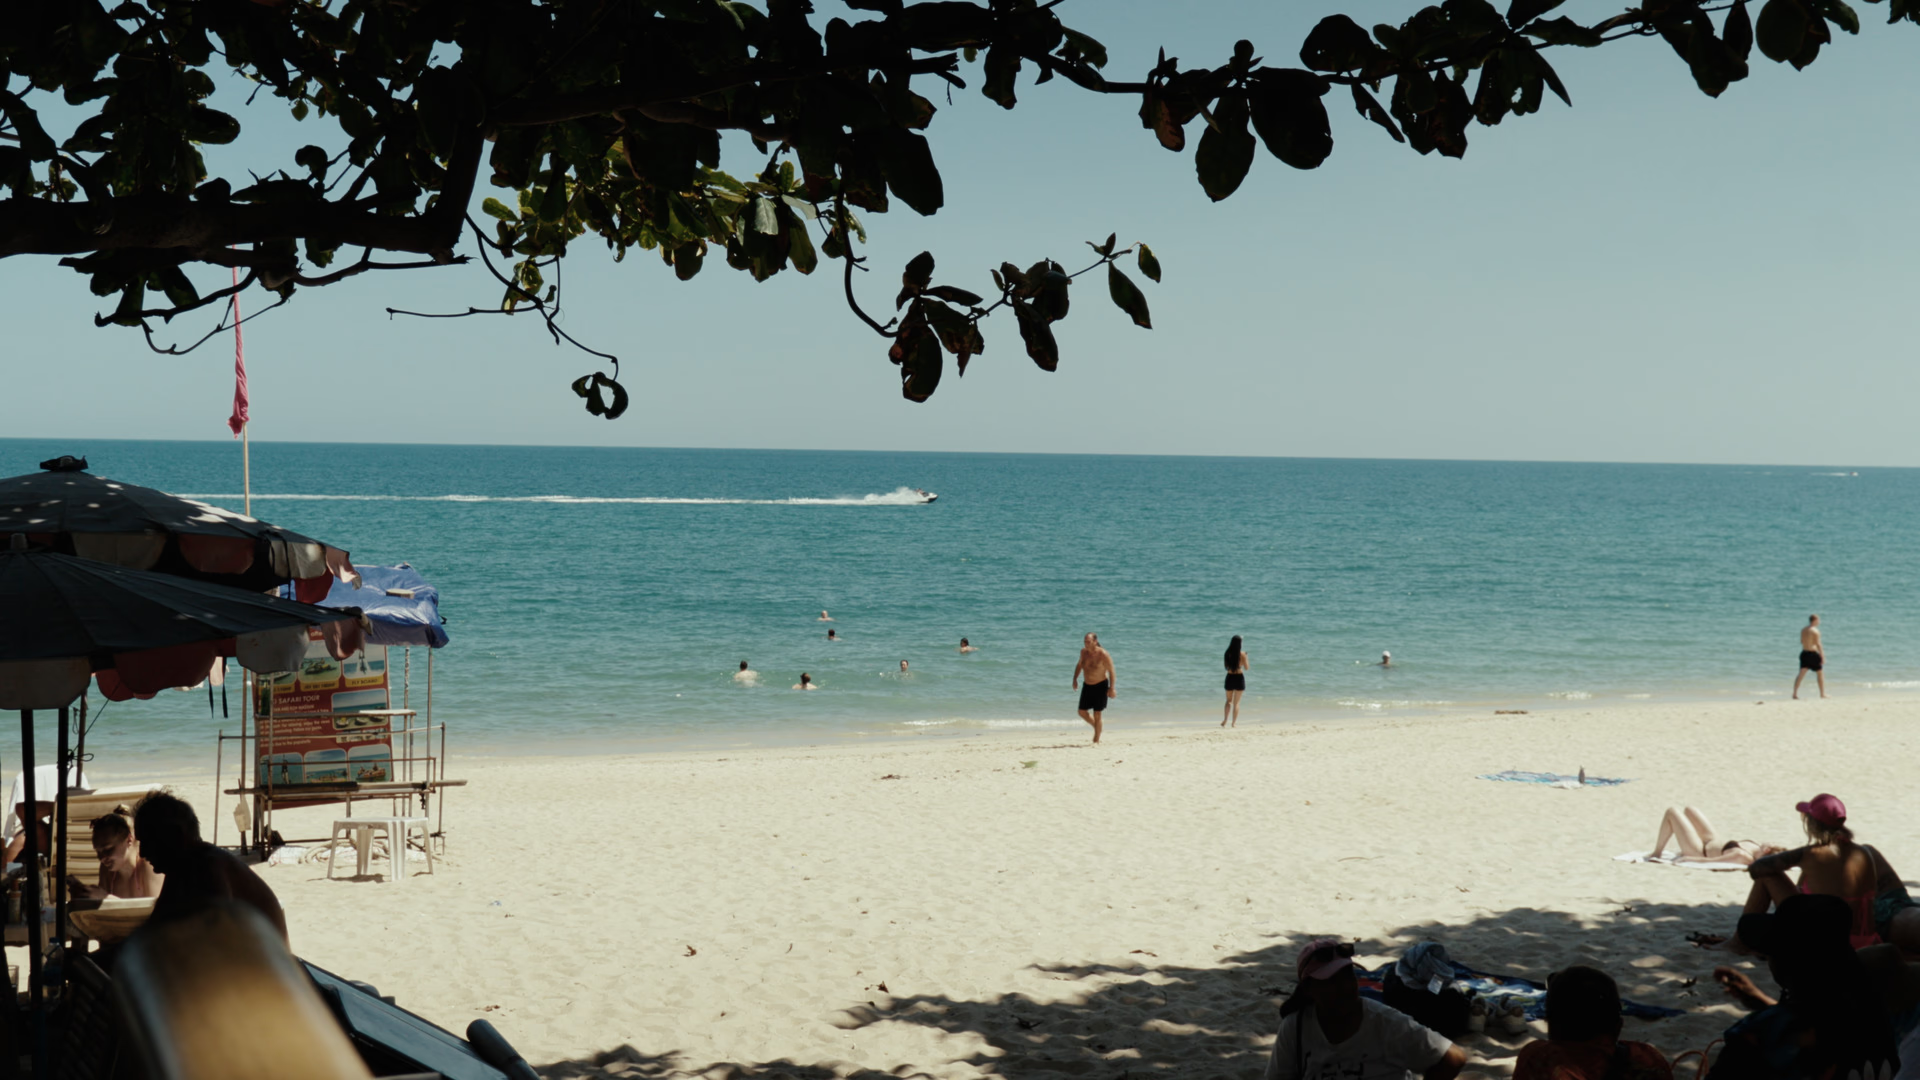
The plugin’s emulation, rendered on my Canon Log 3 footage. Each picture changes one control and nothing else.
In Resolve
One node, a whole lab
Choose your camera’s log, the film and the print, and everything else starts at the film as its maker measured it, or off.
| Camera | Film Stock (22 films), Scene Light, Exposure | Vision3 50D, light matched to the film, exposure 0 |
|---|---|---|
| Development | Push Pull, Exposure Compensation, Interlayer Effect, Bleach Bypass, Neutral Neg Curves | normal development, the layers’ own interplay |
| Red, Green and Blue Printer Points, Gang Printer Points, Print Stock, Print Contrast, Print Bleach Bypass, Print Grain | 25 each, no print (the negative), contrast 1 | |
| Grain | Grain Strength, Grain Saturation, Grain Size | off; live in the plugin, a LUT can’t carry it |
| Sharpness | Film Resolution, Adjacency | the film’s own; live only |
| Halation | Halation Strength, Halation Film Gauge, No Remjet, Glare | off; live only |
| Transport | Gate Weave, Exposure Flicker | off; live only |
| Output | Display Target, HDR Paper White | Rec709 for SDR; PQ for HDR, paper white at 203 nits |
| Input | Input Space (23 camera and working formats), Film Format | ARRI LogC3, 35mm |
How it works
The same stages as film
In the order the plugin runs them. The numbers on the drawings are the stages.
- 1Footage inYour camera’s log footage is decoded back to the light that was in front of the lens.
- 2Light in the filmThe emulsion spreads the light a little, by each layer’s published sharpness, and halation returns light from the base.
- 3ExposureEach of the three layers sees the scene through its own published spectral sensitivity.
- 4DevelopmentThe layers hold each other back as they develop, then each layer’s curve turns exposure into density. Grain forms here.
- 5The negativeThree dye images. Stop here and it comes out as a Cineon scan.
- 6The printPrinter lights time it. Light through the negative’s dyes exposes the print film through its own sensitivity.
- 7The displayThe print is shown as light, in Rec709 or HDR, with nothing brighter than its paper.
- 8Print grainOptional, off by default, added last.
Read from the film’s own data
Each film’s characteristic curves and spectral sensitivities are read from that film’s own published datasheet, layer by layer. Where a datasheet doesn’t publish something, the manual and its audit name what stands in, film by film. Here is the data behind VISUAL, as the plugin reads it.
One grey scale, negative to print
Thirteen grey patches, from six stops under a grey card to six over, through Vision3 500T and then 2383. The negative rises gently and is still rising at six stops over; the print turns that gentle line into an S curve, and mid grey lands at a tenth of the paper’s white.
Who makes it
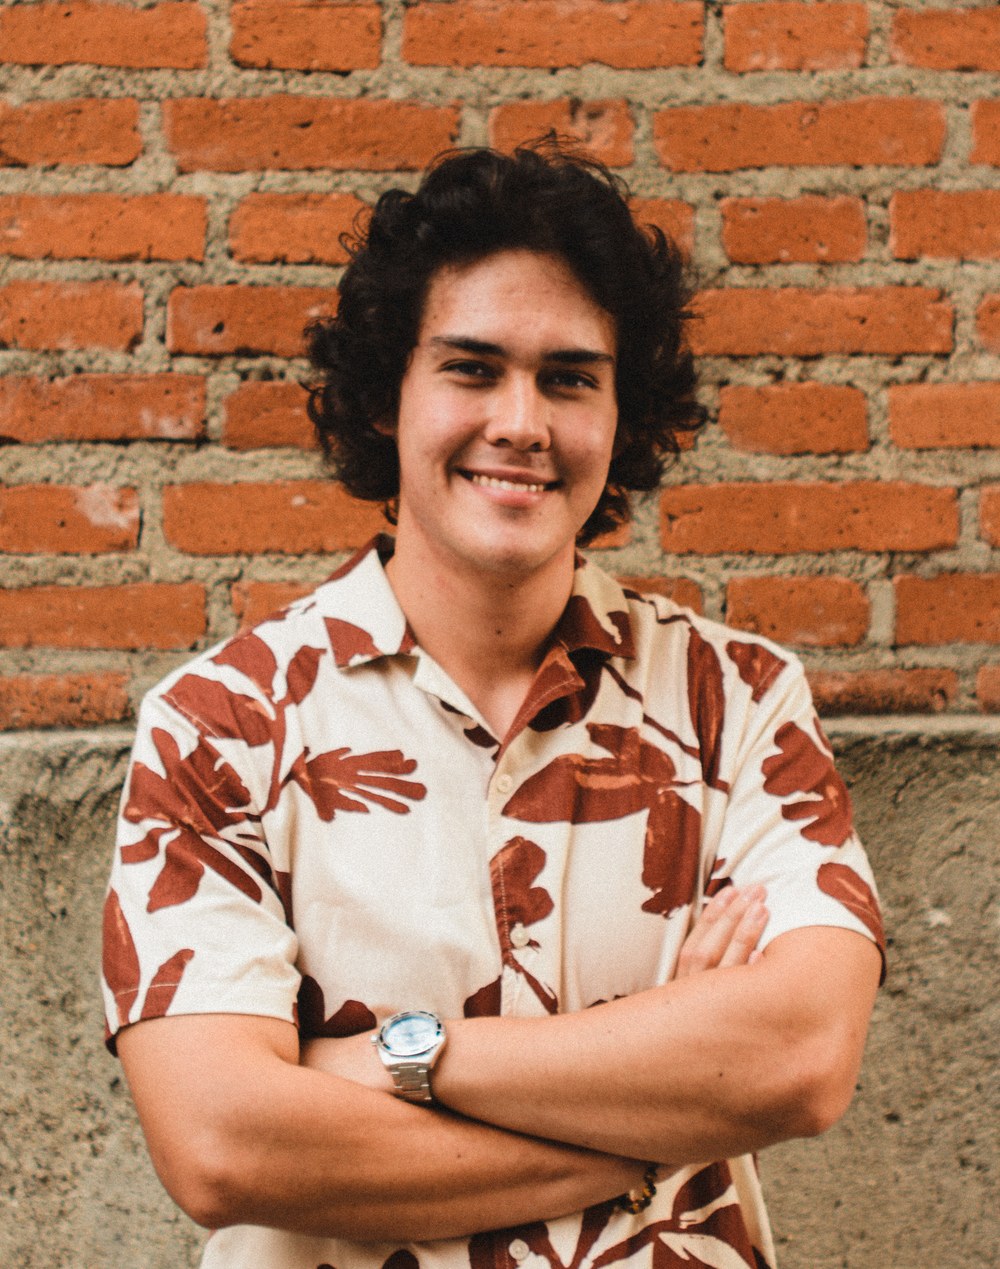
James Kirby
I’m a filmmaker and colourist in Chiang Mai. I’m the lead videographer and colourist at RealSpace Creative, and I graded the sales films of Cassie Schoonover.
My first film looks were made by eye. I wanted ones I could measure, so I built Driffield from the film makers’ own data and checked it on my own footage. VISUAL and ETERNAL are made in it.
Made with it
A film, and two looks
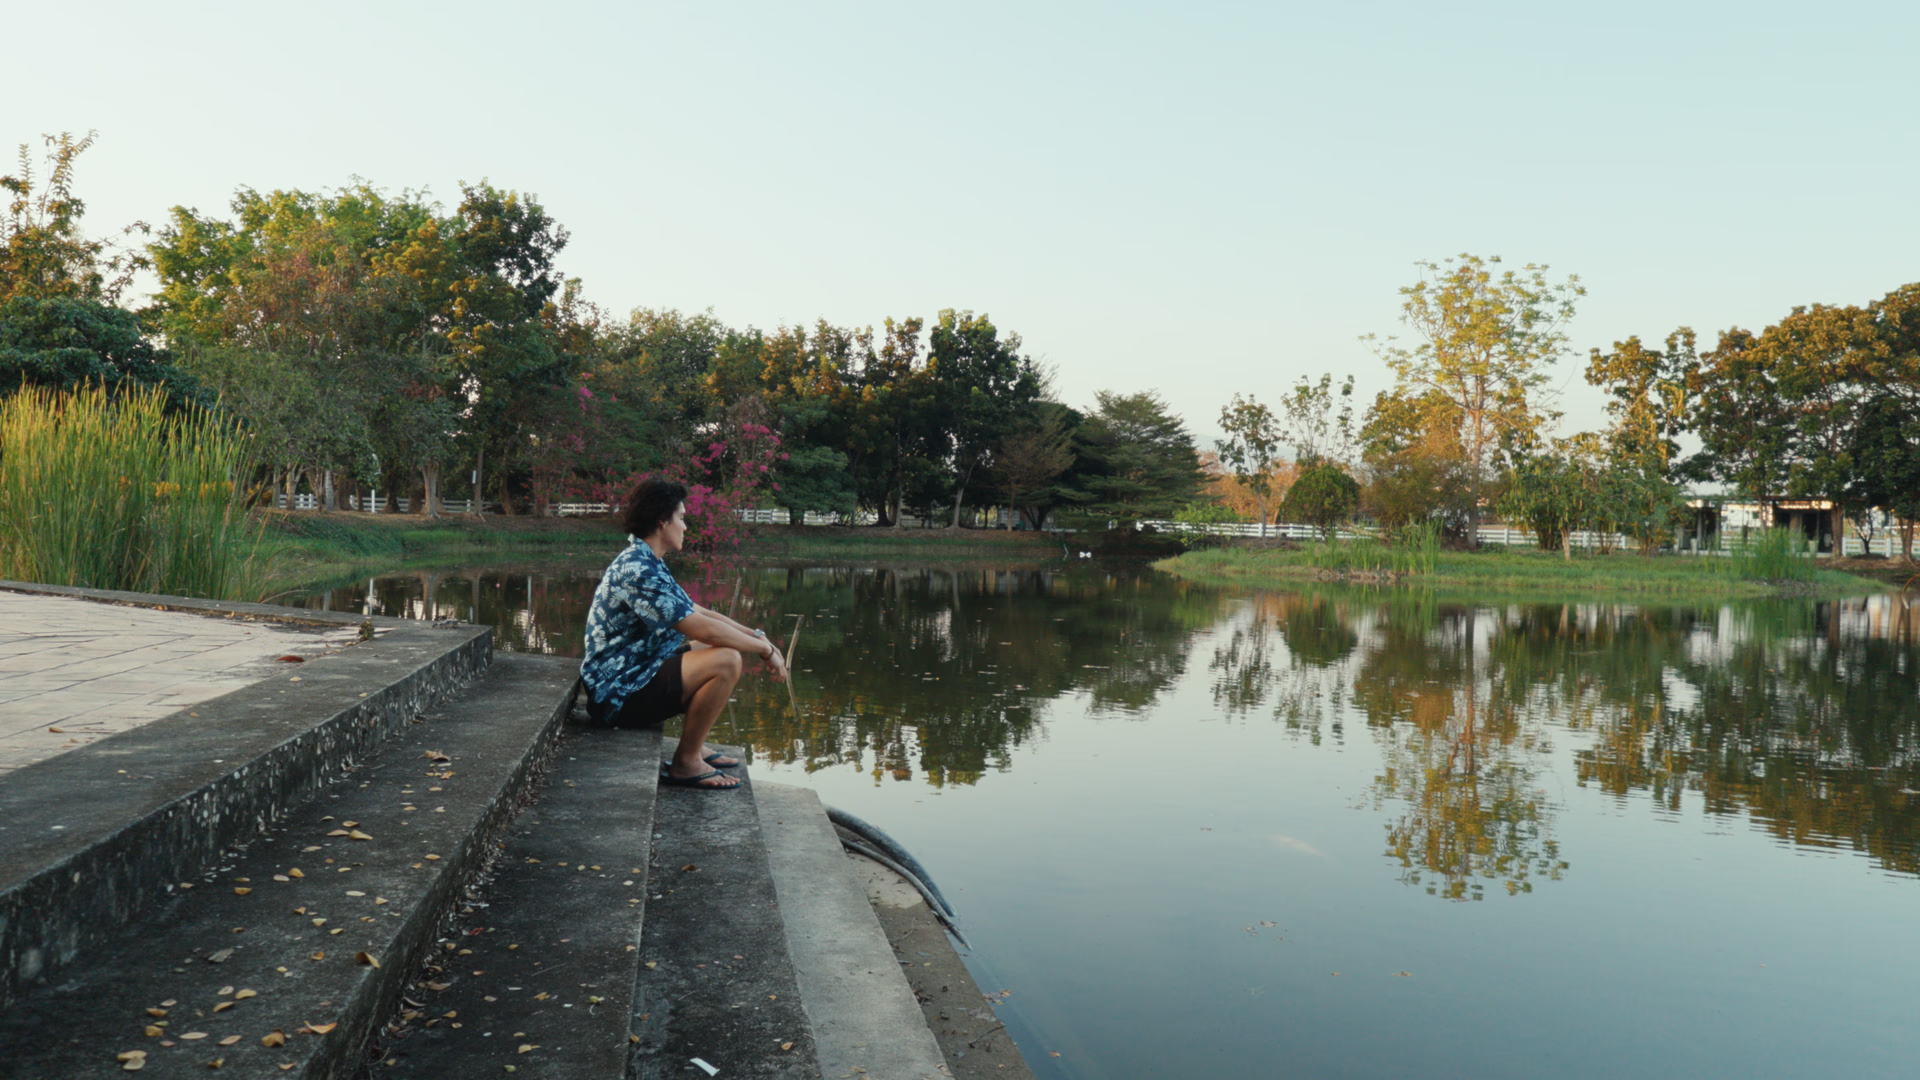
A short film of mine, graded in Driffield, and the two looks in the shop. A LUT can’t carry grain, glow, weave or film sharpness, so the looks carry its colour; Driffield does the rest live.
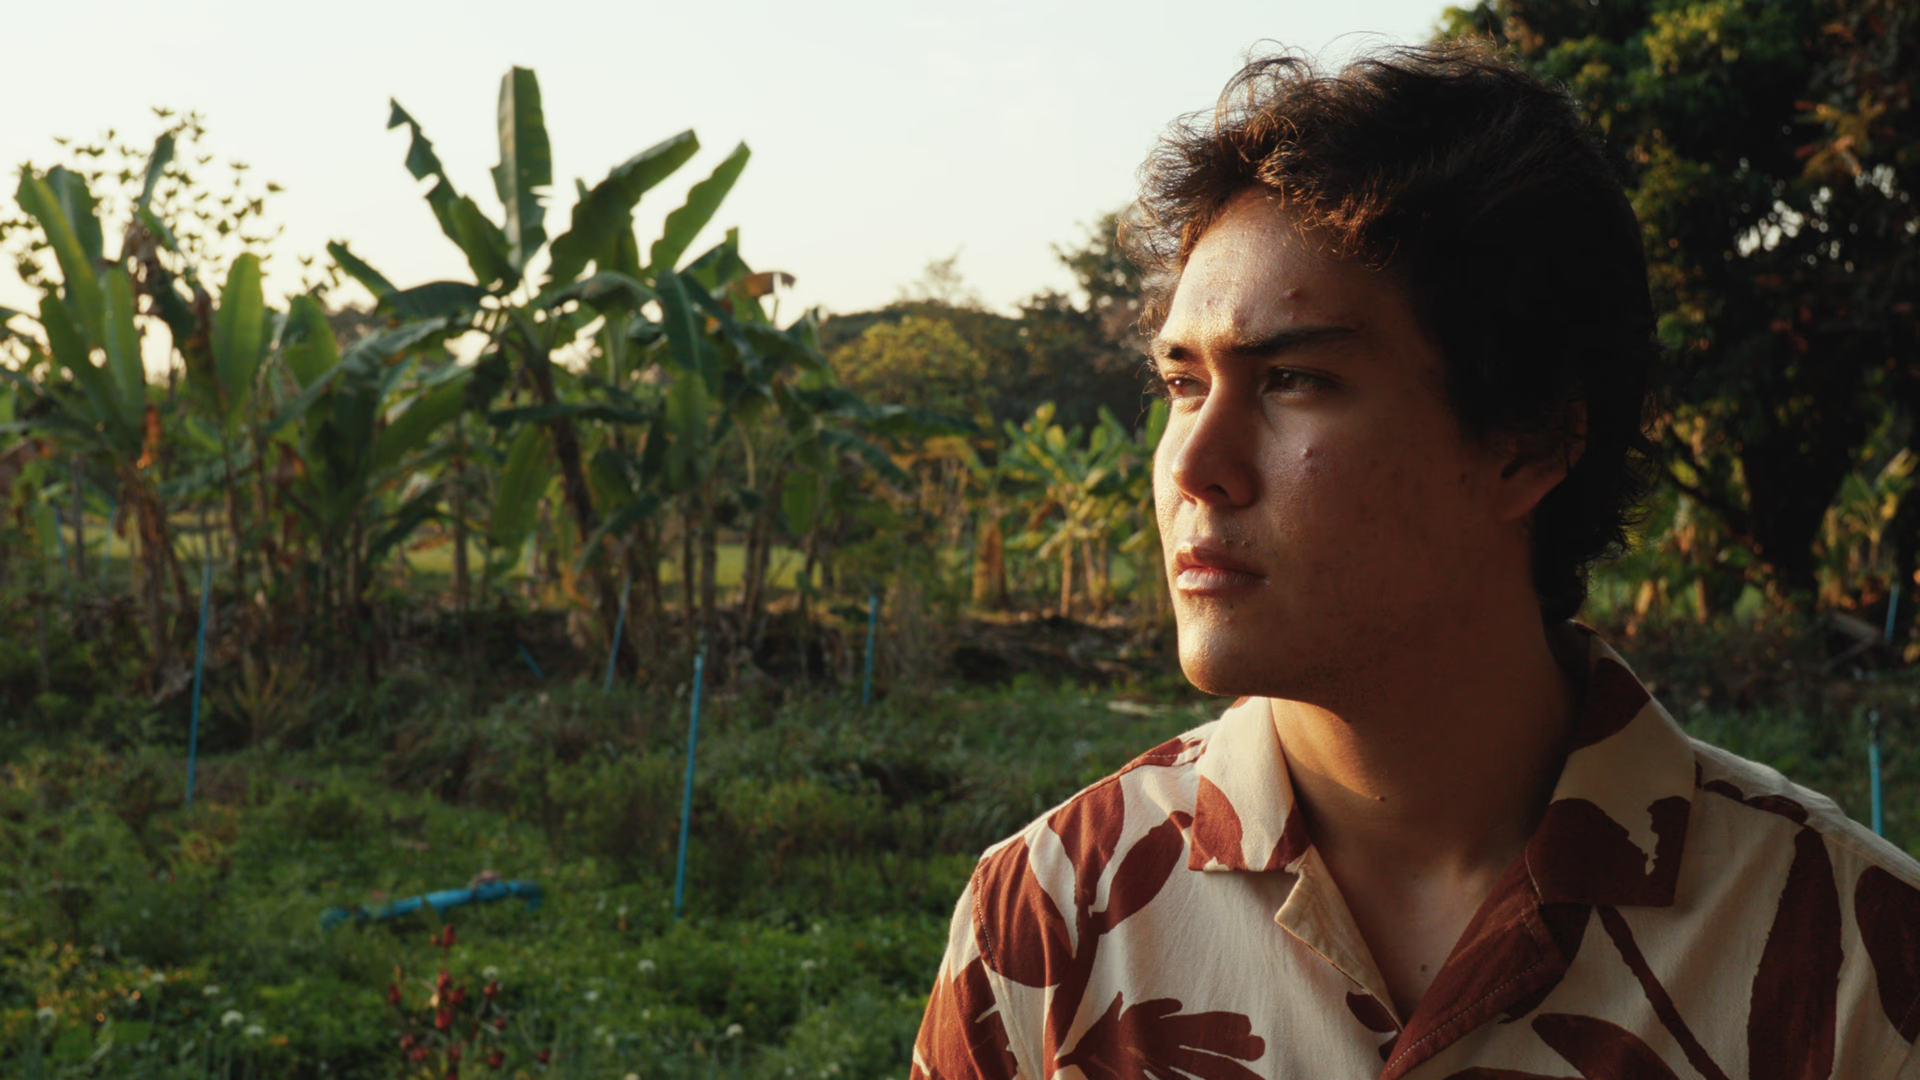 VISUAL Vol. 01
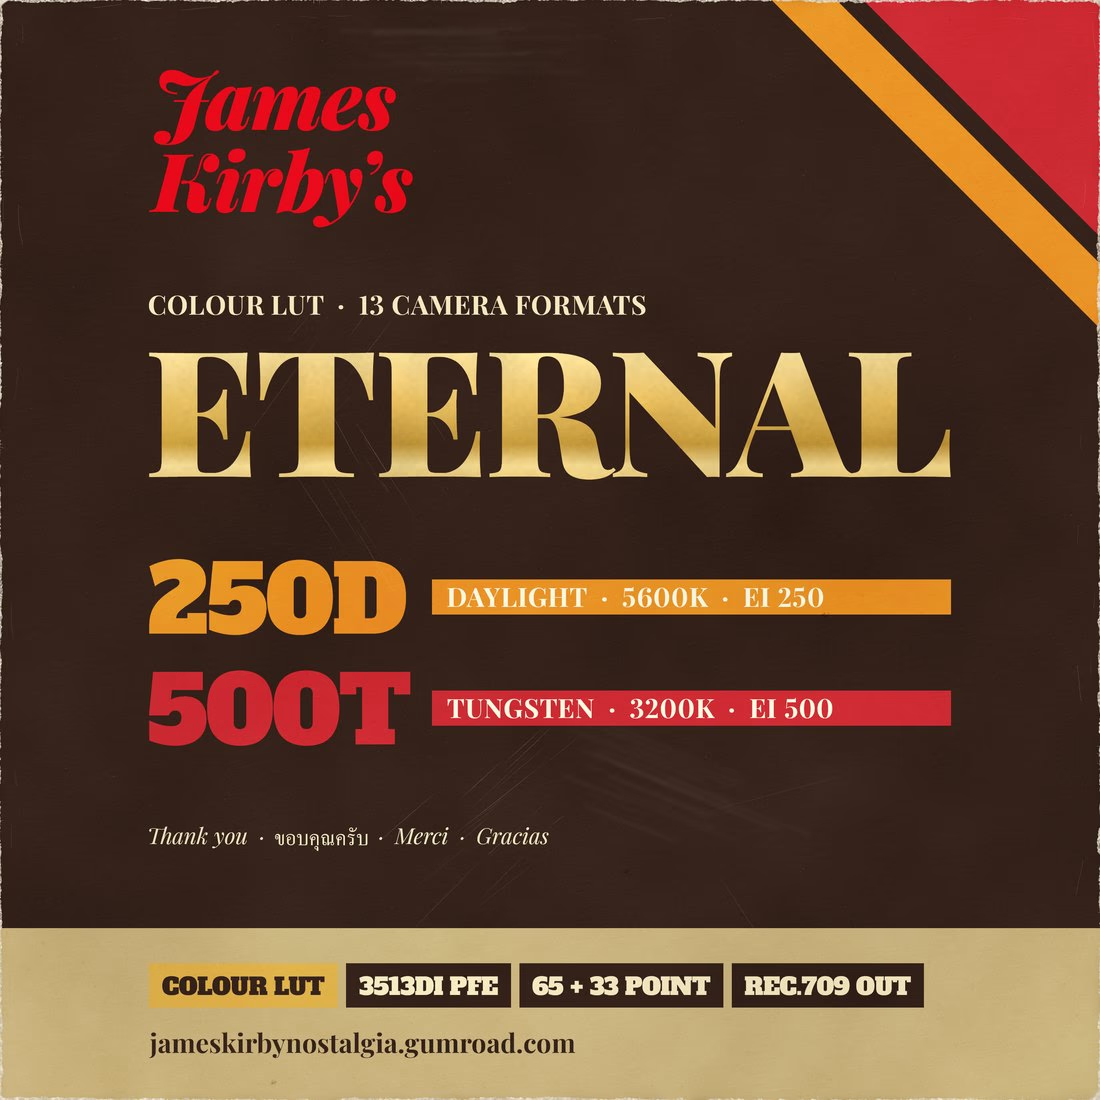 ETERNAL Vol. 02
Questions
Before you ask
What it runs on, what it takes, and what it costs.
Is it a LUT?
No. A LUT changes one colour into another, so it can’t carry grain, halation, glow, gate weave, film sharpness or the edge effects of development. Driffield runs the film process live, on one node.
Which DaVinci Resolve does it need?
It’s made and tested in DaVinci Resolve Studio 21. The free edition and older versions haven’t been tested yet, so for now plan on Studio 21.
Mac or Windows?
Windows, with an NVIDIA RTX graphics card, from the 20 series on. There’s no Mac version yet: if you’re on a Mac, join the early access list and say so, and you’ll hear first when there is.
Will it play in real time?
On an HD timeline, yes: about 10 milliseconds a frame at the default settings on my RTX 3060 laptop. At 4K it’s about ten frames a second on the same laptop. Halation is the heaviest effect; its Performance mode takes about a third of the time. Measured on the plugin alone, so Resolve’s own work comes on top.
Which cameras does it take?
23 input formats: ARRI LogC3 and LogC4, Sony S-Log3, Canon Log 2 and Log 3, Panasonic V-Log, Blackmagic Film Gen 5, Apple Log, Fujifilm F-Log and F-Log2, Nikon N-Log, RED Log3G10, DJI D-Log (not D-Log M), Leica L-Log and GoPro Protune, plus Rec709, sRGB, Cineon, ACES and DaVinci Intermediate.
Which films are in it?
22 films: Kodak Vision3 50D, 200T, 250D and 500T, Verita 200D, Portra, Ektar and Gold, CineStill 50D and 800T, and Fujifilm ETERNA and Fujicolor, printed on Kodak 2383 or 2393, Fujifilm ETERNA-CP 3513DI or photographic paper, and Ektachrome 100D, a reversal film that is its own picture. On the four Vision3 films, the curves, each layer’s sensitivity, the dyes, the grain and the sharpness all come from Kodak’s own datasheets; where a sheet doesn’t publish something, the manual and its audit name what stands in, film by film.
Does it work in Premiere or Final Cut?
Driffield is built and tested for DaVinci Resolve only. For other apps, VISUAL’s LUTs carry its colour.
How much, and when?
No price and no date yet. Join the early access list and you’ll hear first.
Get early access
Driffield is in development. Join the list and you’ll hear first when it’s ready. If you’re on a Mac, say so: there’s no Mac version yet.
One price, paid once. No subscription.
Sample: the Gumroad early access listing goes here
Windows with an NVIDIA RTX graphics card, and DaVinci Resolve Studio 21.
Kodak, Eastman, Vision, Verita, Portra, Ektar, Gold, Endura, Fujifilm, ETERNA, Fujicolor, Crystal Archive and CineStill are trademarks of their owners. Driffield is not affiliated with or endorsed by any of them. Curves redrawn from the published datasheets named under each chart.